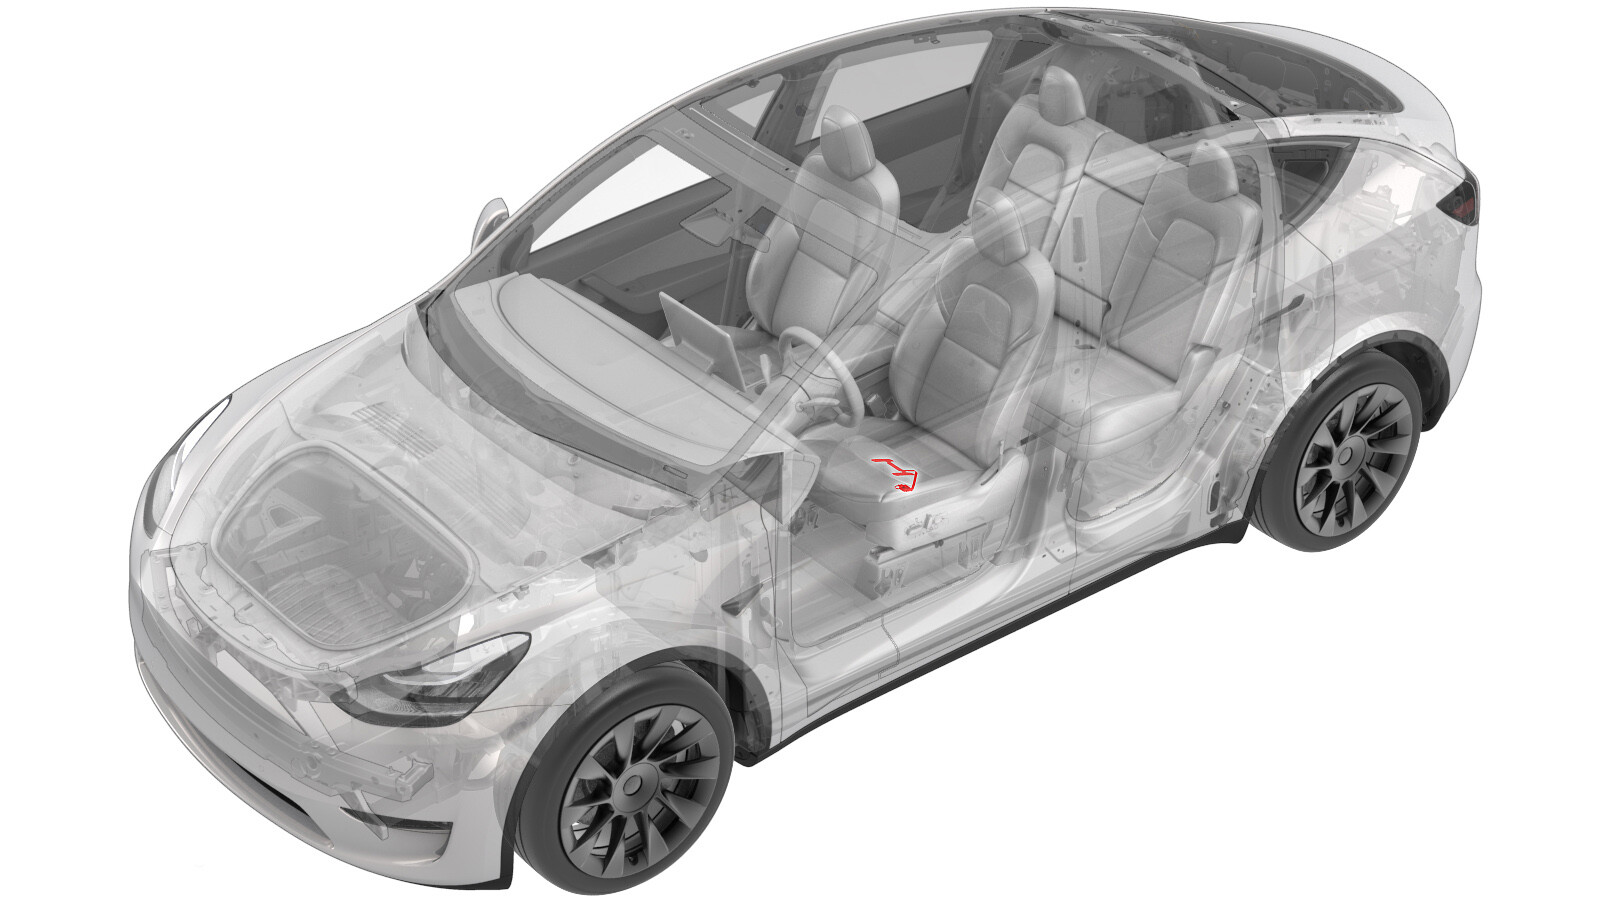
Capteur – occupation par résistance – siège avant – droit (retirez et remplacez)
 Code de correction
20202202 0.84
REMARQUE : À moins d’indications explicites contraires dans la procédure, le code de correction et le temps forfaitaire ci-dessus représentent tout le travail à être fait pour cette procédure, notamment les procédures connexes. N’appliquez pas plusieurs codes de correction à la fois, à moins qu’il vous soit explicitement indiqué de le faire.
REMARQUE : Consultez Temps forfaitaires pour en apprendre plus à propos des temps forfaitaires et de leur création. Vous pouvez transmettre par courriel vos commentaires relatifs aux valeurs des temps forfaitaires à l'adresse ServiceManualFeedback@tesla.com.
REMARQUE : Consultez Protection individuelle pour vous assurer de porter l’équipement de protection individuelle adéquat lors vous effectuez la procédure ci-dessous. Voir Précautions ergonomiques pour consulter les pratiques de travail sécuritaires et saines.
Retirer
- Remove the passenger seat cushion trim. See Garniture - coussin - siège du conducteur (retirez et remplacez).
-
While wearing cut-resistant gloves, carefully use a razor blade to separate the resistive occupancy sensor from the passenger seat cushion foam.
AvertissementAlways wear cut-resistant gloves when using cutting tools.ATTENTIONTake care not to damage the sensor harness, seat trim, or other surrounding components with the razor blade.ATTENTIONTake care to remove as little foam as possible.
-
From the underside of the cushion, carefully route the resistive occupancy sensor harness up through the top of the cushion, and then remove the sensor from the cushion.
ATTENTIONWhile removing the harness, take care not to damage the foam.
Installer
-
Position the resistive occupancy sensor on top of the passenger seat cushion foam, and then route the sensor harness through the harness opening in the foam.
ATTENTIONWhile installing the harness, take care not to damage the foam.
Figure 1. Resistive occupancy sensor positioned on top of the front seat cushion foam Figure 2. Resistive occupancy sensor harness routed through the bottom of the front seat cushion foam -
Peel the protective backing off of the resistive occupancy sensor, exposing the adhesive, and then install the sensor on top of the foam.
RemarqueAlign the sensor with the indentations on the foam.
- Install the passenger seat cushion trim. See Garniture - coussin - siège du conducteur (retirez et remplacez).
-
En cas d’entretien du siège du passager avant d’un véhicule nord-américain :
- Avant de commencer l’étalonnage, retirez tout objet du siège passager avant.
- Sur l’écran tactile du véhicule, touchez et vérifiez la version du micrologiciel du véhicule. Si le micrologiciel du véhicule n’est pas 2023.2.11 ou une version plus récente, réinstallez le micrologiciel du véhicule. Voir Réinstallation du logiciel – Écran tactile, Si le micrologiciel du véhicule n’est pas 2023.2.11 ou une version plus récente, mettez à jour le micrologiciel du véhicule. Voir Mise à jour du logiciel,
- Branchez localement un ordinateur portable doté du logiciel Toolbox 3 au véhicule. Voir Toolbox (connecter et déconnecter),
- Déverrouillez la passerelle du véhicule. Voir Passerelle (déverrouiller),
- Dans Toolbox, cliquez sur l’onglet Actions, puis recherchez « OCS ».
- Exécutez la routine PROC_OCS1P_SELF-CALIBRATIONvia Toolbox: (link)via Service Mode Plus: Safety & Restraints ➜ Seats ➜ OCS1P Self Capacitance Calibration.
- Sélectionnez l’onglet Actions, puis recherchez « Étalonnage de siège ».
- Exécutez la routine PROC_VCRIGHT_SEAT-CALIBRATEvia Toolbox: (link)via Service Mode Plus: Low Voltage ➜ Seats ➜ Calibrate.
- Déconnectez le logiciel Toolbox et retirez l’ordinateur portable du véhicule.