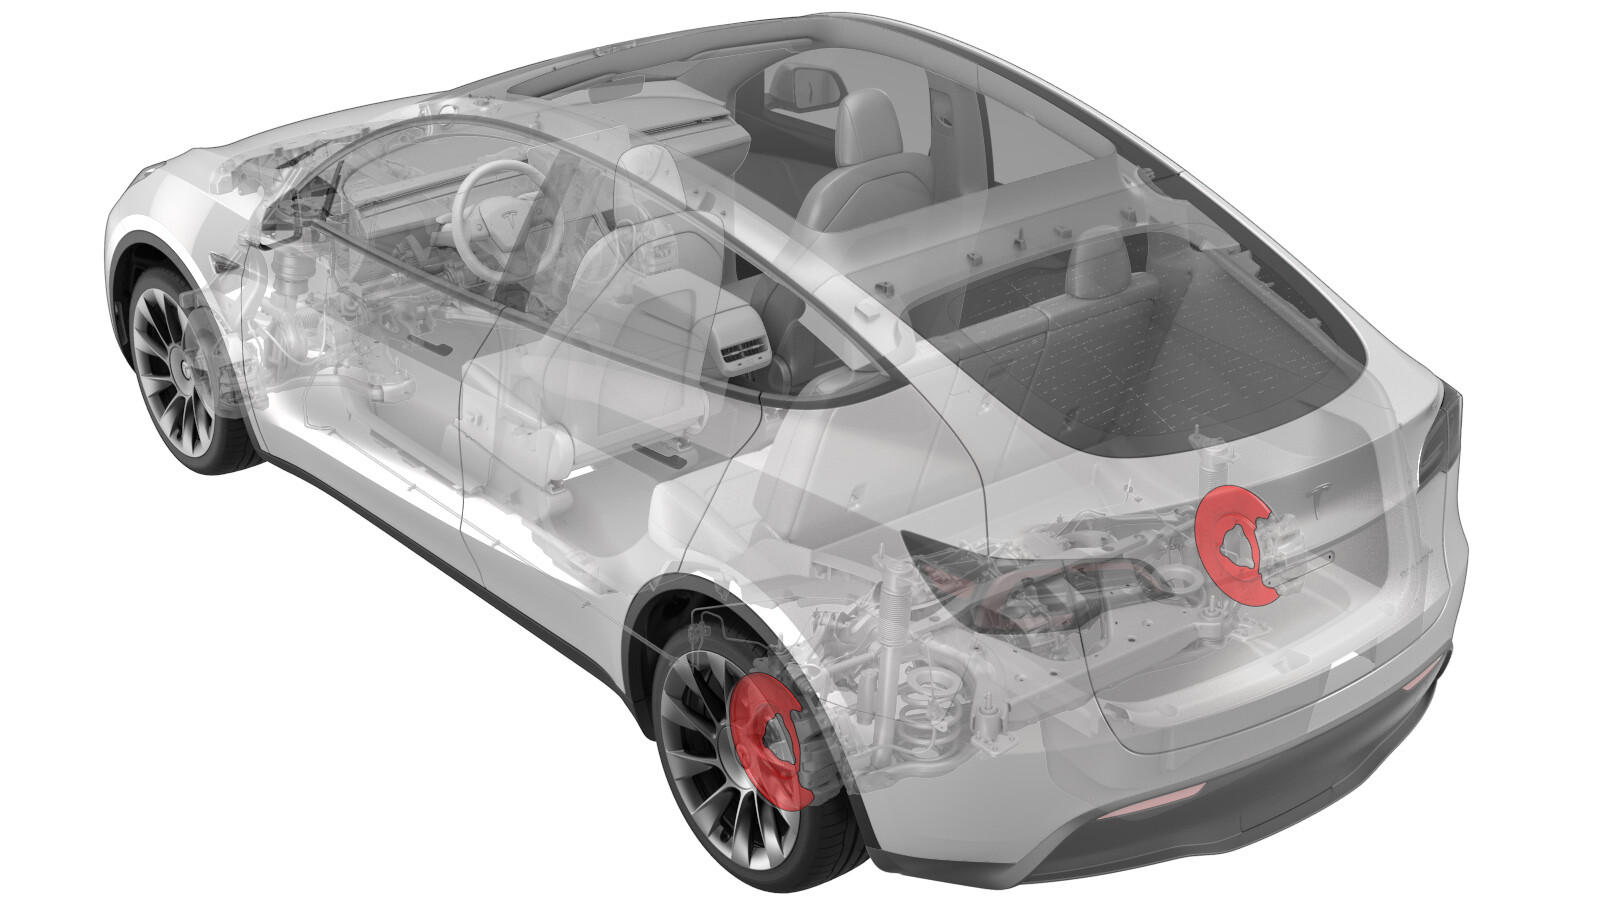
Tôle de protection - Poussière - Frein - Arrière- Gauche (retrait et remplacement)
 Code de correction
33011802 0.54
REMARQUE : À moins d’indications explicites contraires dans la procédure, le code de correction et le temps forfaitaire ci-dessus représentent tout le travail à être fait pour cette procédure, notamment les procédures connexes. N’appliquez pas plusieurs codes de correction à la fois, à moins qu’il vous soit explicitement indiqué de le faire.
REMARQUE : Consultez Temps forfaitaires pour en apprendre plus à propos des temps forfaitaires et de leur création. Vous pouvez transmettre par courriel vos commentaires relatifs aux valeurs des temps forfaitaires à l'adresse ServiceManualFeedback@tesla.com.
REMARQUE : Consultez Protection individuelle pour vous assurer de porter l’équipement de protection individuelle adéquat lors vous effectuez la procédure ci-dessous. Voir Précautions ergonomiques pour consulter les pratiques de travail sécuritaires et saines.
- 28-05-2024 : Référence au mode d’entretien de frein de stationnement électrique (EPB) mise à jour.
- 15-06-2023 : Vidéo de procédure complète ajoutée uniquement à des fins de complément.
- 1062500-00-A Carte de visionnement de champ magnétique
- 1096075-00-A Outil, extracteur moyeu, hydraulique
Spécifications de couple
| Description | Valeur de couple | Outils recommandés | Réutiliser/remplacer | Remarques |
|---|---|---|---|---|
| Tôle de protection du frein arrière gauche à la fusée |
 8 Nm (5.9 lbs-ft) |
|
Réutiliser | |
| Moyeu à la fusée |
 78 Nm (57.5 lbs-ft) |
|
Réutiliser | |
| Écrou du demi-arbre de l’unité d’entraînement arrière gauche |
 300 Nm (221.2 lbs-ft) |
|
Remplacer | |
| Boulons qui fixent l’étrier du frein arrière à la fusée |
 83 Nm (61.2 lbs-ft) |
|
Remplacer |
Retirer
- Retirez les enjoliveurs et chapeaux de roues, puis desserrez les écrous de roue arrière gauche. Ne retirez pas la roue pour l’instant. Voir Ensemble de roue (retrait et installation).
-
Desserrez l’écrou du demi-arbre de l’unité d’entraînement arrière gauche.
- Soulevez et soutenez le véhicule. Voir Soulever le véhicule - pont élévateur à 2 poteaux.
- Placez le véhicule en Mode d’entretien du frein de stationnement électrique (EPB). Voir Frein de stationnement - étrier - arrière - gauche (relâcher)
- Retirez la roue arrière gauche. Voir Soulever le véhicule - pont élévateur à 2 poteaux.
-
Retirez et mettez au rebut l’écrou du demi-arbre de l’unité d’entraînement arrière gauche.
- Retirez le disque de frein arrière gauche. Voir Disque de frein - arrière - gauche (retirez et remplacez).
- Positionnez l’extracteur de moyeu sur les goujons de roue arrière gauche, puis serrez les écrous de roue (x5) à la main.
-
Utilisez l’extracteur de moyeu pour séparer le demi-arbre des cannelures du moyeu.
TIpTout en maintenant le moyeu en position, tournez la poignée de l’extracteur hydraulique de moyeu dans le sens horaire de façon à séparer le demi-arbre de l’unité d’entraînement arrière gauche des cannelures du moyeu.
-
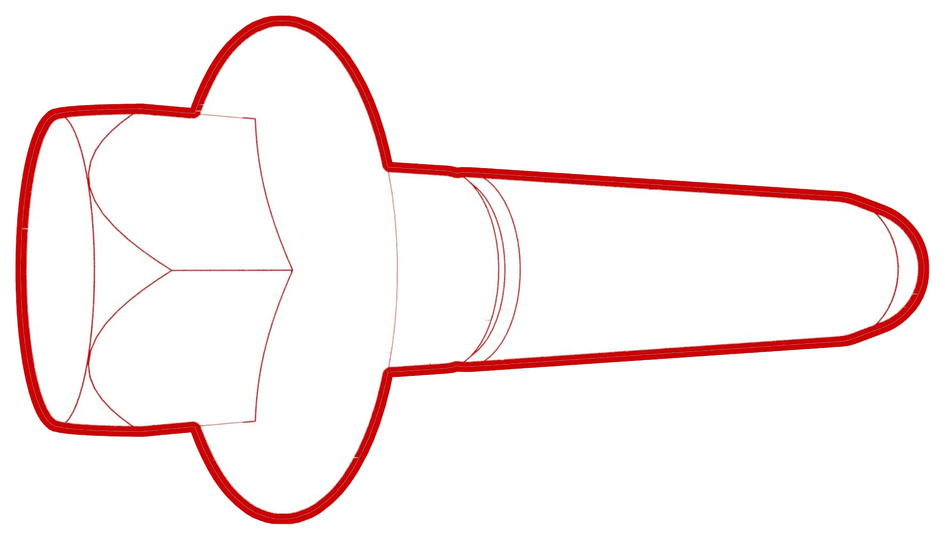
Retirez et mettez au rebut les boulons qui retiennent le moyeu arrière gauche au pivot de fusée, puis retirez le moyeu du véhicule.
Figure 1. Demi-arbre non illustré pour plus de clarté -
Retirez les boulons qui fixent la tôle de protection du frein arrière gauche au pivot de fusée, puis retirez la tôle de protection du véhicule.
Installer
-
Positionnez la tôle de protection du frein arrière gauche sur le pivot de fusée, puis posez les boulons qui fixent la tôle de protection au pivot de fusée.
 8 Nm (5.9 lbs-ft)
 - Utilisez une carte de visualisation de champ magnétique pour vérifier la tonalité du moyeu arrière gauche.
-
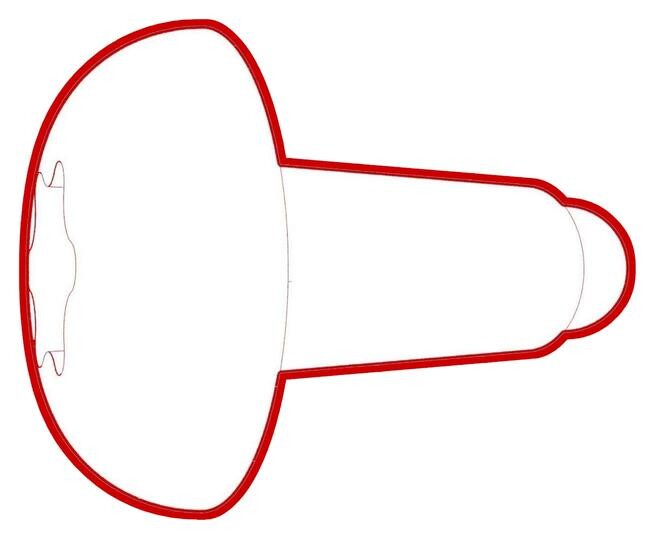
Appliquez environ 1 gramme de pâte lubrifiante Molykote M-77 uniquement sur la surface de contact du moyeu, sur le côté extérieur du demi-arbre de l’unité d’entraînement arrière gauche.
ATTENTIONN’appliquez pas de lubrifiant sur les cannelures du demi-arbre. Si du lubrifiant est appliqué par erreur, essuyez les cannelures avec un chiffon.
Figure 2. Lubrifiez la zone mise en surbrillance rouge -
Positionnez le demi-arbre de l’unité d’entraînement arrière gauche dans les cannelures du moyeu arrière gauche, puis installez les nouveaux boulons qui retiennent le moyeu au pivot de fusée.
 78 Nm (57.5 lbs-ft)
Figure 3. Demi-arbre non illustré pour plus de clarté - Serrez à la main le nouvel écrou de demi-arbre de l’unité d’entraînement arrière sur le demi-arbre.
- Installez le disque de frein arrière gauche, mais n’exécutez pas d’essai routier. Voir Disque de frein - arrière - gauche (retirez et remplacez).
- Placez la roue arrière gauche sur le véhicule, puis serrez les écrous de roue arrière gauche à la main.
- Abaissez le véhicule, puis placez le véhicule en mode Stationnement (cette étape désactivera le mode d’entretien EPB).
- Serrez les écrous de la roue arrière gauche. Voir Ensemble de roue (retrait et installation).
-
Serrez l’écrou du demi-arbre de l’unité d’entraînement arrière gauche.
 300 Nm (221.2 lbs-ft)
 - Posez les enjoliveurs ou les chapeaux de roues qui avaient été retirés.