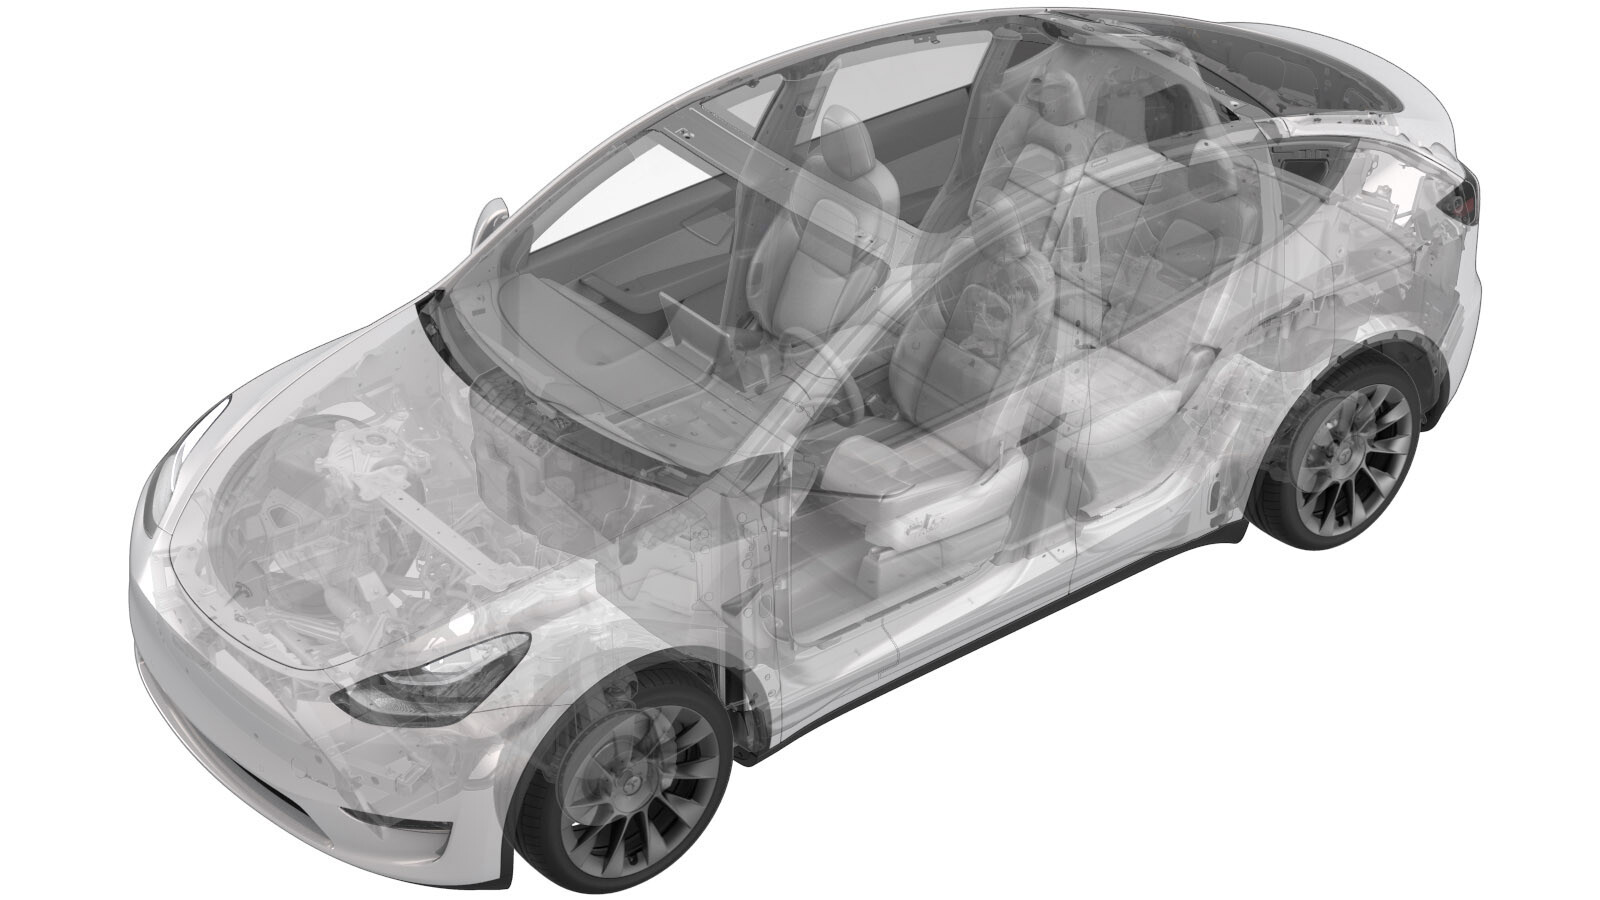
Ensemble - filtre - HEPA (retirez et remplacez)
 Code de correction
18105402 0.12
REMARQUE : À moins d’indications explicites contraires dans la procédure, le code de correction et le temps forfaitaire ci-dessus représentent tout le travail à être fait pour cette procédure, notamment les procédures connexes. N’appliquez pas plusieurs codes de correction à la fois, à moins qu’il vous soit explicitement indiqué de le faire.
REMARQUE : Consultez Temps forfaitaires pour en apprendre plus à propos des temps forfaitaires et de leur création. Vous pouvez transmettre par courriel vos commentaires relatifs aux valeurs des temps forfaitaires à l'adresse ServiceManualFeedback@tesla.com.
REMARQUE : Consultez Protection individuelle pour vous assurer de porter l’équipement de protection individuelle adéquat lors vous effectuez la procédure ci-dessous. Voir Précautions ergonomiques pour consulter les pratiques de travail sécuritaires et saines.
- 2026-01-16: Retrait des étapes concernant le col du réservoir de lave-glace.
- Le 12 septembre 2024 : Correction d'une instruction de suppression erronée à l'étape 2 de la procédure d'installation.
- Le 6 juin 2024 : Ajout de la réinitialisation du score de santé du filtre de l'habitacle pour les versions du logiciel 2024.14+
- Le 12 septembre 2023 : Correction des informations de couple des boulons (x2) qui fixent l'ensemble de filtre HEPA au véhicule.
| Description | Valeur de couple | Outils recommandés | Réutiliser/remplacer | Remarques |
|---|---|---|---|---|
| Boulon qui fixe l’unité de rangement sous le capot au goulot du réservoir du liquide lave-glace. |
 5 Nm (3.7 lbs-ft) |
|
Réutiliser | |
| Boulons (x2) qui fixent l'ensemble de filtre HEPA au véhicule |
 5 Nm (3.7 lbs-ft) |
|
Réutiliser |
Retirer
- Ouvrez la porte avant gauche et abaissez complètement la vitre avant gauche.
- Retirez le tablier arrière situé sous le capot. Voir Tablier sous le capot - arrière (retirez et remplacez),
-
Retirez le boulon qui fixe l'unité de rangement sous le capot au col du réservoir de liquide de lave-glace.
RemarqueCertains véhicules peuvent donner un attache-poussoir à cet endroit.TIpL'un ou plusieurs des outils suivants sont recommandés :
- Douille de 10 mm
-
Retirez les boulons (x2) qui fixent l'ensemble de filtre HEPA au véhicule, puis retirez l'ensemble du véhicule.
RemarqueFaites pivoter le bord arrière de l'ensemble vers le haut pour dégager le réservoir de frein, puis soulevez l'ensemble pour le sortir de l'unité de rangement sous le capot.TIpL'un ou plusieurs des outils suivants sont recommandés :
- Douille de 10 mm
Installer
-
Pour positionner l'ensemble de filtre HEPA, placez le bord avant de l'ensemble de filtre sous l'unité de stockage sous le capot, puis déplacez prudemment le bord arrière de l'ensemble de filtre au-delà du réservoir de liquide de frein.
-
Installez les boulons (x2) qui fixent l’ensemble de filtre HEPA au véhicule.
 5 Nm (3.7 lbs-ft)RemarquePivotez le bord avant au-delà du coffre avant, puis déplacez avec précaution le bord arrière au-delà du réservoir de liquide de frein et mettez-le en position. Appuyez doucement sur le côté droit du filtre pour placer le joint sur le conduit. La retouche nécessite de nouveaux boulons.TIpL'un ou plusieurs des outils suivants sont recommandés :
- Douille de 10 mm
-
Installez le boulon qui fixe l'unité de rangement sous le capot au col du réservoir de liquide de lave-glace.
 5 Nm (3.7 lbs-ft)RemarqueCertains véhicules peuvent donner un attache-poussoir à cet endroit.TIpL'un ou plusieurs des outils suivants sont recommandés :
- Douille de 10 mm
- Installez le tablier sous le capot. Voir Tablier sous le capot - arrière (retirez et remplacez),
- Remontez la glace avant gauche et fermez la porte avant gauche.
-
Vérifiez si le score de santé de l'habitacle du véhicule et du filtre HEPA doit être réinitialisé : Sur l’écran tactile du véhicule, touchez , puis faites défiler vers le bas pour afficher la version du logiciel installée sur le véhicule.
- Si le véhicule est doté d’un logiciel dont la version est antérieure à 2024.14, le score de santé du filtre de l'habitacle n'a pas besoin d'être réinitialisé. Passez à l'étape suivante de cette procédure.
- Si la version du logiciel du véhicule est 2024.14 ou une version plus récente :
- Activez le mode Entretien. Voir Mode Entretien
- Si le filtre de l'habitacle a été remplacé : Dans le menu du mode Entretien, touchez , puis touchez .
- Si les éléments ou l'ensemble du filtre HEPA ont été remplacés, appuyez sur .
- Le score de santé du filtre de l'habitacle et/ou du filtre HEPA est maintenant réinitialisé. Passez à l'étape suivante de cette procédure.
Figure 1. Réinitialiser le score de santé du filtre de l'habitacle pour le Model Y Figure 2. Réinitialiser le score de santé du filtre HEPA pour le Model Y