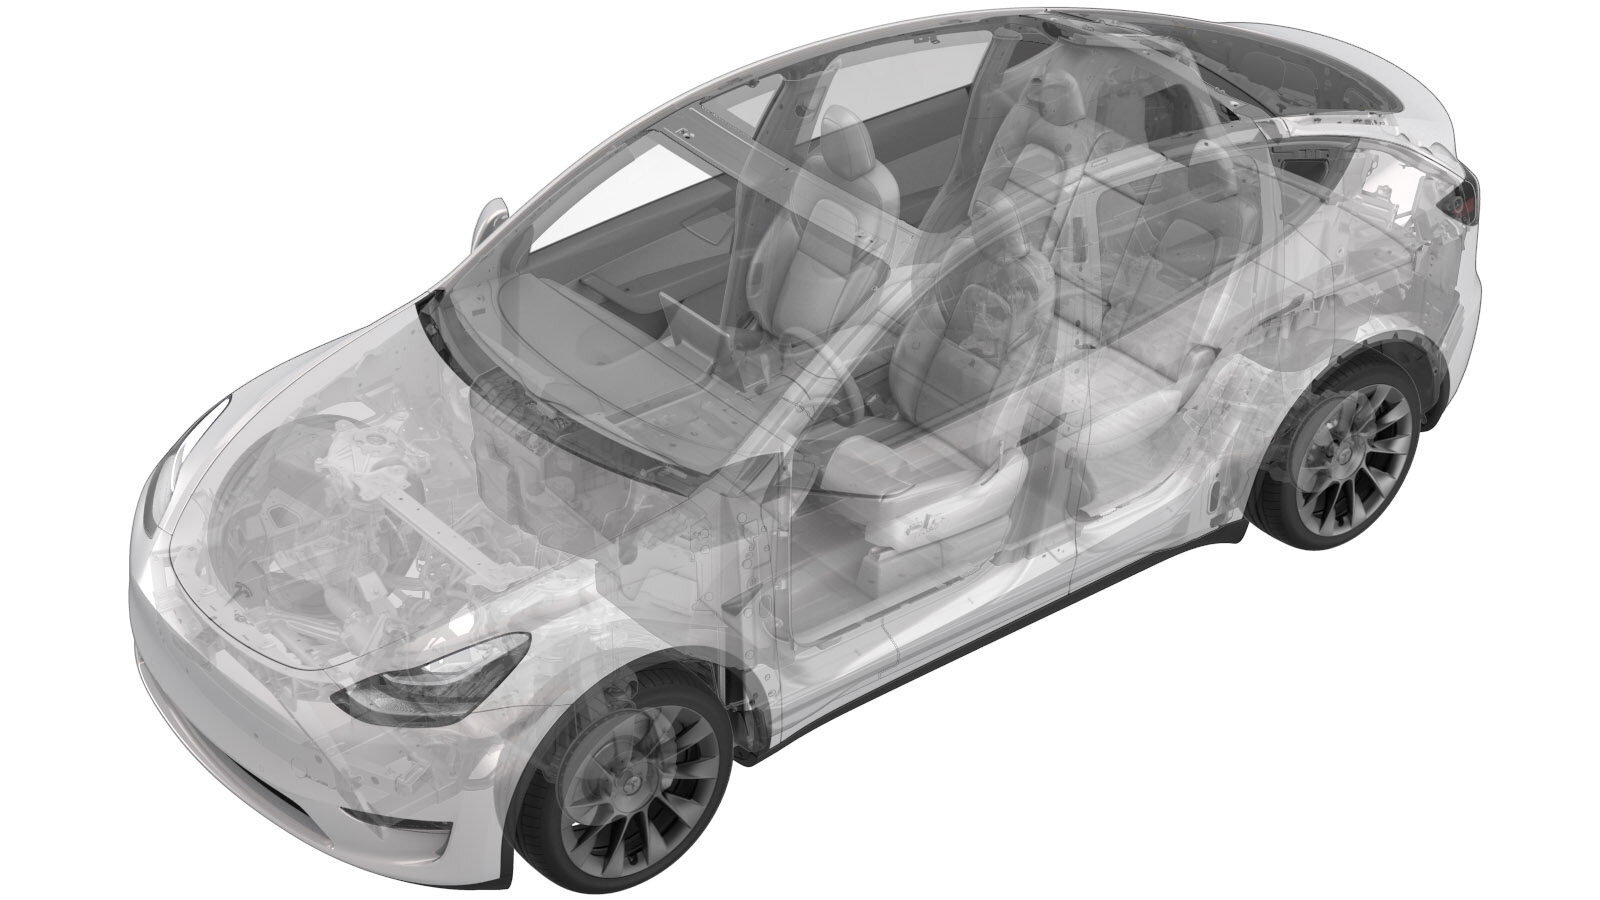
Ceinture de sécurité – deuxième rangée – gauche (7 places) (retirez et remplacez)
 Code de correction
20056122 0.30
REMARQUE : À moins d’indications explicites contraires dans la procédure, le code de correction et le temps forfaitaire ci-dessus représentent tout le travail à être fait pour cette procédure, notamment les procédures connexes. N’appliquez pas plusieurs codes de correction à la fois, à moins qu’il vous soit explicitement indiqué de le faire.
REMARQUE : Consultez Temps forfaitaires pour en apprendre plus à propos des temps forfaitaires et de leur création. Vous pouvez transmettre par courriel vos commentaires relatifs aux valeurs des temps forfaitaires à l'adresse ServiceManualFeedback@tesla.com.
REMARQUE : Consultez Protection individuelle pour vous assurer de porter l’équipement de protection individuelle adéquat lors vous effectuez la procédure ci-dessous. Voir Précautions ergonomiques pour consulter les pratiques de travail sécuritaires et saines.
- 2026-01-02: Added tip to move C-pillar trim to access anchor bolt.
Retirer
- Open the LH front door and lower the LH front window.
- Move the driver seat forward.
- Open the LH rear door and lower the LH rear window.
- Move the LH 2nd row seat back assembly forward.
- Open the liftgate.
- Remove the rear underhood apron. See Tablier sous le capot - arrière (retirez et remplacez).
- Disconnect 12V power. See Alimentation 12 V/BT (déconnectez et connectez).
- Remove the rear load floor. See Plancher de chargement du coffre - arrière (retirez et remplacez).
-
Release the clips (x4) that attach the LH side of the trunk sill trim to the vehicle, and then partially release the LH side of the trunk sill trim.
- Remove the LH load floor bracket. See Bride - plancher de chargement du coffre - gauche (retirez et remplacez).
- Remove the LH trunk pocket bracket. See Bride - poche de coffre - gauche (retirez et remplacez).
-
Release the upper portion of the LH trunk side trim.
-
Release the clips (x6) that attach the upper C-pillar trim, and then set the trim aside.
RemarqueGuide the front upper corner groove out of the headliner.
-
Retirez et jetez le boulon qui fixe l’ancrage inférieur de la ceinture de sécurité gauche de 2e rangée à la carrosserie.
TIpL'un ou plusieurs des outils suivants sont recommandés :
- Douille de 15 mm
TIpThe lower LH C-pillar trim can be slightly lifted to access the bolt. -
Release the clips that attach the guide bezel to the LH upper C-pillar trim, and then separate the bezel from the seat belt.
-
Feed the seat belt through the LH upper C-pillar trim, and then remove the trim.
-
Release the connector lock, and then disconnect the LH 2nd row seat belt connector.
RemarqueLift the red locking tab, and then release the connector.
-
Remove and discard the bolt that attaches the LH 2nd row seatbelt to the body, and then remove the seatbelt from the vehicle.
 35 Nm (25.8 lbs-ft)TIpL'un ou plusieurs des outils suivants sont recommandés :
- Douille de 13 mm
Installer
-
Position the LH 2nd row seatbelt into the vehicle, and then install a new bolt that attaches the seatbelt to the body.
 35 Nm (25.8 lbs-ft)RemarqueNote the position of the locating tabs.TIpL'un ou plusieurs des outils suivants sont recommandés :
- Douille de 13 mm
-
Connect the LH 2nd row seat belt connector, and then engage the connector lock.
- Install the LH upper C-pillar trim. See Garniture – montant arrière – supérieure – côté gauche (retrait et remplacement).
- Connect 12V power. See Alimentation 12 V/BT (déconnectez et connectez).
- Install the rear underhood apron. See Tablier sous le capot - arrière (retirez et remplacez).
- Move the driver seat to the original position.
- Raise the LH front window and close the LH front door.
- Move LH 2nd row seat back to the original position.
- Raise the LH rear window and close the LH rear door.
- Close the liftgate.