Porte - arrière - gauche (retirez et remplacez)
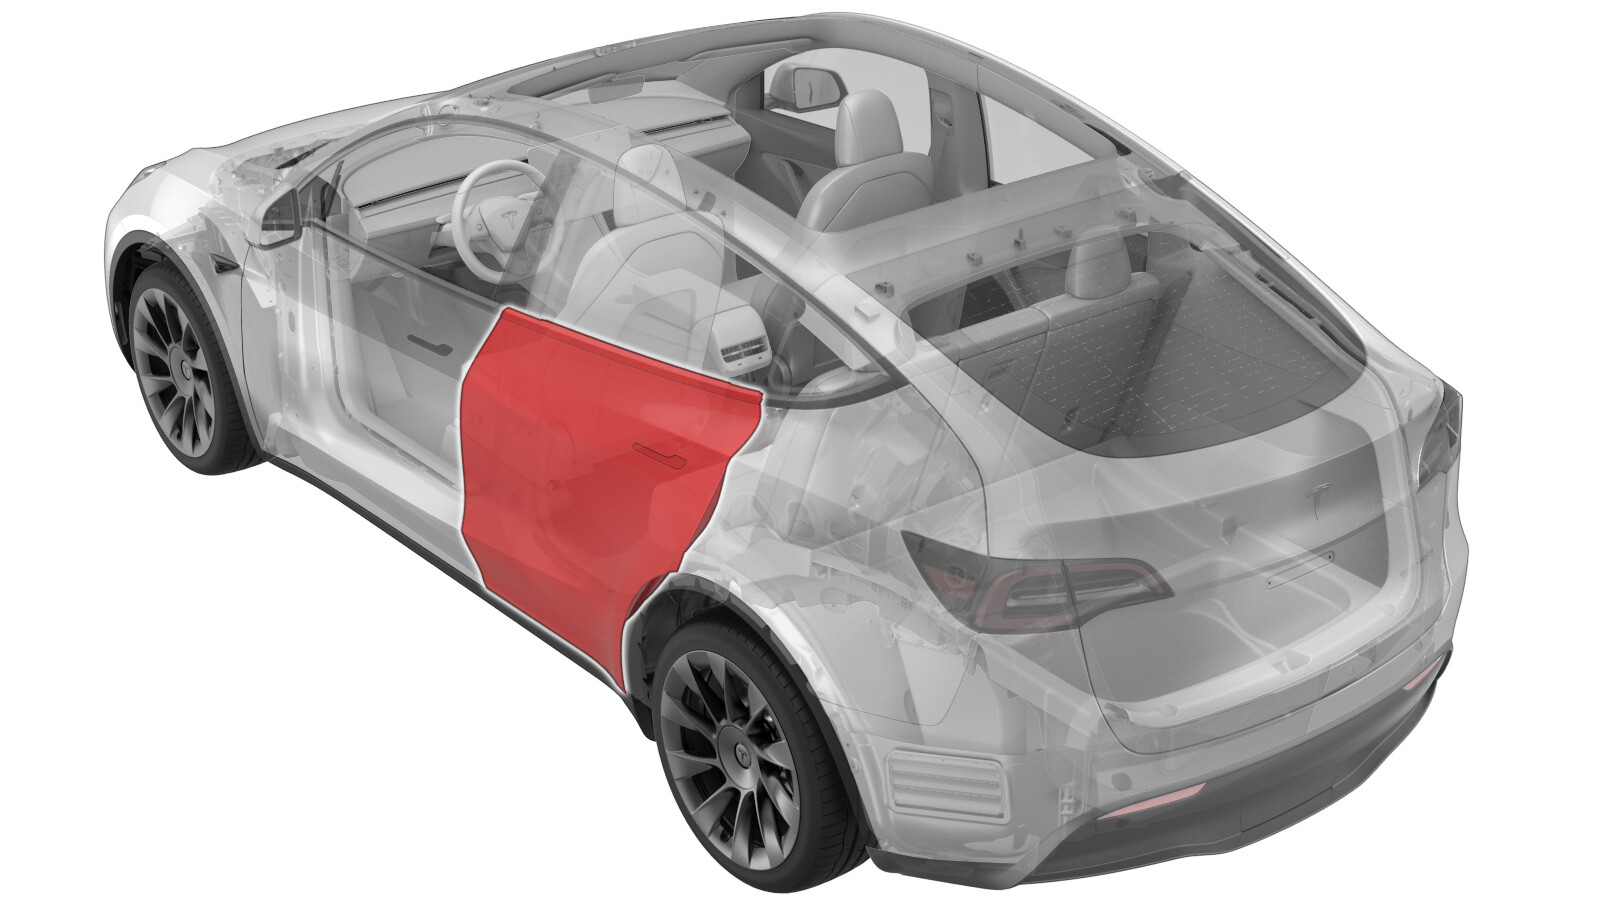 Code de correction
10106502 1.26
REMARQUE : À moins d’indications explicites contraires dans la procédure, le code de correction et le temps forfaitaire ci-dessus représentent tout le travail à être fait pour cette procédure, notamment les procédures connexes. N’appliquez pas plusieurs codes de correction à la fois, à moins qu’il vous soit explicitement indiqué de le faire.
REMARQUE : Consultez Temps forfaitaires pour en apprendre plus à propos des temps forfaitaires et de leur création. Vous pouvez transmettre par courriel vos commentaires relatifs aux valeurs des temps forfaitaires à l'adresse ServiceManualFeedback@tesla.com.
REMARQUE : Consultez Protection individuelle pour vous assurer de porter l’équipement de protection individuelle adéquat lors vous effectuez la procédure ci-dessous. Voir Précautions ergonomiques pour consulter les pratiques de travail sécuritaires et saines.
- 2025-10-22: Ajout de l'étape de déconnexion/connexion de l'alimentation de la batterie BT.
Spécifications de couple
| Description | Valeur de couple | Outils recommandés | Réutiliser/remplacer | Remarques |
|---|---|---|---|---|
| Boulon qui fixe la sangle d’arrêt de la porte arrière gauche à la carrosserie |
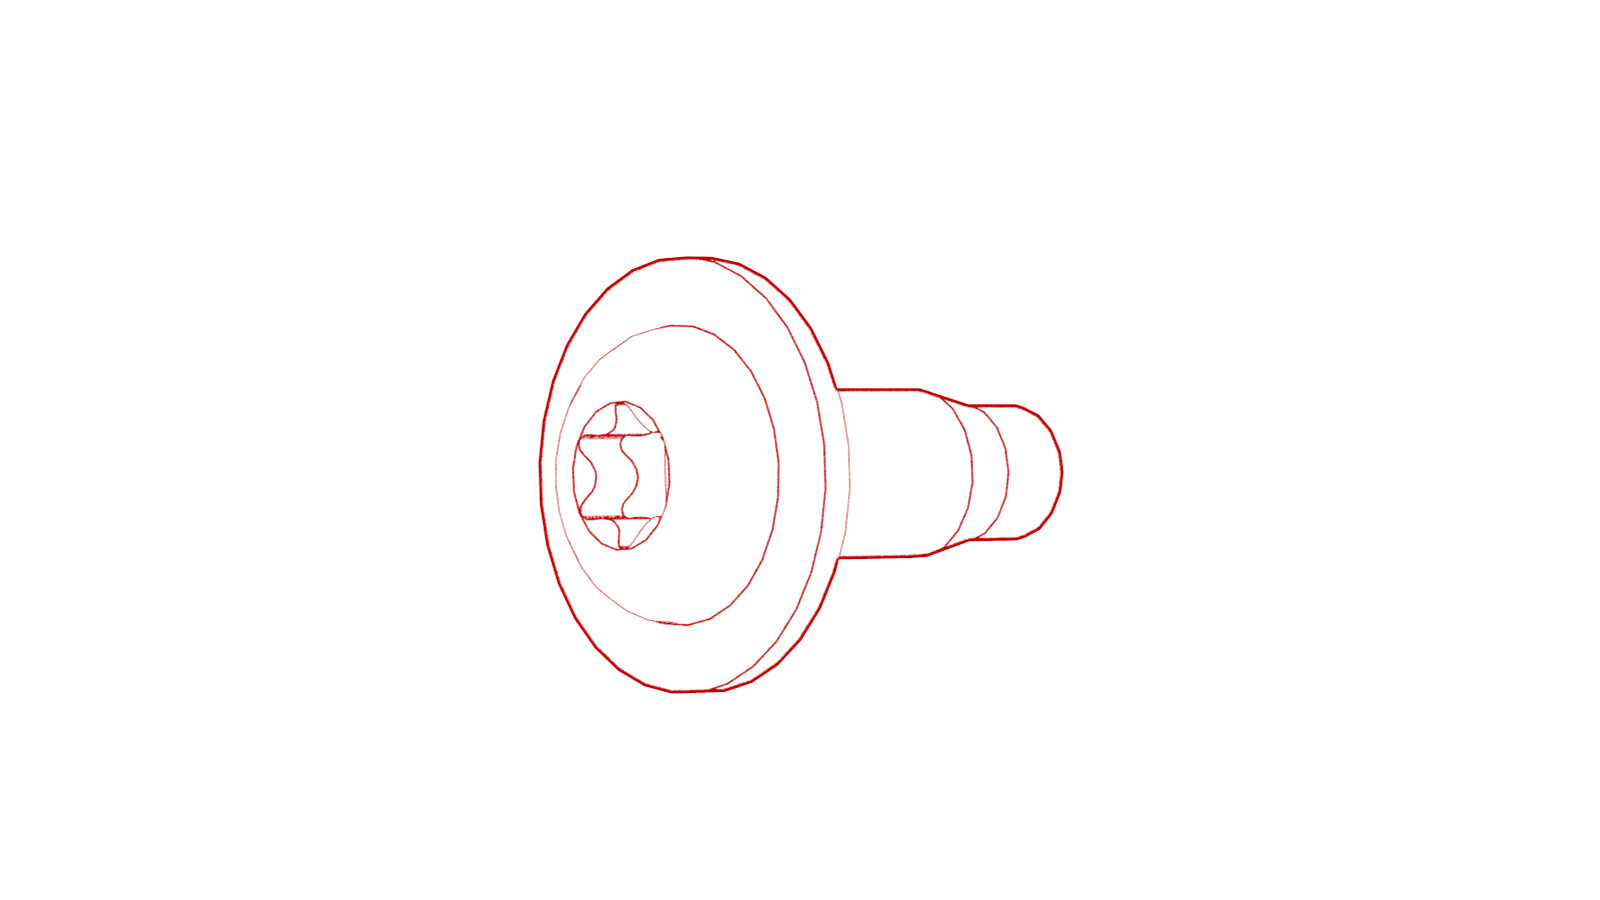 24 Nm (17.7 lbs-ft) |
|
Réutiliser | |
| Écrous qui fixent la sangle d’arrêt de la porte arrière gauche à la porte |
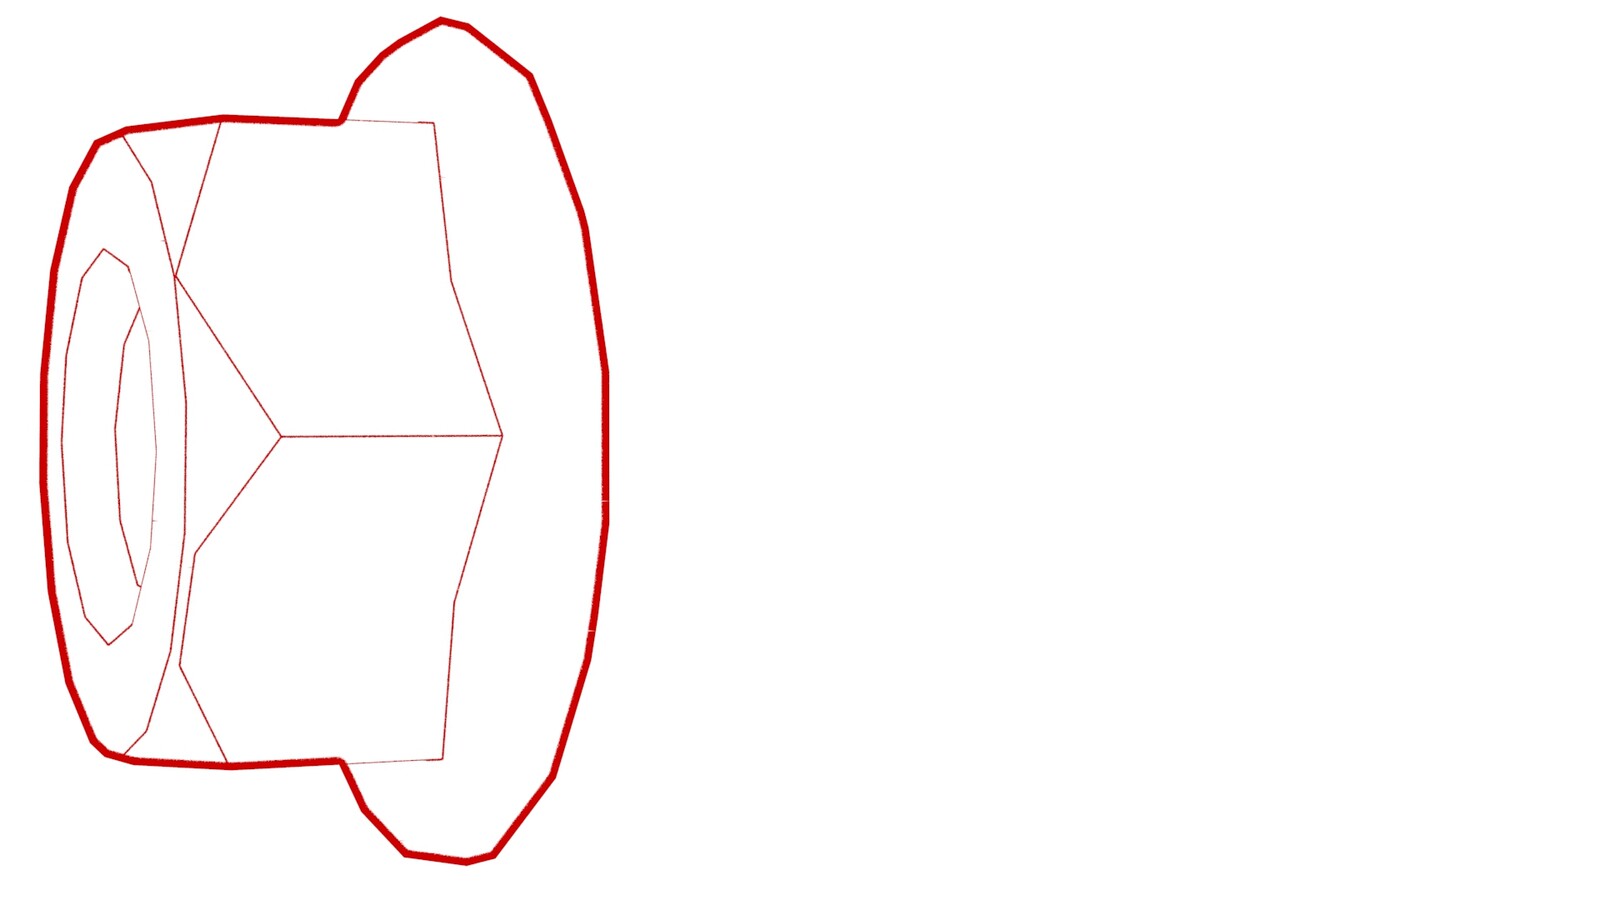 10 Nm (7.4 lbs-ft) |
|
Réutiliser | |
| Écrous qui fixent les charnières de la porte arrière gauche à la porte |
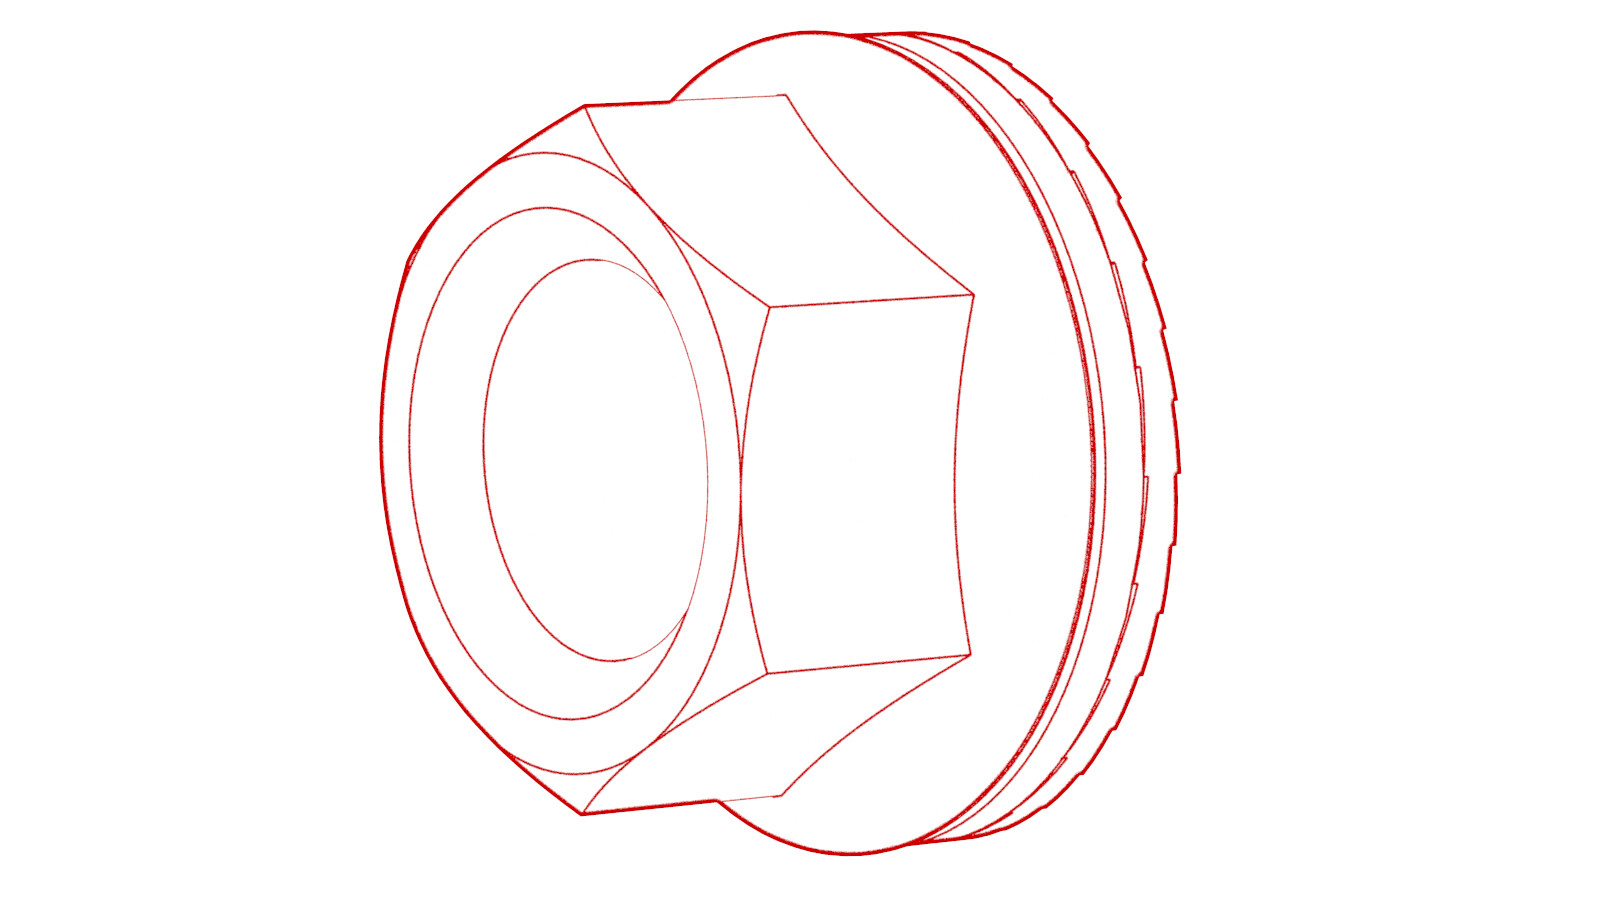 49 Nm (36.1 lbs-ft) |
|
Réutiliser | |
| Boulons qui fixent la porte arrière gauche aux charnières (haut et bas) |
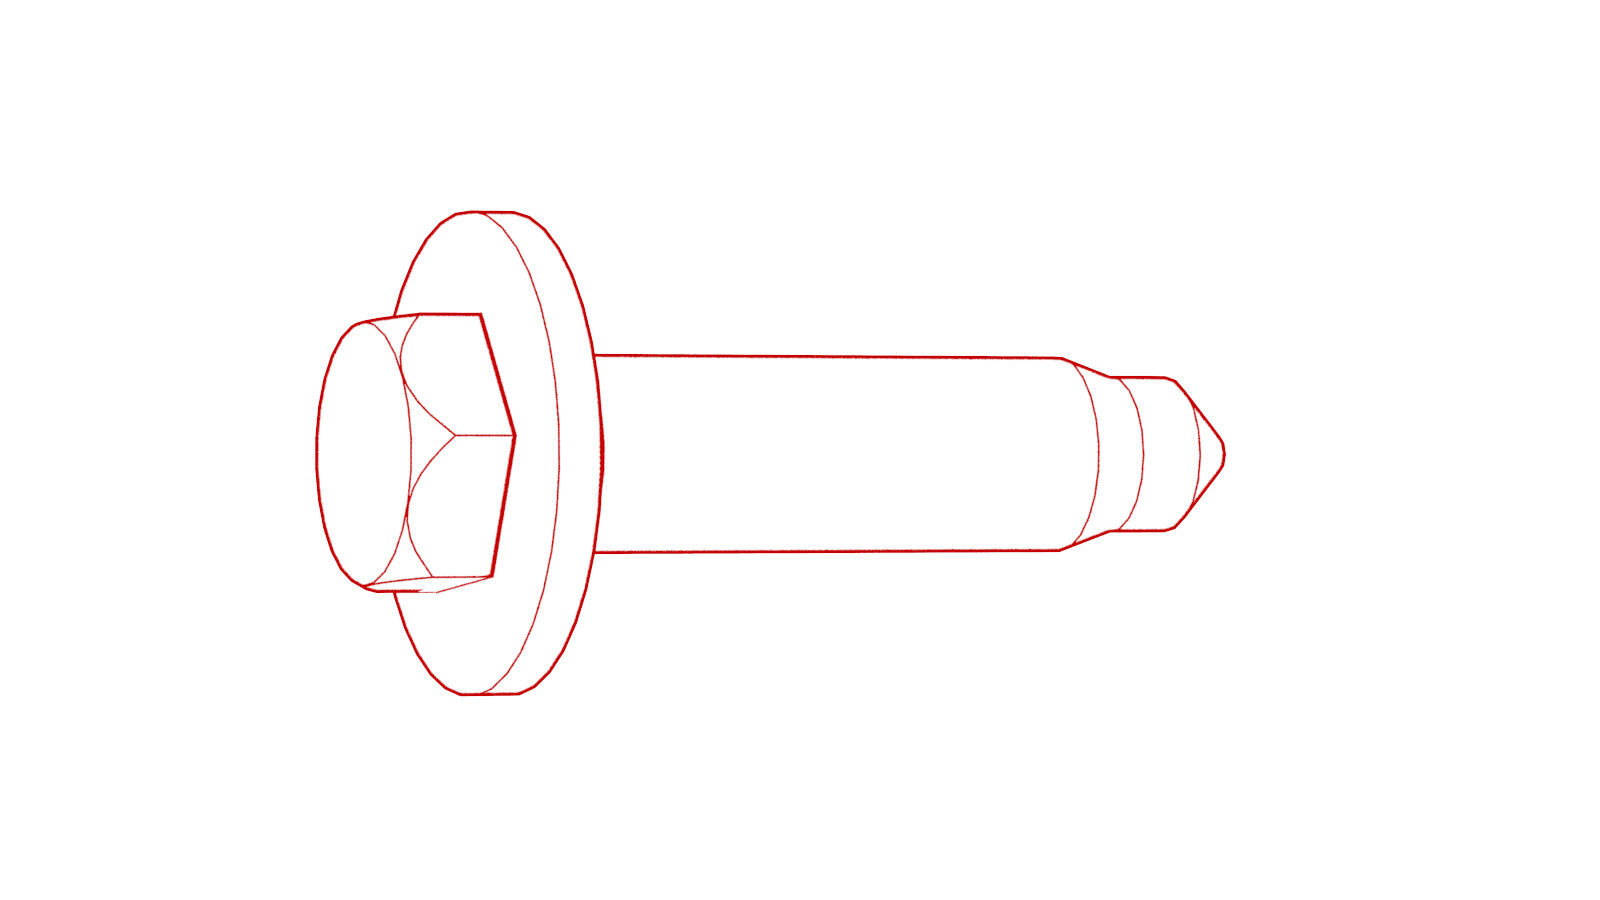 49 Nm (36.1 lbs-ft) |
|
Réutiliser |
Retirer
- Retirez la vitre de la porte arrière gauche. Voir Vitre - porte - gauche - arrière (retirez et remplacez),
- Retirez le joint de ceinture extérieure de la porte arrière gauche. Voir Joint - ceinture extérieure - porte arrière - gauche (retirez et remplacez),
- Débranchez l'alimentation 12 V. Voir Alimentation 12 V/BT (déconnectez et connectez),
- Retirez l'ensemble lève-vitre/moteur de la vitre arrière gauche. Voir Régulateur de vitre - arrière - gauche (retrait et remplacement),
- Retirez la poignée de déverrouillage extérieure de porte arrière gauche. Voir Poignée - déverrouillage extérieur - portière - arrière - gauche (retirez et remplacez),
- Retirez le loquet de porte arrière gauche. Voir Loquet - porte - arrière - gauche (retirez et remplacez),
- Retirez la garniture intermédiaire du montant A gauche. Voir Garniture - montant avant - milieu - gauche (retirez et remplacez),
- Retirez la garniture du montant A inférieur gauche. Voir Garniture - montant avant - inférieure - gauche (retirez et remplacez),
-
Relâchez les attaches qui fixent le faisceau de câbles du siège avant gauche et le guide à la carrosserie.
- Avancez complètement le siège avant gauche.
- Dégagez la garniture supérieure du montant B gauche et mettez-la de côté.
- Retirez le coussin de siège inférieur de la deuxième rangée. Voir Coussin de siège - inférieur - appuie-tête - 2e rangée (retirez et remplacez),
- Retirez la garniture du montant C inférieur gauche. Voir Garniture - montant arrière - inférieure - gauche (retirez et remplacez),
- Retirez la garniture inférieure du montant B côté gauche. Voir Garniture - montant B - inférieur - gauche (Ensemble non-structurel) (retirez et remplacez),
-
Relâchez les attaches (x2), le passe-câbles et le connecteur relatifs au joint de faisceau électrique de porte arrière gauche au niveau du montant B, puis relâchez le faisceau de câbles de la cloison de montant B.
-
Tirez sur le passe-câbles en caoutchouc pour l'amener à l'intérieur de la porte arrière gauche, puis retirer le faisceau de porte arrière gauche de l'ensemble porte.
-
Retirez le boulon qui fixe le tirant de la porte arrière gauche à la carrosserie
TIpNous recommandons l’utilisation d’un ou de plusieurs des outils suivants :
- Douille Torx T40
- Clé à cliquet à tête flexible/clé dynamométrique à tête flexible
-
Retirez les écrous qui fixent le tirant de la porte arrière gauche à la porte, puis retirez le tirant de porte de l'ensemble.
TIpNous recommandons l’utilisation d’un ou de plusieurs des outils suivants :
- Douille longue de 10 mm
-
Desserrez les boulons ou écrous qui fixent la porte arrière gauche aux charnières supérieure et inférieures d'environ 5 mm.
TIpNous recommandons l’utilisation d’un ou de plusieurs des outils suivants :
- Douille de 13mm
- Clé à cliquet à tête flexible/clé dynamométrique à tête flexible
Figure 1. Boulons illustrés, écrous similaires -
Avec l'aide d'un assistant, retirez le boulon de la charnière inférieure, retirez le boulon de la charnière supérieure, puis décrochez et levez la porte pour l'éloigner du véhicule.
Installer
- Avec l'aide d'un assistant, placez l'ensemble porte arrière gauche sur le véhicule.
-
Posez à la main les boulons ou écrous supérieur et inférieur qui fixent la porte arrière gauche aux charnières supérieure et inférieure.
Figure 2. Boulons illustrés, écrous similaires -
Placez le tirant de porte arrière gauche sur l'ensemble porte, puis posez les écrous qui fixent le tirant à la porte.
 10 Nm (7.4 lbs-ft)TIpNous recommandons l’utilisation d’un ou de plusieurs des outils suivants :
- Douille longue de 10 mm
-
Posez le boulon qui fixe le tirant de porte arrière gauche à la carrosserie.
 24 Nm (17.7 lbs-ft)TIpNous recommandons l’utilisation d’un ou de plusieurs des outils suivants :
- Douille Torx T40
- Clé à cliquet à tête flexible/clé dynamométrique à tête flexible
-
Placez le faisceau de câbles de porte arrière gauche à l'ensemble porte, puis posez le passe-câbles en caoutchouc à l'intérieur de la porte arrière gauche.
-
Posez les attaches (x2), le passe-câbles et le connecteur relatifs au joint de faisceau électrique de porte arrière gauche sur le montant B.
RemarqueEnfoncez le connecteur de faisceau de câbles dans le connecteur de carrosserie jusqu'à ce qu'un déclic de fasse entendre.
- Installez la garniture inférieure du montant B côté gauche. Voir Garniture - montant B - inférieur - gauche (Ensemble non-structurel) (retirez et remplacez),
- Installez la garniture inférieure gauche du montant C. Voir Garniture - montant arrière - inférieure - gauche (retirez et remplacez),
- Installez le coussin de siège inférieur de la deuxième rangée. Voir Coussin de siège - inférieur - appuie-tête - 2e rangée (retirez et remplacez),
- Installez l'ensemble garniture supérieure du montant B gauche. Voir Garniture – montant central – supérieure – gauche (retirez et remplacez),
- Replacez le siège avant gauche à sa position d'origine.
-
Posez les attaches qui fixent le faisceau de câbles du siège avant gauche et le guide à la carrosserie.
- Installez la garniture inférieure gauche du montant A. Voir Garniture - montant avant - inférieure - gauche (retirez et remplacez),
- Installez la garniture intermédiaire du montant A gauche. Voir Garniture - montant avant - milieu - gauche (retirez et remplacez),
- Installez le loquet de porte arrière gauche. Voir Loquet - porte - arrière - gauche (retirez et remplacez),
- Installez la poignée de déverrouillage extérieure de porte arrière gauche. Voir Poignée - déverrouillage extérieur - portière - arrière - gauche (retirez et remplacez),
- Fermez la porte arrière gauche et vérifiez l'affleurement et les espaces. Effectuez tout ajustement nécessaire.
-
Ouvrez la porte arrière gauche et serrez les boulons ou les écrous qui fixent l'ensemble porte aux charnières supérieure et inférieure au couple spécifié.
 49 Nm (36.1 lbs-ft)TIpNous recommandons l’utilisation d’un ou de plusieurs des outils suivants :
- Douille de 13mm
- Clé à cliquet à tête flexible/clé dynamométrique à tête flexible
- Installez l’ensemble lève-vitre/moteur de la vitre arrière gauche. Voir Régulateur de vitre - arrière - gauche (retrait et remplacement),
- Installez le joint de ceinture extérieur de la porte arrière gauche. Voir Joint - ceinture extérieure - porte arrière - gauche (retirez et remplacez),
- Branchez l’alimentation 12 V. Voir Alimentation 12 V/BT (déconnectez et connectez),
- Installez la vitre de la porte arrière gauche. Voir Vitre - porte - gauche - arrière (retirez et remplacez),
- Étalonnez la vitre arrière gauche. Voir Régulateur de vitre (réétalonnage),