Switch - Liftgate - Interior (Remove & Replace)
 Code de correction
11352802 0.12
REMARQUE : À moins d’indications explicites contraires dans la procédure, le code de correction et le temps forfaitaire ci-dessus représentent tout le travail à être fait pour cette procédure, notamment les procédures connexes. N’appliquez pas plusieurs codes de correction à la fois, à moins qu’il vous soit explicitement indiqué de le faire.
REMARQUE : Consultez Temps forfaitaires pour en apprendre plus à propos des temps forfaitaires et de leur création. Vous pouvez transmettre par courriel vos commentaires relatifs aux valeurs des temps forfaitaires à l'adresse ServiceManualFeedback@tesla.com.
REMARQUE : Consultez Protection individuelle pour vous assurer de porter l’équipement de protection individuelle adéquat lors vous effectuez la procédure ci-dessous. Voir Précautions ergonomiques pour consulter les pratiques de travail sécuritaires et saines.
Spécifications de couple
| Description | Valeur de couple | Outils recommandés | Réutiliser/remplacer | Remarques |
|---|---|---|---|---|
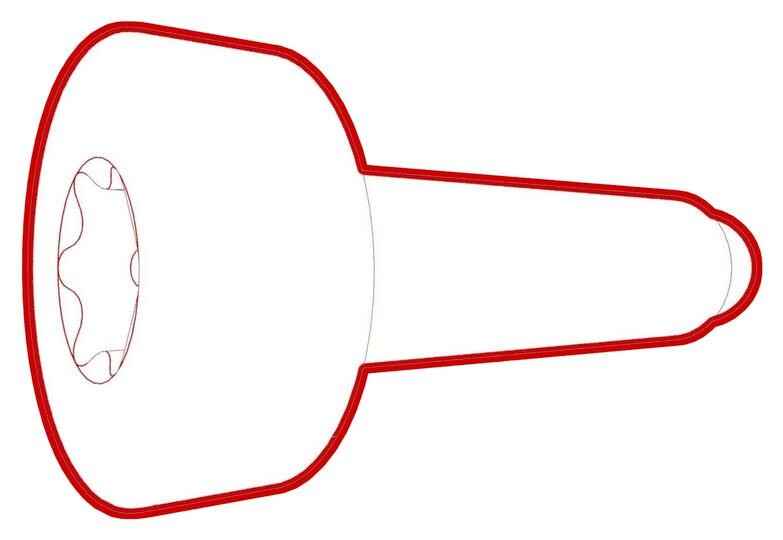
| Vis qui fixent le commutateur du hayon au hayon |  0.5 Nm (4 lbs-in) |
|
Réutiliser |
Retirer
- Remove the liftgate lower trim. See Garniture - hayon - inférieure (retirez et remplacez).
-
Disconnect the electrical connector from the liftgate switch.
-
Remove the screws that attach the liftgate switch to the liftgate.
TIpL'un ou plusieurs des outils suivants sont recommandés :
- Douille Torx T20
Installer
- Place the liftgate switch in place and make sure that it is oriented correctly.
-
Install the screws that attach the liftgate switch to the liftgate.
 0.5 Nm (4 lbs-in)TIpL'un ou plusieurs des outils suivants sont recommandés :
- Douille Torx T20
-
Connect the electrical connector to the liftgate switch.
- Install the liftgate lower trim. See Garniture - hayon - inférieure (retirez et remplacez).