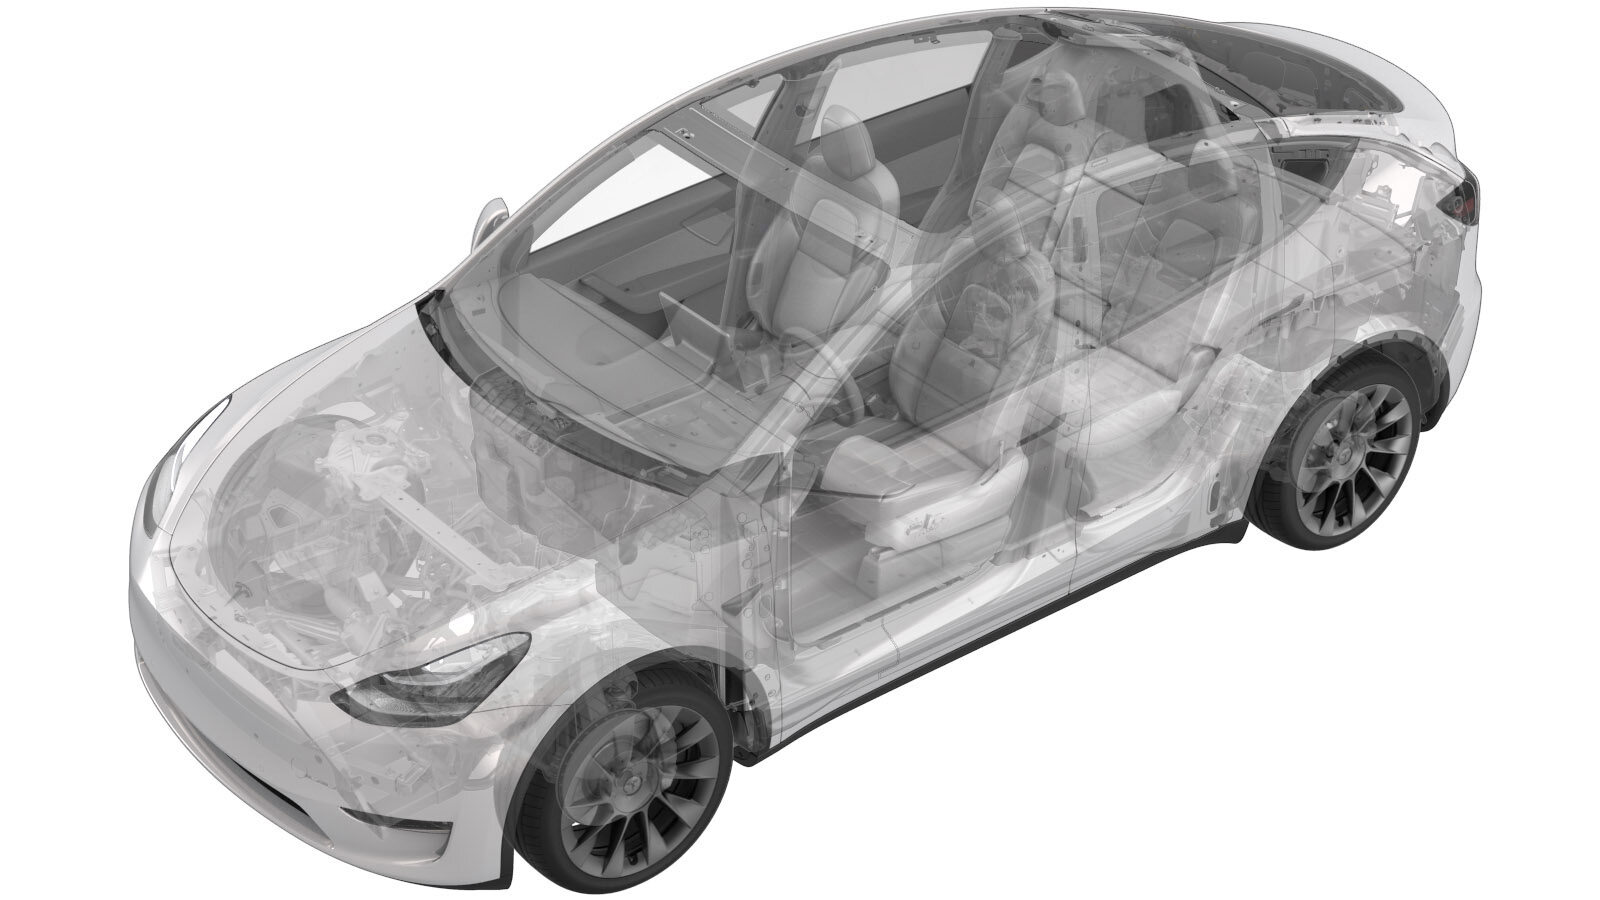
Unité de controle électronique - Port de recharge (7 sièges) (retirez et remplacez)
 Code de correction
44015032 0.48
REMARQUE : À moins d’indications explicites contraires dans la procédure, le code de correction et le temps forfaitaire ci-dessus représentent tout le travail à être fait pour cette procédure, notamment les procédures connexes. N’appliquez pas plusieurs codes de correction à la fois, à moins qu’il vous soit explicitement indiqué de le faire.
REMARQUE : Consultez Temps forfaitaires pour en apprendre plus à propos des temps forfaitaires et de leur création. Vous pouvez transmettre par courriel vos commentaires relatifs aux valeurs des temps forfaitaires à l'adresse ServiceManualFeedback@tesla.com.
REMARQUE : Consultez Protection individuelle pour vous assurer de porter l’équipement de protection individuelle adéquat lors vous effectuez la procédure ci-dessous. Voir Précautions ergonomiques pour consulter les pratiques de travail sécuritaires et saines.
-
Place vehicle in service mode through UI
RemarqueSelect vehicle's badge icon in Controls > Software for four seconds and then type "service" into dialog boxAnd then touch "ok"At last Select ‘X’ at top left of window to close once complete
- Open the LH front door.
-
Lower all four windows
-
Move LH front seat forward
-
Open LH rear door
-
Tilt 7s 2nd row 60 seat forward
RemarqueHold 2nd row 60 seat LH shoulder switch, Slide seat all the way forward and tit up
-
Partially remove LH rear door seal
-
Remove LH 7s lower C-pillar trim
Remarque8x clips, Rear edge secures onto trunk side trim, Release front clips then rear clips
-
Open liftgate
-
Release 3rd row LH seat backrest
RemarqueFront switch at LH trunk trim panel
-
Release 3rd row RH seat backrest
RemarqueRear switch at LH trunk trim panel
-
Remove rear load floor
-
Remove trunk sill trim
Remarque4x clips
-
Remove 7s LH load floor bracket
Remarque2x clips
-
Remove LH trunk side trim
Remarque2x connectors, 1x push clip, 8x clips, 7x tabs, guide front clip stanchions around LH C-pillar, trim part may slightly differ, by vehicle build location
-
Release top edge of LH 7s trunk side trim and disconnect 12V outlet and trunk switch connectors
Remarque6x clips, 2x connectors
-
Release remaining clips and remove LH 7s trunk side trim
Remarque1x push clip, 5x clips, Guide front clip stanchions around LH C-pillar, Pull the top of the trunk side trim all the way down flat so it clears the edge of the folded down LH 3rd row seatback and pull straight out
-
Disconnector ECU connectors.
Remarque3x connectors
-
Remove Charge Port ECU
Remarque1x 10mm bolt, slide the Charge Port ECU to the front of the vehicle.
-
Install Charge Port ECU
Remarque1x 10mm bolt, 3x connectors, slide the Charge Port ECU to the rear of the vehicle
-
Re-install software via UI
RemarqueVia Controls > Service Mode > Software Reinstall
-
Select "REQUEST" to initiate software installation
RemarqueVehicle will send a request to Tesla server for the re-installation of the current firmware, Read instructions on the UI then select request if you meet the criteria, Vehicles with software version before 2022.20.7 will require internet connectivity to request the software job from the server
-
Position LH 7s trunk side trim and install lower clips
Remarque1x push clips, 5x clips, Start by tucking the lower portion of the trunk side trim around the edge of the 3rd row LH backrest so it slides in and seats properly, Guide front clip stanchions around LH C-pillar
-
Connect 12V outlet and trunk switch connectors then install top edge of LH 7s trunk side trim
Remarque6x clips, 2x connectors
-
Install LH trunk pocket bracket
Remarque1x push clip, 5x alignment tabs
-
Install 7s LH load floor bracket
Remarque2x clips
-
Install trunk sill trim
Remarque4x clips, Seat seal around edge of trim
-
Install rear load floor
-
Raise 3rd row RH seat backrest to its original position
RemarqueManually raise backrest up to its original position until it locks into place
-
Raise 3rd row LH seat backrest to its original position
RemarqueManually raise backrest up to its original position until it locks into place
-
Close liftgate
-
Install LH 7s lower C-pillar trim
Remarque8x clips, Rear edge is secures onto trunk side trim, Secure rear clips then front clips
-
Reseat LH rear door seal
RemarqueSeat pillar and sill trim tabs underneath seal
-
Position 7s 2nd row 60 seat back to its original position
RemarqueTilt 2nd row 60 seat down, Press LH shoulder switch and slide back into original position
-
Close LH rear door
-
Move LH front seat to original position
-
Verify operation of charging system
RemarqueUse customer's charging equipment if available, Ensure all charging adapters are present
-
Raise all four windows
- Close the LH front door.