2024-06-17
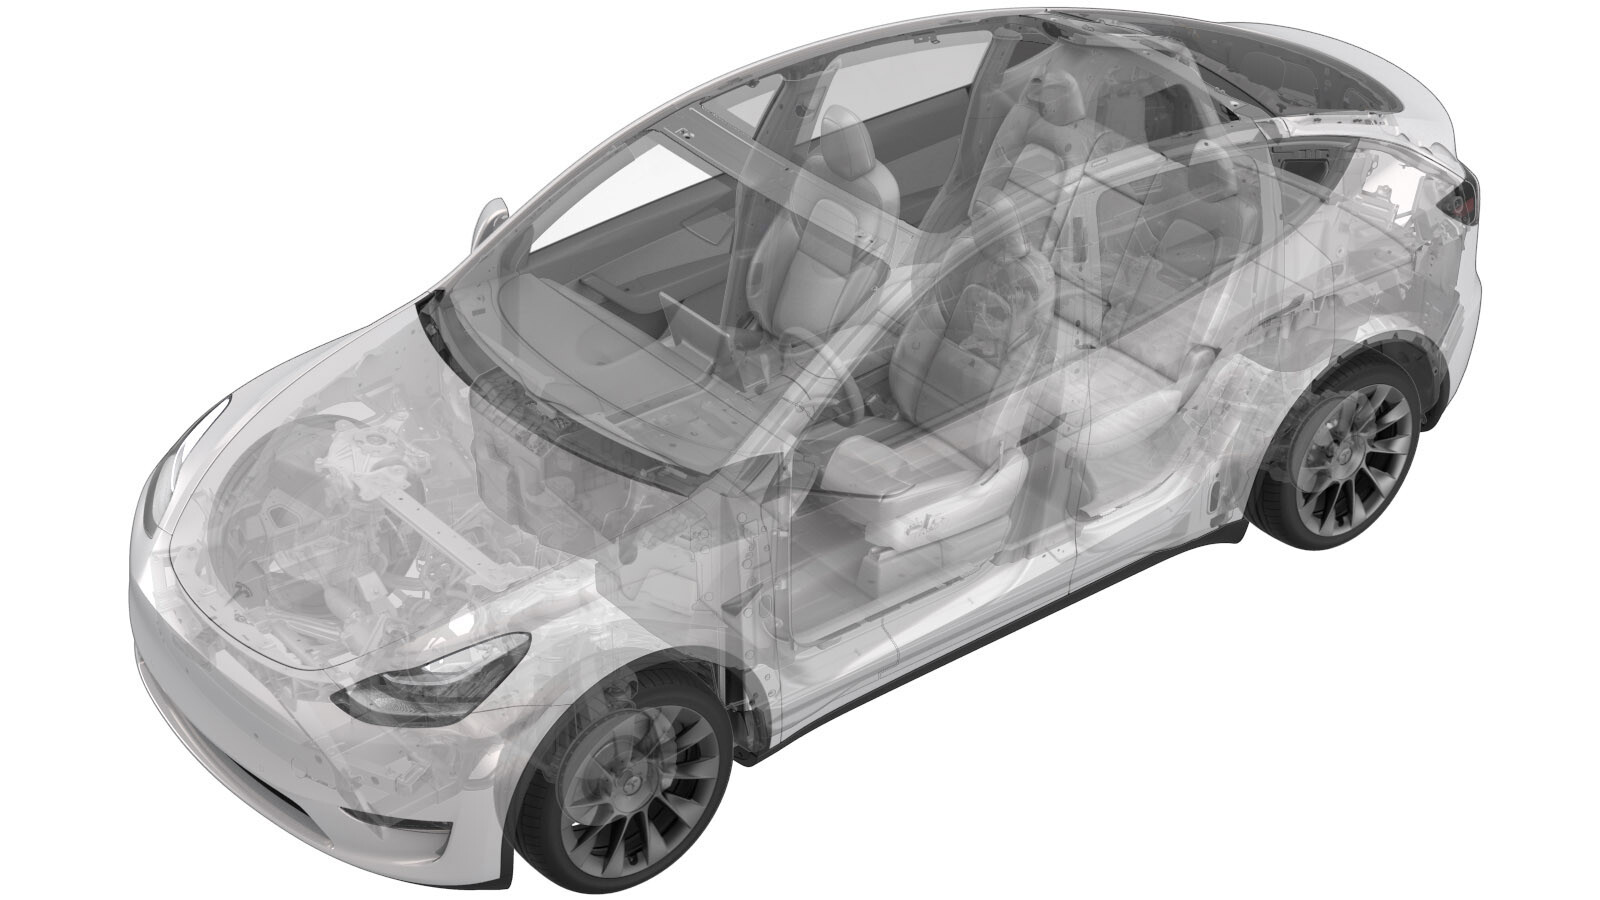
Sectionneur de batterie pyrotechnique (Ensemble structural) (retirez et installez)

- 2023-09-14: Removed correction code and FRT.
- 2023-07-25: Added step to record replacement pyrotechnic battery disconnect serial number and part number for later entry into SCA.
Avertissement
Cette procédure est une PREMIÈRE VERSION. Bien qu'elle ait été validée, des avertissements et des mises en garde pourraient manquer. Respectez les exigences de sécurité et faites preuve d’une extrême prudence lorsque vous travaillez sur ou près des systèmes et des composants haute tension.
Remarque
The following procedures are not
standalone. They conditionally supplement procedures that occur within the Model Y
Structural Pack ancillary bay, and require that the ancillary bay cover has already been
removed.
Retirer
-
Remove the pyrotechnic battery
disconnect insulators (x2).
-
Remove and discard the bolts (x2) that
attach the pyrotechnic battery disconnect to the ancillary bay.
-
Lift the pyrotechnic battery
disconnect straight up to disconnect from the connector, and then remove the disconnect
from the ancillary bay.
-
Install the pyrotechnic battery
disconnect dummy cover.
- Return to the procedure that requested the pyrotechnic battery disconnect to be removed.
Installer
- If a new pyrotechnic battery disconnect is to be installed, record the disconnect serial number and part number for later entry into SCA.
-
Perform a zero adjust of the Hioki resistance meter in preparation to measure
resistances later in this procedure. See Compteur de résistance (réglage zéro).
AvertissementLes gants isolants haute tension et les gants protecteurs en cuir doivent être portés en tout temps pour le reste de cette procédure. N’enlevez pas les gants ni les protecteurs avant qu’on vous indique de le faire.
-
Remove the pyrotechnic battery
disconnect dummy cover.
-
Use an IPA wipe to clean the HV mating
surfaces of the shunt, busbar, and the pyrotechnic battery disconnect, and allow at
least 1 minute to fully dry.
-
Set the multimeter to the "LoZ" (low
impedance) mode.
RemarqueFor Fluke multimeters without "LoZ" mode on the mode selector, see Multimètre (réglage LoZ).
-
Measure the voltage between the shunt
(left) and busbar (right) for at least 10 seconds, so as to balance the voltage across
the pyrotechnic battery disconnect mount points.
RemarqueThe voltage displayed on the multimeter is not as important as balancing the mount points.
-
While still measuring the voltage,
have an assistant position the pyrotechnic battery disconnect into the ancillary bay, align
the pins of the connector with the disconnect, and then press the disconnect straight
down onto the busbars.
- Continue to measure the voltage for another 10 seconds after the pyrotechic battery disconnect has been set onto the busbars.
-
Install new bolts (x2) to attach the
pyrotechnic battery disconnect to the HV battery, and then mark the bolts with a paint
pen after they are torqued.
 5 Nm (3.7 lbs-ft) +60 deg
 -
Use the Hioki resistance meter to
measure the resistance at the HV joint between the pyrotechnic battery disconnect and
the RH busbar.
RemarqueThe maximum acceptable resistance is 0.060 mΩ (60 μΩ). There is too much resistance in the High Voltage joint. Remove the fastener, clean areas with isopropyl alcohol, install fastener back and test again
-
Use the Hioki resistance meter to
measure the resistance at the HV joint between the newly-installed pyrotechnic battery
disconnect and the shunt.
RemarqueThe maximum acceptable resistance is 0.045 mΩ (45 μΩ). There is too much resistance in the High Voltage joint. Remove the fastener, clean areas with isopropyl alcohol, install fastener back and test again
-
Install the pyrotechnic battery
disconnect insulators (x2).
- Return to the procedure that requested the pyrotechnic battery disconnect to be installed.