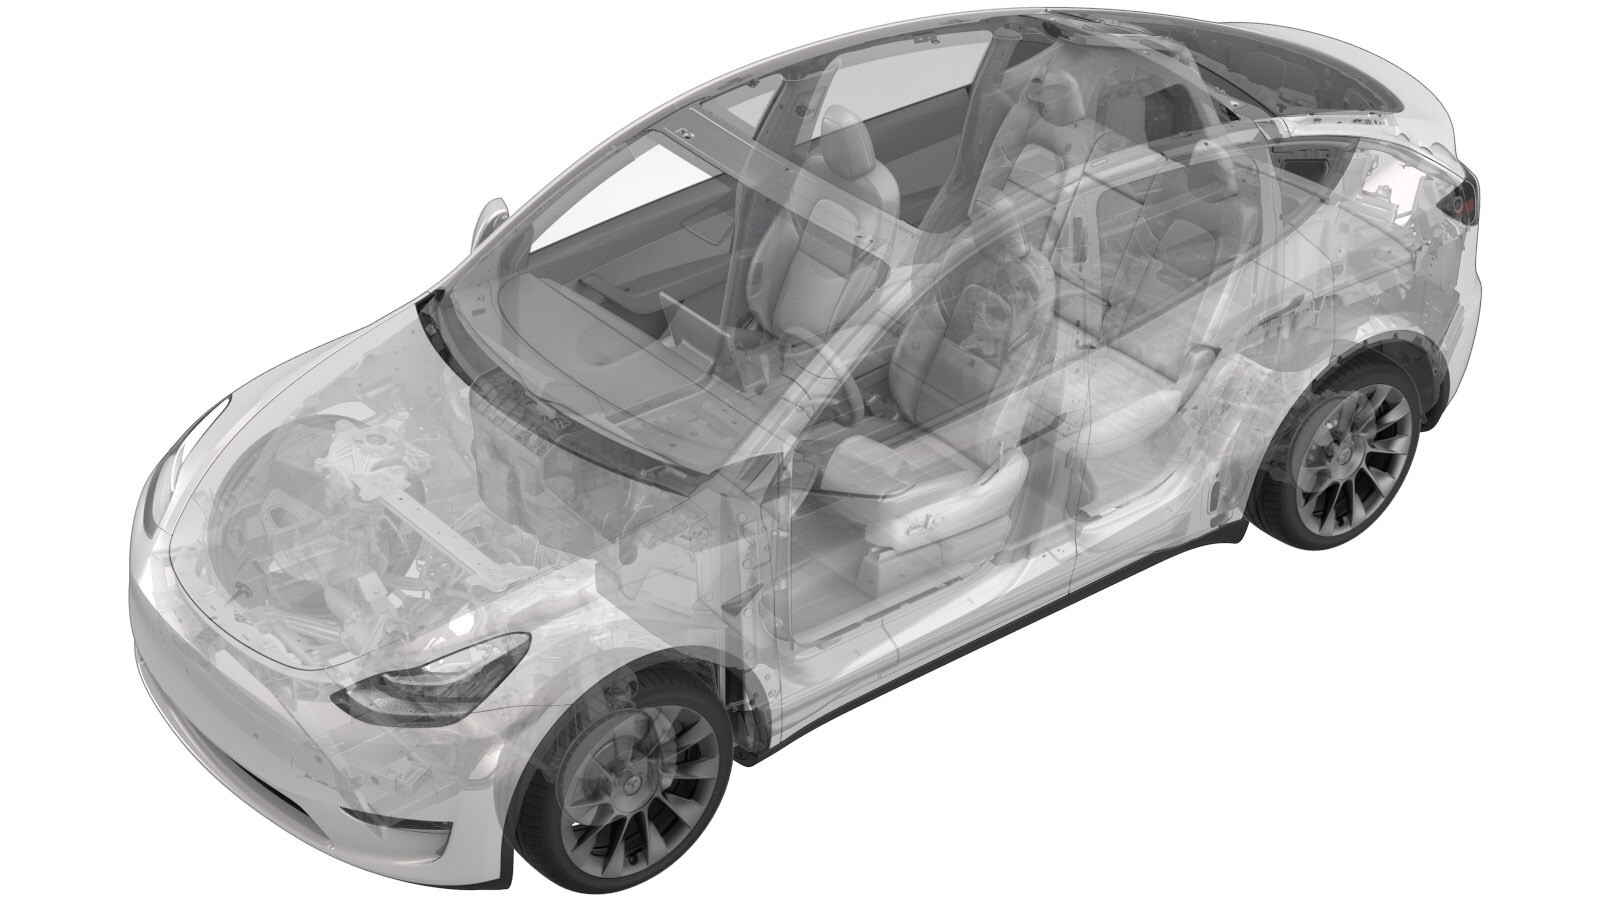
Doublure d’aile - avant - gauche (Ensemble structural) (retirez et remplacez)
 Code de correction
12010912 0.36
REMARQUE : À moins d’indications explicites contraires dans la procédure, le code de correction et le temps forfaitaire ci-dessus représentent tout le travail à être fait pour cette procédure, notamment les procédures connexes. N’appliquez pas plusieurs codes de correction à la fois, à moins qu’il vous soit explicitement indiqué de le faire.
REMARQUE : Consultez Temps forfaitaires pour en apprendre plus à propos des temps forfaitaires et de leur création. Vous pouvez transmettre par courriel vos commentaires relatifs aux valeurs des temps forfaitaires à l'adresse ServiceManualFeedback@tesla.com.
REMARQUE : Consultez Protection individuelle pour vous assurer de porter l’équipement de protection individuelle adéquat lors vous effectuez la procédure ci-dessous. Voir Précautions ergonomiques pour consulter les pratiques de travail sécuritaires et saines.
Retirer
- Raise and support the vehicle. See Soulever le véhicule - pont élévateur à 2 poteaux.
- Remove the LH front wheel. See Ensemble de roue (retrait et installation).
- Raise the vehicle to a comfortable working height.
-
Remove the rocker bolt and aero shield bolts (x2) that attach the LH front wheel arch liner to the HV battery.
TIpUse of the following tool(s) is recommended:
- 10 mm socket
- Lower the vehicle partially.
- Remove the LH front fender garnish. See Garniture - aile - avant - gauche (retirez et remplacez).
-
Remove the push clips (x10 and metal clips (x5) that attach the LH front wheel arch liner to the vehicle.
RemarqueMetal clips are located behind the rotor.TIpUse a prytool to get cutters under the metal clip.
-
Release the LH front wheel arch liner from the studs (x5), and then remove the liner from the vehicle.
Installer
-
Position the LH front wheel arch liner into the vehicle and onto the studs (x5), and then tuck the liner behind the front aero shield.
-
Install the push clips (x10) and metal clips (x5) that attach the LH front wheel arch liner to the vehicle.
RemarqueUse a socket to press the metal clip into the liner evenly.
- Install the LH front fender garnish. See Garniture - aile - avant - gauche (retirez et remplacez).
-
Apply Loctite 222 to the aero shield bolts (x2), and then install the aero shield bolts (x2) and rocker bolt that attach the LH front wheel arch liner to the HV battery.
 12 Nm (8.8 lbs-ft)
 6 Nm (4.4 lbs-ft)RemarqueTorque the rocker bolt to 12 Nm and the aero shield bolts (x2) to 6 Nm.TIpUse of the following tool(s) is recommended:
- 10 mm socket
- Install the LH front wheel. See Ensemble de roue (retrait et installation).
- Remove the vehicle from the lift.