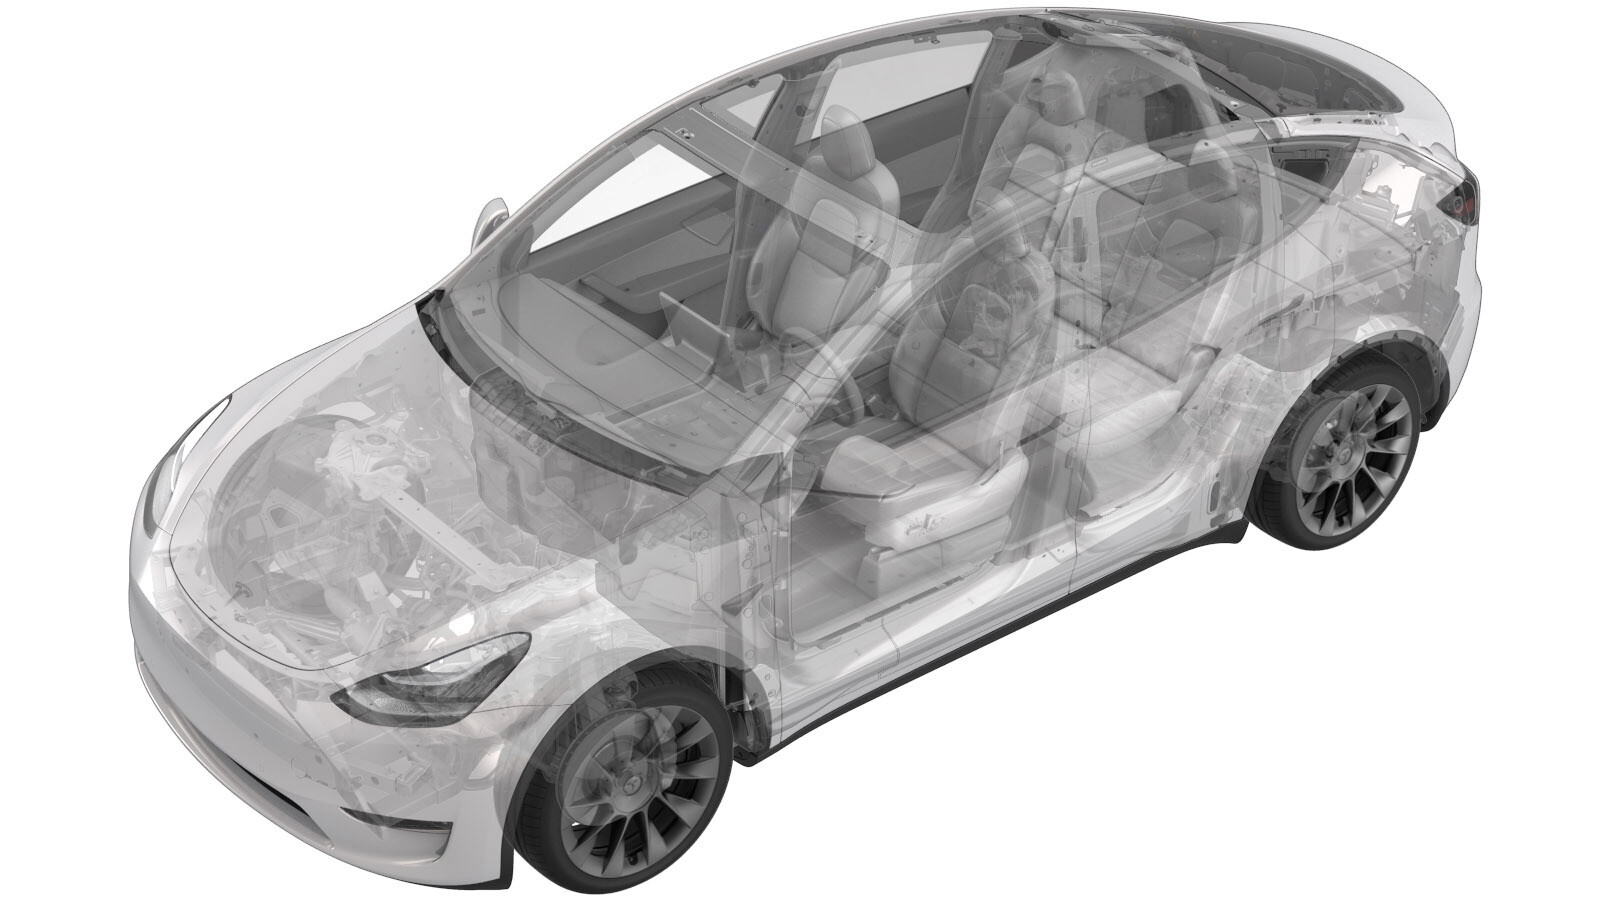
Switch and Camera Assembly - Exterior Release - Liftgate (Remove and Replace)
 Code de correction
11355612
0.18
REMARQUE : À moins d’indications explicites contraires dans la procédure, le code de correction et le temps forfaitaire ci-dessus représentent tout le travail à être fait pour cette procédure, notamment les procédures connexes. N’appliquez pas plusieurs codes de correction à la fois, à moins qu’il vous soit explicitement indiqué de le faire.
REMARQUE : Consultez Temps forfaitaires pour en apprendre plus à propos des temps forfaitaires et de leur création. Vous pouvez transmettre par courriel vos commentaires relatifs aux valeurs des temps forfaitaires à l'adresse ServiceManualFeedback@tesla.com.
REMARQUE : Consultez Protection individuelle pour vous assurer de porter l’équipement de protection individuelle adéquat lors vous effectuez la procédure ci-dessous. Voir Précautions ergonomiques pour consulter les pratiques de travail sécuritaires et saines.
- 2025-03-06: Removed "Reset DAS" step, and added "Clear Camera Calibration" step. Added routine steps for HW4 vehicles.
- 2023-04-13: Added reference to license plate removal and updated DAS reset instructions.
Retirer
- If necessary, remove the license plate and bracket. See Bride - plaque d’immatriculation - arrière (EMEA et Asie-Pacifique) (retirez et remplacez) or Bride - plaque d’immatriculation - arrière (ND) (retirez et remplacez).
- Remove the liftgate lower trim. See Garniture - hayon - inférieure (retirez et remplacez).
-
Disconnect the electrical
connectors from the liftgate exterior release switch and the rear facing
camera.
-
Release the clips that
attach the liftgate exterior release switch assembly to the liftgate.
-
Remove the switch and camera
assembly from the vehicle.
Installer
- Install the switch and camera assembly to the vehicle.
-
Install new clips that
attach the liftgate exterior release switch assembly to the liftgate.
-
Connect the electrical
connectors to the liftgate exterior release switch and the rear facing
camera.
- Install the liftgate lower trim. See Garniture - hayon - inférieure (retirez et remplacez).
- Install the license plate and bracket, if applicable. See Bride - plaque d’immatriculation - arrière (EMEA et Asie-Pacifique) (retirez et remplacez) or Bride - plaque d’immatriculation - arrière (ND) (retirez et remplacez).
-
For HW3 Vehicles, perform the following:
- Enable Service Mode. See Mode Entretien.
- Unlock the vehicle gateway. See Passerelle (déverrouiller).
-
On the touchscreen, tap the Service Mode "wrench" (at the bottom of
the touchscreen UI), and then tap , select
RearView
in theCamera Selection
drop list, click Run, and allow the routine to complete. - Disable Service Mode. See Mode Entretien.
-
For HW4 vehicles, perform the following:
- Locally connect a laptop with Toolbox 3 to the vehicle. See Toolbox (connecter et déconnecter).
-
On the touchscreen, tap the Service Mode "wrench" (at the bottom of
the touchscreen UI), and then tap , select
RearView
in theCamera Selection
drop list, click Run, and allow the routine to complete. - In Toolbox, click the Actions tab, type "Calibration Mode" into the search field, click PROC_DAS_X_ENTER-CALIBRATION-MODEvia Toolbox: (link), click Run, and allow the routine to complete.
- Click the Actions tab, type "Back Up" into the search field, click PING-HTTP_DAS_X_BACKUP-CAMERA-SCRIPTvia Toolbox: (link), change the timeout to 100, click Run, and allow the routine to complete.
- Click the Actions tab, type "Calibration Mode" into the search field, click PROC_DAS_X_EXIT-CALIBRATION-MODEvia Toolbox: (link)via Service Mode Plus: Driver Assist ➜ Cameras ➜ Exit Factory Calibration Mode, click Run, and allow the routine to complete.
- Disconnect the laptop.
- On the touchscreen, press and hold the Exit Service Mode button to exit Service Mode Plus.
- Verify that the rear facing camera works properly.