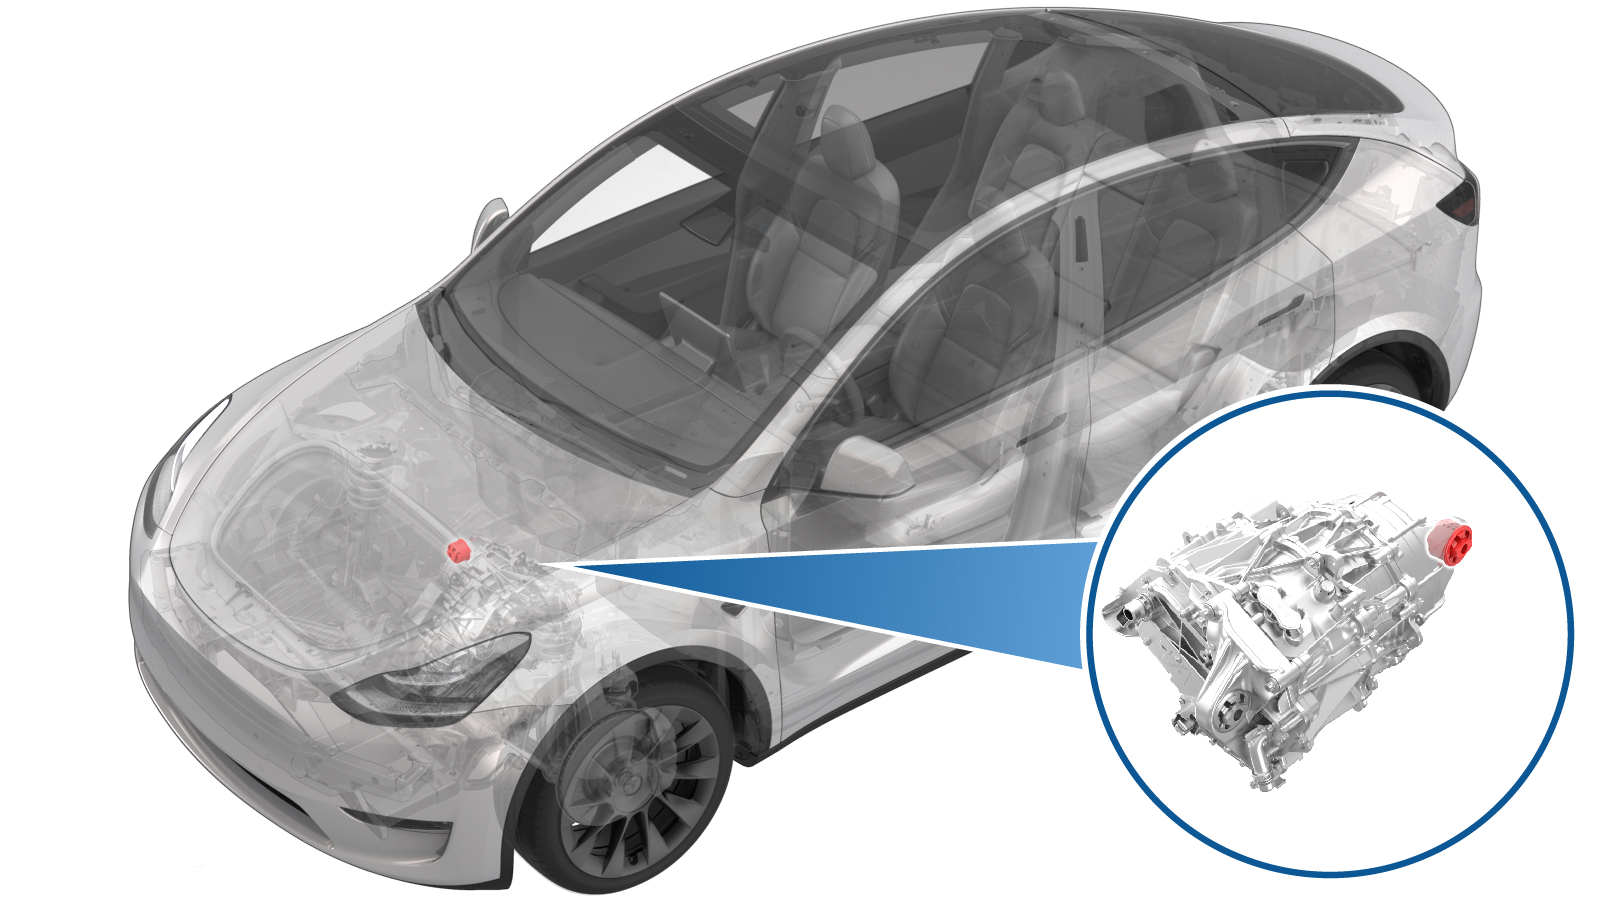
Bague - unité d’entraînement avant - droit (retirez et remplacez)
 Code de correction
39011102 2.70
REMARQUE : À moins d’indications explicites contraires dans la procédure, le code de correction et le temps forfaitaire ci-dessus représentent tout le travail à être fait pour cette procédure, notamment les procédures connexes. N’appliquez pas plusieurs codes de correction à la fois, à moins qu’il vous soit explicitement indiqué de le faire.
REMARQUE : Consultez Temps forfaitaires pour en apprendre plus à propos des temps forfaitaires et de leur création. Vous pouvez transmettre par courriel vos commentaires relatifs aux valeurs des temps forfaitaires à l'adresse ServiceManualFeedback@tesla.com.
REMARQUE : Consultez Protection individuelle pour vous assurer de porter l’équipement de protection individuelle adéquat lors vous effectuez la procédure ci-dessous. Voir Précautions ergonomiques pour consulter les pratiques de travail sécuritaires et saines.
- 2025-04-04: Added step to refer to the suspension alignment tables to define whether an alignment check is required and, if so, what type of alignment check is required.
Retirer
- Remove the front subframe assembly from the vehicle. See Ensemble de sous-châssis - avant (moteur double) (retirez et installez).
-
Install the bushing tool on the RH
front drive unit bushing.
RemarqueUse cups "K", "B", and "I" when assembling the special tool, as shown.
Figure 1. Other assemblies hidden for clarity -
Turn the bearing-side bushing tool nut
with a wrench while holding the opposite nut in place.
ATTENTIONApply torque only to the bearing-side bushing tool nut.
Figure 2. Apply torque only to the nut highlighted red -
When the bushing has been pushed out
of the front drive unit, separate the bushing tool, and then remove the bushing.
Installer
-
Préparez le monteur de bagues afin d’installer la nouvelle bague.
RemarqueUse cups "L", "J", and "C" when assembling the special tool, as shown.RemarqueMake sure the rubber tab is visible at the top of cup "J".
Figure 3. Cups "L", "J", and "C" used to install the bushing Figure 4. Rubber tab visible at the top of cup "J" -
Turn the bearing-side bushing tool nut
with a wrench until the bushing flange makes contact with the front drive unit.
ATTENTIONApply torque only to the bearing-side bushing tool nut.RemarqueWhile installing the bushing, make sure the rubber tab remains visible at the top of cup "J".
Figure 5. Apply torque only to the nut highlighted red - Séparez le monteur de bagues, puis retirez-le de l’unité d’entraînement.
-
Make sure the bushing alignment lug is
oriented to 12 o'clock.
Figure 6. Other assemblies hidden for clarity - Install the front subframe assembly on the vehicle. See Ensemble de sous-châssis - avant (moteur double) (retirez et installez).
- Reportez-vous aux tableaux des exigences d’alignement pour déterminer si une vérification du parallélisme EPAS ou une vérification du parallélisme des quatre roues doit être effectuée. Si cette opération est effectuée, ajoutez le code de correction de vérification/ajustement d'alignement comme activité distincte à la visite d'entretien. Voir Exigences de réglage de la géométrie - Suspension,