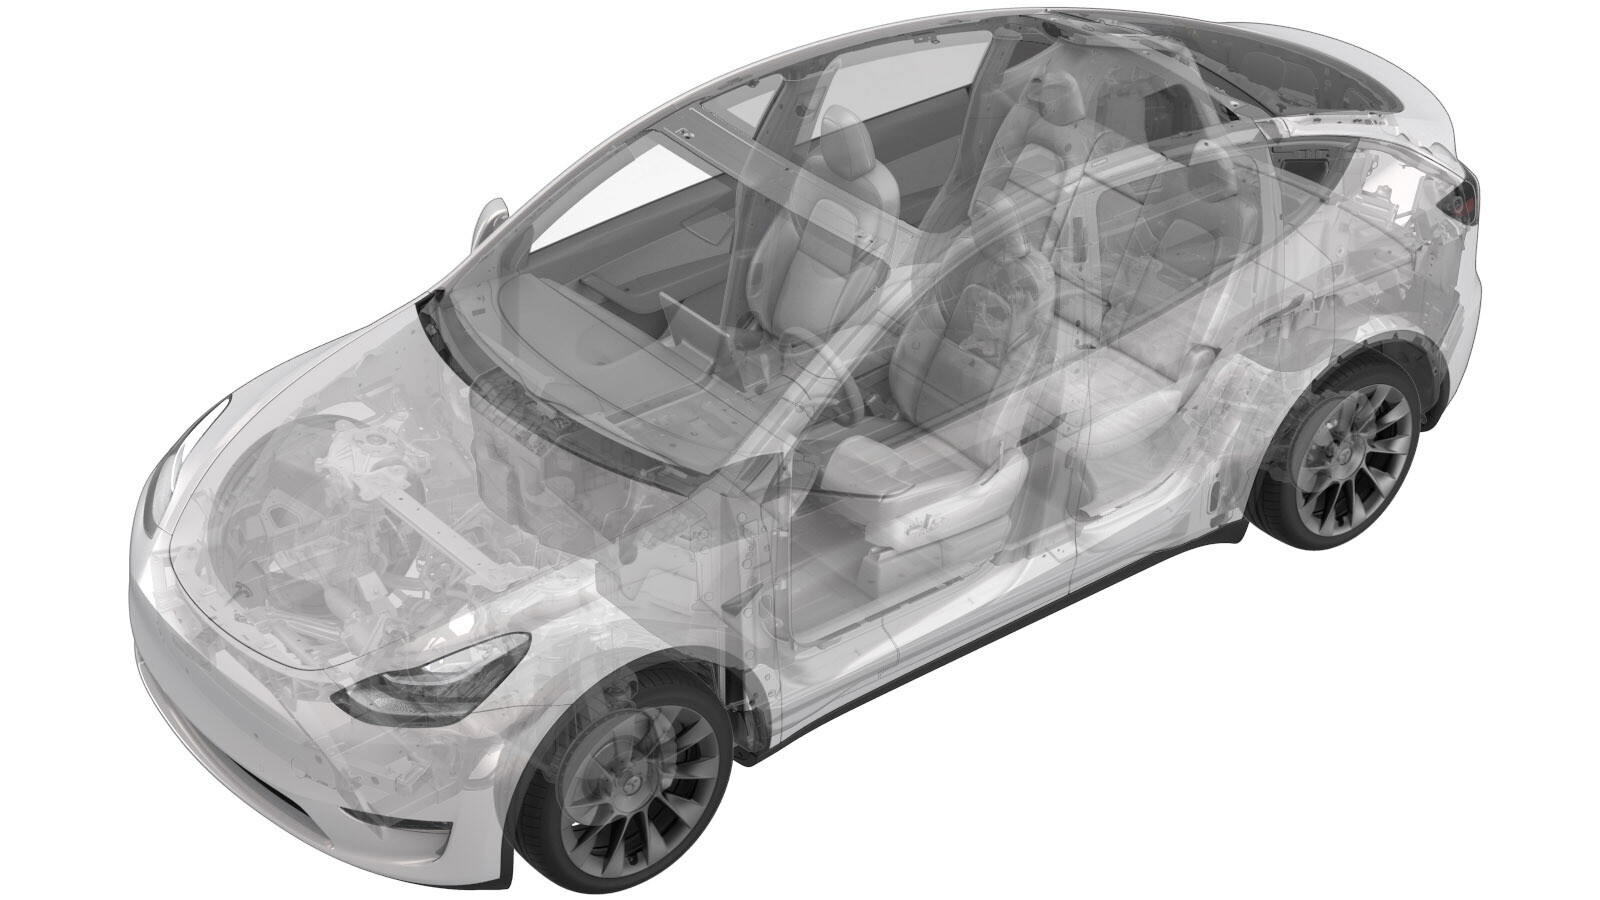
Barre omnibus - Entrée - Négatif - Charge rapide - Batterie HT (ensemble structural) (retirez et remplacez)
 Code de correction
16307402 1.92
REMARQUE : À moins d’indications explicites contraires dans la procédure, le code de correction et le temps forfaitaire ci-dessus représentent tout le travail à être fait pour cette procédure, notamment les procédures connexes. N’appliquez pas plusieurs codes de correction à la fois, à moins qu’il vous soit explicitement indiqué de le faire.
REMARQUE : Consultez Temps forfaitaires pour en apprendre plus à propos des temps forfaitaires et de leur création. Vous pouvez transmettre par courriel vos commentaires relatifs aux valeurs des temps forfaitaires à l'adresse ServiceManualFeedback@tesla.com.
REMARQUE : Consultez Protection individuelle pour vous assurer de porter l’équipement de protection individuelle adéquat lors vous effectuez la procédure ci-dessous. Voir Précautions ergonomiques pour consulter les pratiques de travail sécuritaires et saines.
Retirer
- Open all the doors and lower all the windows.
- Place the vehicle into Service Mode. See Mode Entretien.
- Remove the ancillary bay cover. See Couvercle - baie auxiliaire (Ensemble structural) (retirer et remplacer).
- Retirez le sectionneur de batterie pyrotechnique. Voir Sectionneur de batterie pyrotechnique (Ensemble structural) (retirez et installez).
-
Release the clip that attaches the DC
fast charge HVIL connector to the tray.
-
Release the connector lock, and then
disconnect the ancillary bay harness from the HV connector harness.
-
Slide the DC fast charge HV connector
straight up to remove it from the assembly.
-
Disconnect the shunt assembly
connector.
-
Release the clip that attaches the
shunt harness branch to the tray.
-
Disconnect the fast charge contactor
connector.
RemarquePush on both side of connector to release the tabs, and then pull upward to disconnect.
-
Remove and discard the bolt that
attaches the AC filter harness to the negative DC inlet busbar.
TIpL'un ou plusieurs des outils suivants sont recommandés :
- Douille de 13 mm
-
Remove and discard the bolt that
attaches the AC filter harness to the positive DC inlet busbar.
TIpL'un ou plusieurs des outils suivants sont recommandés :
- Douille de 13 mm
-
Release the clips (x2) that attach the
AC filter harness to the tray.
-
Release the securing tabs (x3), and
then remove the FC contactor cover.
-
Lift the HV battery fast charge
negative inlet busbar to remove it from the tray assembly.
Installer
-
Install the HV battery fast charge
negative inlet busbar into the vehicle.
-
Position the FC contactor cover into
the vehicle, and then secure the tabs (x3) that secure the cover to the vehicle.
-
Install the DC fast charge HV
connector.
ATTENTIONBe careful not to pinch the harness.
-
Secure the DC fast charge HVIL
connector to the tray.
-
Connect the ancillary bay harness to the
HV connector harness, and then engage the connector lock.
-
Install a new bolt that attaches the
AC filter harness to the positive DC inlet busbar.
 15 Nm (11.1 lbs-ft) -180 degrees
 5 Nm (3.7 lbs-ft) +60 degreesRemarqueTighten the bolt to 15 Nm, back off 180 degrees, then torque to 5 Nm +60 degrees.TIpL'un ou plusieurs des outils suivants sont recommandés :
- Douille de 13 mm
-
Install a new bolt that attaches the
AC filter harness to the negative DC inlet busbar.
 15 Nm (11.1 lbs-ft) -180 degrees
 5 Nm (3.7 lbs-ft) +60 degreesRemarqueTighten the bolt to 15 Nm, back off 180 degrees, then torque to 5 Nm +60 degrees.TIpL'un ou plusieurs des outils suivants sont recommandés :
- Douille de 13 mm
-
Use a Hioki resistance meter to
measure the resistance at the HV joint between the AC filter harness and the positive DC
inlet busbar.
RemarqueThe resistance should be 150µΩ or less.
-
Use a Hioki resistance meter to
measure the resistance at the HV joint between the AC filter harness and the negative DC
inlet busbar.
RemarqueThe resistance should be 150µΩ or less.
-
Connect the fast charge contactor
connector.
- Mesurez la tension à travers les points de montage de déconnexion de la batterie pyrotechnique puis installez la déconnexion de la batterie pyrotechnique Voir Sectionneur de batterie pyrotechnique (Ensemble structural) (retirez et installez).
- Install the ancillary bay cover. See Couvercle - baie auxiliaire (Ensemble structural) (retirer et remplacer).
- Exit Service Mode. See Mode Entretien.
- Remove the vehicle from the lift. See Soulever le véhicule - pont élévateur à 2 poteaux.
- Raise all the windows and close all the doors.