2023-08-03
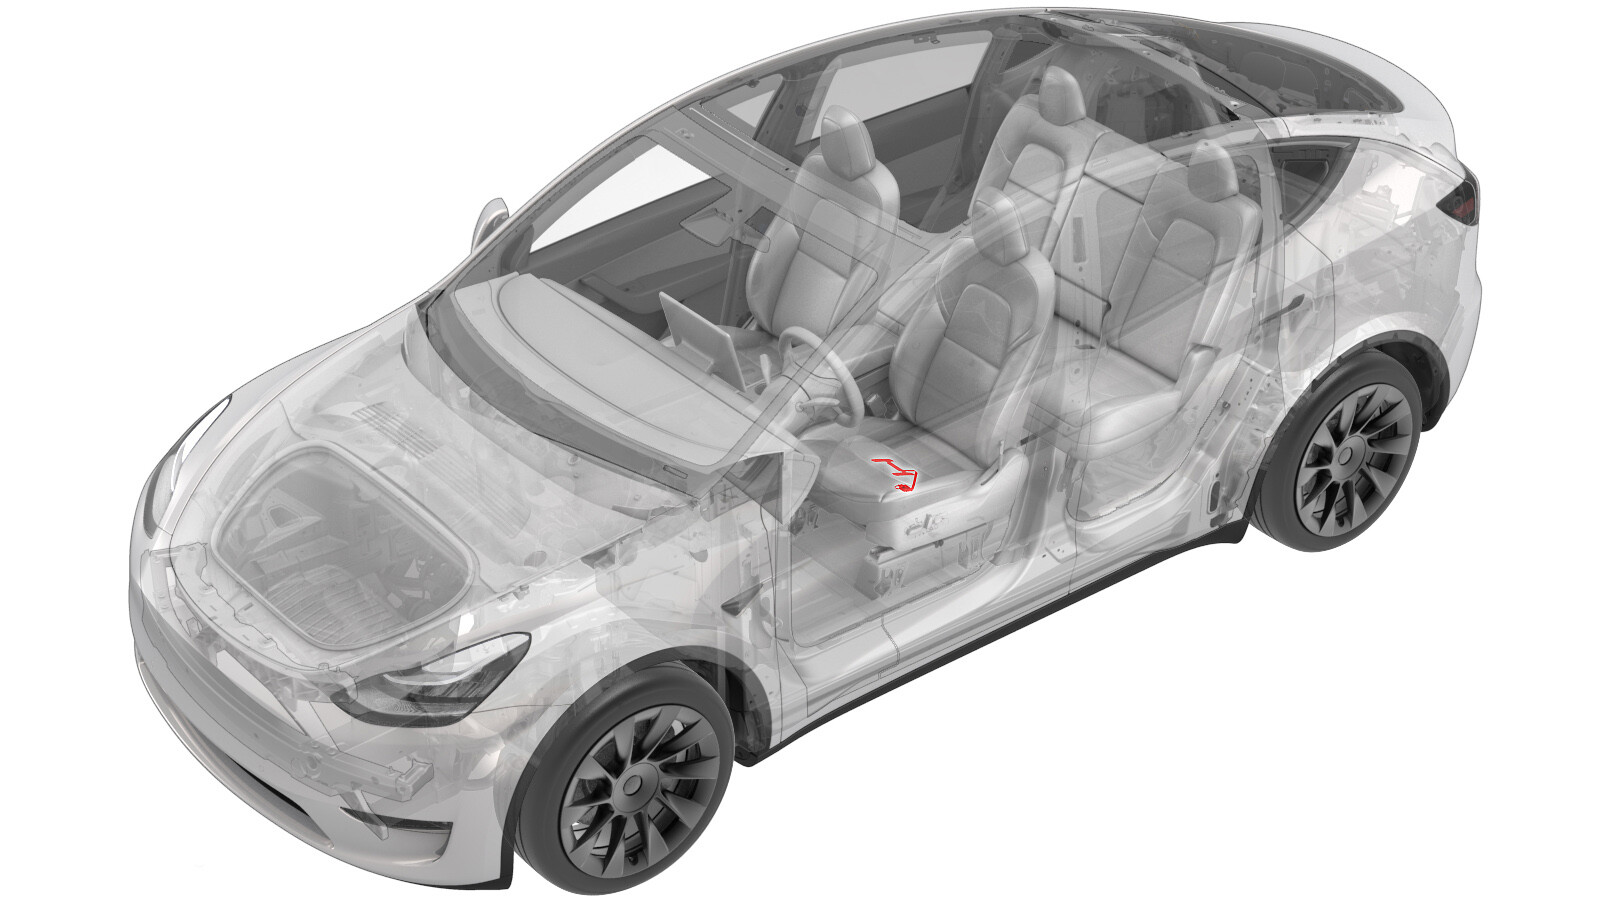
센서 - 저항식 승객 감지 - 전면 시트 - RH(탈거 및 교체)
 교정 코드
20202202 0.84
메모: 절차에서 명시적으로 언급하지 않는 한 위 교정 코드 및 FRT는 연결된 절차를 포함하여 이 절차를 수행하는 데 필요한 모든 작업을 반영합니다. 명시적으로 지시하지 않는 한 교정 코드를 누적하지 마십시오.
참고: FRT와 그 생성 방법에 대한 자세한 내용은 표준 정비 작업시간을 참조하십시오. FRT 값에 대한 피드백을 제공하려면 ServiceManualFeedback@tesla.com으로 이메일을 보내십시오.
메모: 아래 절차를 수행할 때 개인 보호을(를) 참조하여 적절한 PPE를 착용했는지 확인하십시오. 안전하고 건강한 작업 사례는 인체공학적 주의 사항의 내용을 참조하십시오.
탈거
- Remove the passenger seat cushion trim. See 트림 - 쿠션 - 운전석 시트(탈거 및 교체).
-
While wearing cut-resistant gloves, carefully use a razor blade to separate the resistive occupancy sensor from the passenger seat cushion foam.
경고Always wear cut-resistant gloves when using cutting tools.경고Take care not to damage the sensor harness, seat trim, or other surrounding components with the razor blade.경고Take care to remove as little foam as possible.
-
From the underside of the cushion, carefully route the resistive occupancy sensor harness up through the top of the cushion, and then remove the sensor from the cushion.
경고While removing the harness, take care not to damage the foam.
장착
-
Position the resistive occupancy sensor on top of the passenger seat cushion foam, and then route the sensor harness through the harness opening in the foam.
경고While installing the harness, take care not to damage the foam.
그림 1. Resistive occupancy sensor positioned on top of the front seat cushion foam 그림 2. Resistive occupancy sensor harness routed through the bottom of the front seat cushion foam -
Peel the protective backing off of the resistive occupancy sensor, exposing the adhesive, and then install the sensor on top of the foam.
참고Align the sensor with the indentations on the foam.
- Install the passenger seat cushion trim. See 트림 - 쿠션 - 운전석 시트(탈거 및 교체).
-
북미 차량의 전면 동승석 시트를 서비스하는 경우:
- 보정을 시작하기 전에 전면 동승석 시트에서 모든 물체를 제거하십시오.
- 차량 터치스크린에서 를 터치하고 차량 펌웨어 버전을 확인합니다. 차량 펌웨어가 2023.2.11 이상인 경우 소프트웨어 재설치를 수행합니다. 참조 항목: 소프트웨어 재설치 - 터치스크린. 차량 펌웨어가 2023.2.11 이상이 아닌 경우 차량 펌웨어를 업데이트합니다. 참조 항목: 소프트웨어 업데이트.
- Toolbox 3가 설치된 노트북을 차량에 로컬로 연결합니다. 참조 항목: Toolbox(연결 및 연결 해제).
- 차량 게이트웨이를 잠금 해제합니다. 참조 항목: 게이트웨이(잠금 해제).
- Toolbox에서 Actions 탭을 클릭한 다음 "OCS"를 검색합니다.
- PROC_OCS1P_SELF-CALIBRATIONvia Toolbox: (link)via Service Mode Plus: Safety & Restraints ➜ Seats ➜ OCS1P Self Capacitance Calibration 루틴을 Run합니다.
- Actions 탭을 클릭한 다음 "Seat calibration"을 검색합니다.
- PROC_VCRIGHT_SEAT-CALIBRATEvia Toolbox: (link)via Service Mode Plus: Low Voltage ➜ Seats ➜ Calibrate 루틴을 Run합니다.
- Toolbox를 연결 해제하고 차량에서 노트북을 탈거합니다.