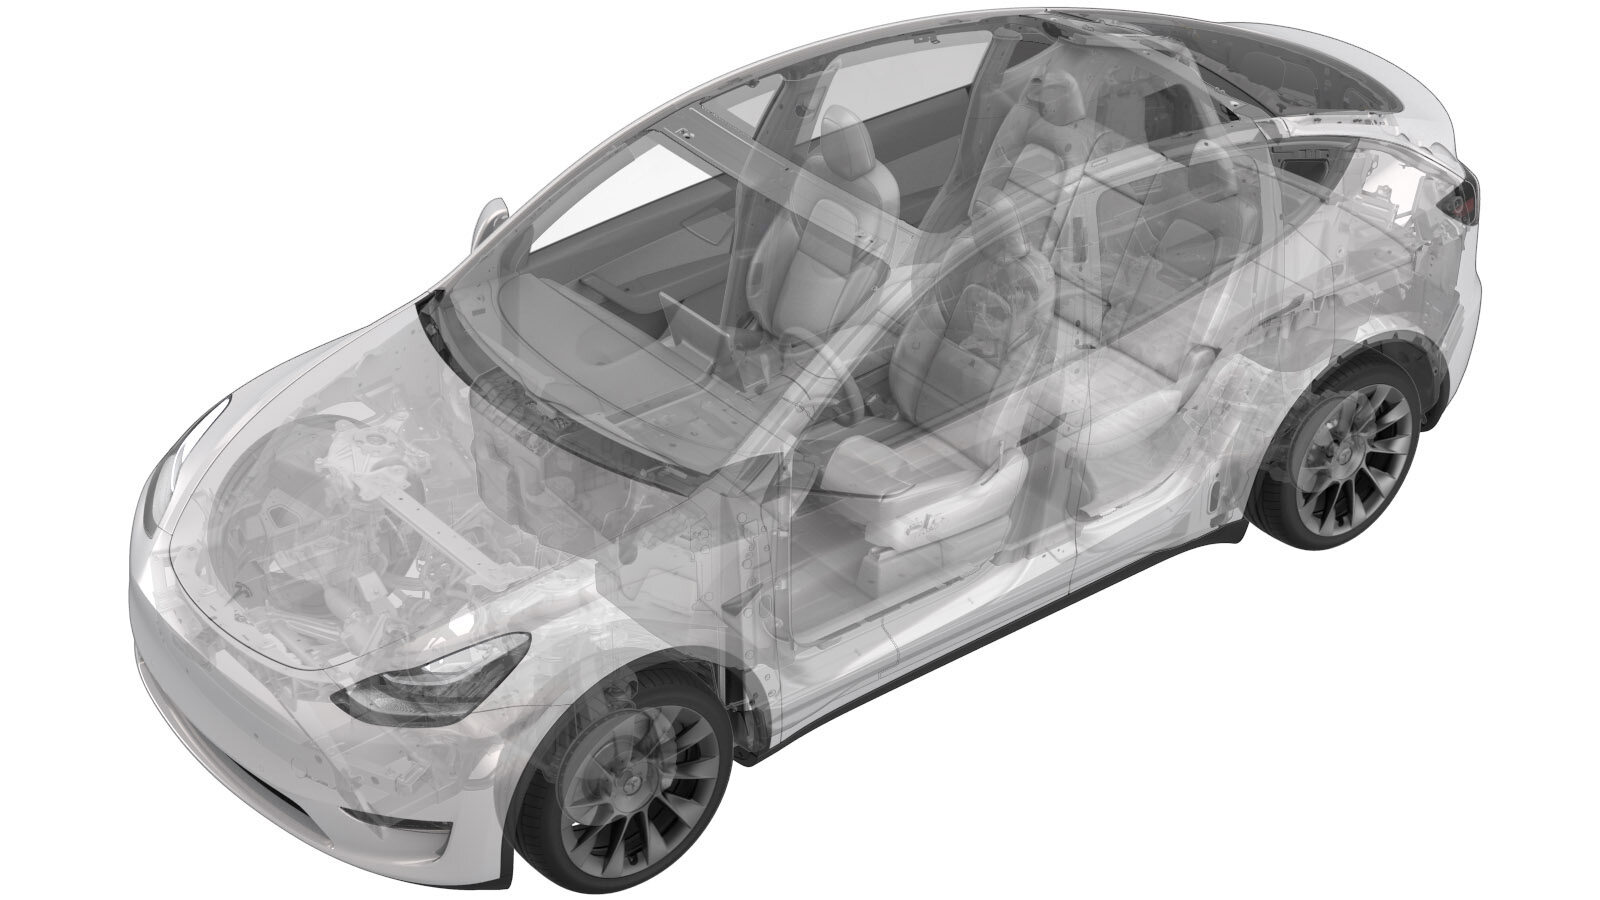
2025-06-27
카메라 - 바이 - 전방(탈거 및 교체)
 교정 코드
17221002 0.36
메모: 절차에서 명시적으로 언급하지 않는 한 위 교정 코드 및 FRT는 연결된 절차를 포함하여 이 절차를 수행하는 데 필요한 모든 작업을 반영합니다. 명시적으로 지시하지 않는 한 교정 코드를 누적하지 마십시오.
참고: FRT와 그 생성 방법에 대한 자세한 내용은 표준 정비 작업시간을 참조하십시오. FRT 값에 대한 피드백을 제공하려면 ServiceManualFeedback@tesla.com으로 이메일을 보내십시오.
메모: 아래 절차를 수행할 때 개인 보호을(를) 참조하여 적절한 PPE를 착용했는지 확인하십시오. 안전하고 건강한 작업 사례는 인체공학적 주의 사항의 내용을 참조하십시오.
탈거
- Open the LH front door and lower the LH front window.
- Remove the lower quad camera cover. See 쿼드 카메라 커버 - 하단(탈거 및 교체).
- Remove the rear view mirror. See 미러 - 후방(탈거 및 교체).
-
Release the clips that attach the upper quad camera cover to the windshield bracket, and then separate the cover from the bracket.
경고Carefully release the cover from the windshield bracket, as an electrical harness is still attached.
-
Release the connector lock, and then disconnect the rearview mirror upper cover assembly.
참고Connector count may vary depending on the vehicle configuration.
-
Release the locking tab, and then disconnect the GNSS antenna connector.
-
Release the tabs that attach the glare shield to the windshield bracket, and then remove the glare shield from the windshield bracket.
-
Remove and discard the screws (x4) that attach the forward facing bi camera to the vehicle, and then remove the camera assembly from the vehicle.
 1 Nm (.7 lbs-ft)TIpUse of the following tool(s) is recommended:
- T10 bit
-
Release the locking tabs, and then disconnect the forward facing camera assembly connectors (x2).
장착
-
Clean the inner windshield camera viewing area with a clean microfiber cloth and glass cleaner. Let the windshield fully dry before continuing.
경고Verify that the windshield has no stains or leftover residue. Otherwise, Autopilot features may be hindered.
-
Position the forward facing camera into the vehicle, connect the connectors (x2), and then secure the connector locks.
-
Install new screws (x4) that attach the forward facing bi camera to the vehicle.
 1 Nm (.7 lbs-ft)TIpUse of the following tool(s) is recommended:
- T10 bit
-
Position the glare shield to the windshield bracket, and then secure the tabs (x2) that attach the glare shield to the windshield bracket.
-
Connect the GNSS antenna connector, and then secure the connector lock.
-
Connect the rear view mirror upper cover assembly, and then secure the connector locks.
참고Connector count may vary depending on the vehicle configuration.
-
Connect the interior camera connector, and then install the clips that attach the upper quad camera cover to the vehicle.
- Unlock the vehicle gateway. See 게이트웨이(잠금 해제).
-
On the vehicle touchscreen, tap Driver Assist > Cameras > Reset DAS.
참고Make sure all cameras and reset DAS icon turn green.
-
Perform the following routine using Service Mode or Toolbox (see 0005 - 정비 모드):
PING-HTTP_DAS_X_MAIN-CAMERA-SCRIPTvia Toolbox: (link).
참고The routine will need to be performed within a 5 minute calibration window.참고Choose the routine that has the "SCRIPT" at the end of the path name.
-
Perform the following routine using Service Mode or Toolbox (see 0005 - 정비 모드):
PING-HTTP_DAS_X_FISHEYE-CAMERA-SCRIPTvia Toolbox: (link).
참고Routine will need to be performed within 5 minute calibration window.참고Choose the routine that has the "SCRIPT" at the end of the path name.
- Adjust the forward facing camera. See 카메라 - 전방(피치 확인).