2025-06-27
모듈 - 차체 컨트롤러 - 보안(2세대)(탈거 및 교체)
 교정 코드
17454012 0.48
메모: 절차에서 명시적으로 언급하지 않는 한 위 교정 코드 및 FRT는 연결된 절차를 포함하여 이 절차를 수행하는 데 필요한 모든 작업을 반영합니다. 명시적으로 지시하지 않는 한 교정 코드를 누적하지 마십시오.
참고: FRT와 그 생성 방법에 대한 자세한 내용은 표준 정비 작업시간을 참조하십시오. FRT 값에 대한 피드백을 제공하려면 ServiceManualFeedback@tesla.com으로 이메일을 보내십시오.
메모: 아래 절차를 수행할 때 개인 보호을(를) 참조하여 적절한 PPE를 착용했는지 확인하십시오. 안전하고 건강한 작업 사례는 인체공학적 주의 사항의 내용을 참조하십시오.
- 2025-04-16: 키 페어링 루틴을 추가했습니다.
- 2025-03-10: 교체 이후 루틴을 업데이트했습니다.
- 2024-01-17: 특정 펌웨어 버전을 실행하는 차량에 대해 ODIN 루틴을 실행하는 단계를 추가했습니다.
- 2023-11-20: 보안 컨트롤러(SEC) 구성 단계를 업데이트했습니다.
- 2023-10-24: 교체 이후 Toolbox 루틴을 업데이트했습니다.
- 2023-07-21: 보안 관련 Toolbox 작업에 대한 참고 사항을 추가했습니다.
참고
이 절차 내의 일부 Toolbox 작업은 차량 보안과 관련이 있으며, Tesla 직원 또는 보안 관련 Toolbox 작업 수행 권한이 부여된 제3자만이 수행할 수 있습니다. 더 알아보려면 사용자 계정 드롭다운 메뉴에서 사용 가능한 정비 구독 FAQ를 참조하십시오.
토크 규격
| 설명 | 토크 값 | 권장 공구 | 재사용/교체 | 참고 |
|---|---|---|---|---|
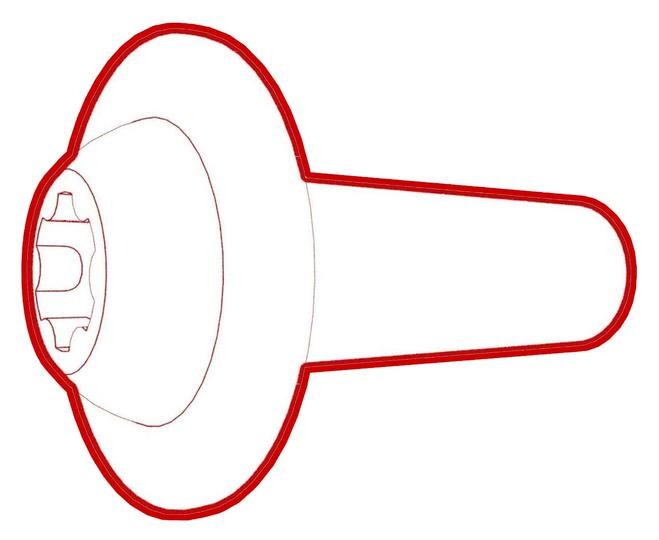
| 보안 차체 컨트롤러 모듈을 컵 홀더 장식 패널에 고정하는 나사(2개) |
 1.6 Nm (1.2 lbs-ft) |
|
재사용 |
탈거
- 전면 도어를 열고 전면 창문을 내립니다.
- 전면 시트를 가장 낮고 최후방 위치로 옮깁니다.
- 후면 후드 내 에이프런을 탈거합니다. 참조 항목: 후드 내 에이프런 - 후면(탈거 및 교체).
- 12V/LV 전원을 연결 해제합니다. 참조 항목: 12V/LV 전원(연결 해제 및 연결).
- 센터 콘솔 브라이트 워크(2.0)를 탈거합니다. 참조 항목: 브라이트 워크 - 센터 콘솔(2.0)(탈거 및 교체).
-
컵 홀더 장식을 센터콘솔 어셈블리에 고정하는 클립(6개)을 분리한 다음 보안 컨트롤러 전기 커넥터를 연결 해제합니다.
-
보안 컨트롤러(SEC)를 컵 홀더 장식에 고정하는 나사(2개)를 탈거한 다음 장식에서 보안 컨트롤러(SEC)를 탈거합니다.
TIp다음 공구를 사용하는 것이 좋습니다.
- Wiha ¼인치 비트 홀더 어댑터
- Torx T20 소켓
- Wiha TorqueVario-S 0.8Nm - 2.0Nm 스크루드라이버(장착 전용)
장착
-
보안 컨트롤러(SEC)를 센터 콘솔 컵 홀더 장식에 배치한 다음 보안 컨트롤러(SEC)를 컵 홀더 장식에 고정하는 나사(2개)를 장착합니다.
 1.6 Nm (1.2 lbs-ft)TIp다음 공구를 사용하는 것이 좋습니다.
- Wiha ¼인치 비트 홀더 어댑터
- Torx T20 소켓
- Wiha TorqueVario-S 0.8Nm - 2.0Nm 스크루드라이버(장착 전용)
-
보안 컨트롤러 전기 커넥터를 연결한 다음 컵 홀더 장식을 센터콘솔 어셈블리에 고정하는 클립(6개)을 장착합니다.
- 센터 콘솔 브라이트 워크(2.0)를 장착합니다. 참조 항목: 브라이트 워크 - 센터 콘솔(2.0)(탈거 및 교체).
- 12V/LV 전원을 연결합니다. 참조 항목: 12V/LV 전원(연결 해제 및 연결).
- 후면 후드 내 에이프런을 장착합니다. 참조 항목: 후드 내 에이프런 - 후면(탈거 및 교체).
- 전면 시트 등받이를 원래 위치로 이동합니다.
-
정비 모드 또는 Toolbox를 사용하여 다음 루틴을 수행합니다(참조 항목: 0005 - 정비 모드):
UPDATE_CAN-REDEPLOYvia Toolbox: (link)via Service Mode Plus:
- Drive Inverter Replacement ➜ Drive Inverter DIRE1L Replacement ➜ CAN Redeploy
- Drive Inverter Replacement ➜ Drive Inverter DIRE1R Replacement ➜ CAN Redeploy
- Drive Inverter Replacement ➜ Drive Inverter DIRE2 Replacement ➜ CAN Redeploy
- Drive Inverter ➜ Front Drive Inverter Replacement ➜ CAN Redeploy
- Drive Inverter ➜ Rear Drive Inverter Replacement ➜ CAN Redeploy
- Drive Inverter ➜ Rear Left Drive Inverter Replacement ➜ CAN Redeploy
- Drive Inverter ➜ Rear Right Drive Inverter Replacement ➜ CAN Redeploy
- Drive Unit ➜ Front Drive Unit Replacement ➜ CAN Redeploy
- Drive Unit ➜ Rear Drive Unit Replacement ➜ CAN Redeploy
- Thermal ➜ HVAC ➜ CAN Redeploy
- chassis ➜ DPB Post Replacement ➜ CAN Redeploy
- chassis ➜ ESP Post Replacement ➜ CAN Redeploy
- chassis ➜ IDB Post Replacement ➜ CAN Redeploy
- chassis ➜ RCU Post Replacement ➜ CAN Redeploy
- chassis ➜ ESP Replacement Panel ➜ CAN Redeploy
- chassis ➜ IBST Replacement Panel ➜ CAN Redeploy
참고펌웨어 재배포가 완료되면 중앙 디스플레이에 릴리즈 노트가 표시되는지 여부를 확인합니다. 재배포가 실패하는 경우 UI에 오류 메시지가 표시될 수 있습니다. - 정비 모드 또는 Toolbox를 사용하여 다음 루틴을 수행합니다(참조 항목: 0005 - 정비 모드): PROC_VCSEC_X_POST-REPLACEMENT-PROCEDUREvia Toolbox: (link)via Service Mode: Low Voltage ➜ Keys ➜ VCSEC Post Replacementvia Service Mode Plus: LowVoltage ➜ VCSEC Post Replacement ➜ VCSEC Post Replacement Procedure
- 정비 모드 또는 Toolbox를 사용하여 다음 루틴을 수행합니다(참조 항목: 0005 - 정비 모드): PROC_VCSEC_C_PAIR-NFC-CARD-V2via Toolbox: (link)via Service Mode: Low Voltage ➜ Keys ➜ Pair Key
- NFC 카드를 센터 콘솔의 NFC 카드 리더에 놓습니다.
- 차량에 페어링할 키 개수를 입력하고 Run Network를 선택한 다음 루틴이 완료될 때까지 기다립니다.
- 프로그램된 NFC 키의 기능을 확인합니다.
- 새 보안 차체 컨트롤러는 이전에 페어링한 핸드폰 키를 인식하지 않는다고 고객에게 알립니다. 고객이 이전에 이 기능을 사용 중이었던 경우 고객이 핸드폰 키를 삭제하고 차량에 다시 페어링해야 합니다. 지침은 사용자 매뉴얼 및 DIY 웹 페이지에서 사용할 수 있습니다.