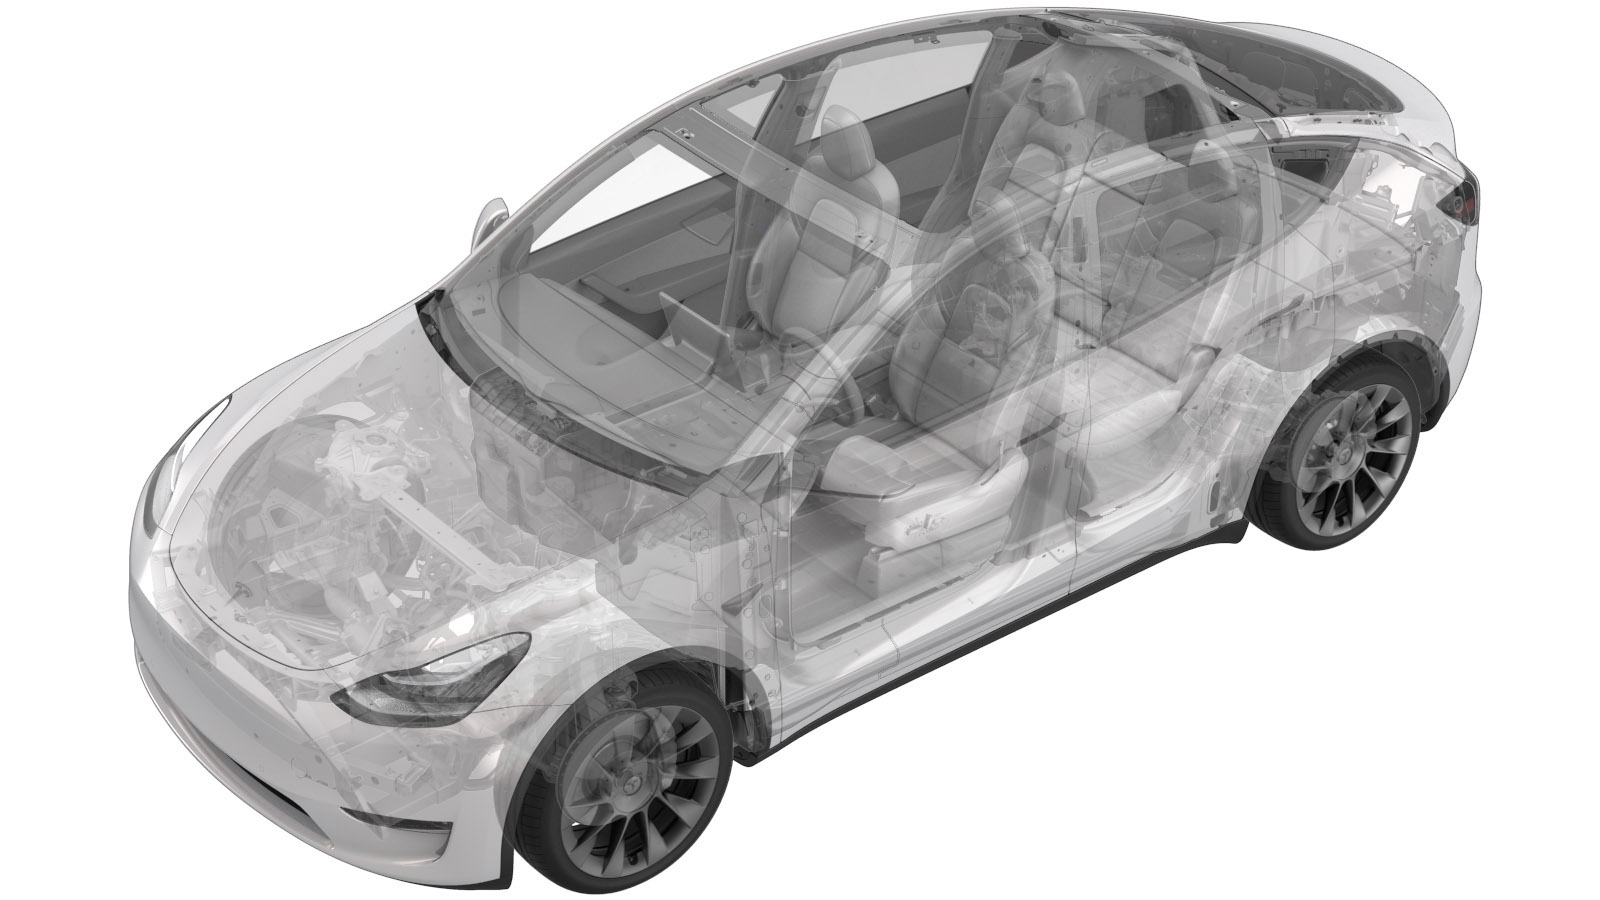
션트 - HV 배터리(구조용 팩 이외)(탈거 및 교체)
 16303602 1.14
메모: 절차에서 명시적으로 언급하지 않는 한 위 교정 코드 및 FRT는 연결된 절차를 포함하여 이 절차를 수행하는 데 필요한 모든 작업을 반영합니다. 명시적으로 지시하지 않는 한 교정 코드를 누적하지 마십시오.
참고: FRT와 그 생성 방법에 대한 자세한 내용은 표준 정비 작업시간을 참조하십시오. FRT 값에 대한 피드백을 제공하려면 ServiceManualFeedback@tesla.com으로 이메일을 보내십시오.
메모: 아래 절차를 수행할 때 개인 보호을(를) 참조하여 적절한 PPE를 착용했는지 확인하십시오. 안전하고 건강한 작업 사례는 인체공학적 주의 사항의 내용을 참조하십시오.
- 2025-10-22: Updated the routine for different shunt types.
모든 필수 인증 교육을 완료한 기술자만 이 절차를 수행할 수 있습니다. Tesla는 타사 서비스 제공업체 기술자가 이 절차를 수행하기 전에 동등한 교육을 받을 것을 권장합니다. Tesla 기술자 요구 사항에 대한 자세한 내용이나 타사 기술자에 대한 분야별 설명은 HV Certification Requirements를 참조하십시오. 고전압 케이블, 버스바 또는 피팅을 다룰 때에는 항상 적합한 개인 보호 장비(PPE)와 클래스 0(1000V)의 최소 정격을 갖는 절연 HV 장갑을 착용해야 합니다. 추가 안전 정보는 기술 노트 TN-15-92-003고압 인식 주의 사항
을 참조하십시오.
토크 규격
| 설명 | 토크 값 | 권장 공구 | 재사용/교체 | 참고 |
|---|---|---|---|---|
| 션트 어셈블리를 보조 베이에 고정하는 볼트 |
 9 Nm (6.6 lbs-ft) |
|
교체 |
탈거
- Remove the RH 2nd row seat back. See 시트 등받이 - 2열 - RH(탈거 및 교체).
- Remove the LH 2nd row seat back. See 등받이 - 2열 - LH(탈거 및 교체).
- Remove the rear underhood apron. See 후드 내 에이프런 - 후면(탈거 및 교체).
- Disconnect 12V power. See 12V/LV 전원(연결 해제 및 연결).
- Perform the vehicle electrical isolation procedure. See 차량 HV 비활성화 절차.
- Remove the ancillary bay cover. See 커버 - 보조 베이(탈거 및 교체).
- Remove the pyrotechnic battery disconnect. See 점화식 배터리 차단기(탈거 및 교체).
- Remove the shunt insulator. See 절연체 - 션트 - HV 배터리(탈거 및 교체).
-
Remove and discard the bolt that attaches the shunt assembly to the ancillary bay.
TIp다음 공구를 사용하는 것이 좋습니다.
- 절연 공구:
- 13mm 소켓
- 2인치 익스텐션
- 절연 공구:
-
Remove the shunt from the vehicle.
장착
- Perform a zero adjust of the Hioki resistance meter in preparation to measure resistances later in this procedure. See 저항계(영점 조정).
-
Write down new shunt bar resistance and part number as printed on the new shunt.
참고The resistance is in the range of 20000 to 30000 nano Ohms. For example, "R:25819nΩ" is a resistance of 25819 nano Ohms, so record "25819".참고Skip this step if installing the original shunt.
- Use an IPA wipe to clean the HV mating surfaces of the shunt, busbar, and the pyrotechnic battery disconnect.
-
Install the shunt to the busbar, and then install and hand-tighten a new bolt to attach the shunt to the busbar.
- 점화식 배터리 차단기 고정 지점에서 전압을 측정한 다음 점화식 배터리 차단기를 장착합니다. 점화식 배터리 차단기(탈거 및 교체)을(를) 참조하십시오.
-
Torque the bolt that attaches the shunt assembly to the ancillary bay.
 9 Nm (6.6 lbs-ft)TIp다음 공구를 사용하는 것이 좋습니다.
- 절연 공구:
- 13mm 소켓
- 2인치 익스텐션
- 절연 공구:
- Install the shunt insulator. See 절연체 - 션트 - HV 배터리(탈거 및 교체).
-
Use the Hioki resistance meter to measure the resistance of the HV joint between the shunt and the adjacent busbar.
참고The maximum acceptable resistance is 0.045 mΩ (45 μΩ). If the resistance is above this value, escalate a Toolbox session, as appropriate.
- Install the ancillary bay cover. See 커버 - 보조 베이(탈거 및 교체).
- Install the LH 2nd row seat back. See 등받이 - 2열 - LH(탈거 및 교체).
- Install the RH 2nd row seat back. See 시트 등받이 - 2열 - RH(탈거 및 교체).
- Install the 2nd row lower seat cushion. See 시트 쿠션 - 하단 - 2열(탈거 및 교체).
- Connect 12V power. See 12V/LV 전원(연결 해제 및 연결).
- Skip step 15 through step 19 if installing the original shunt.
- Connect an LV maintainer. See LV 유지 장치(연결 및 연결 해제).
- Connect the laptop with Toolbox 3 to the vehicle.
-
Select and operation, enter the shunt bar resistance value previously recorded in step 2, and select corresponding shunt type based on the Part number. Click Run and allow the routine to complete.
참고The unit of the input resistance value is nΩ.참고Shunt types includes Vishay whose part number looks like 2084224-XX-X and Cyntec whose part number looks like 1078835-XX-X or 1588177-XX-X.
- Disconnect the laptop from the vehicle.
- Disconnect an LV maintainer. See LV 유지 장치(연결 및 연결 해제).
- Install the rear underhood apron. See 후드 내 에이프런 - 후면(탈거 및 교체).