2023-02-28
카펫 - 전면 - RH(구조용 팩)(탈거 및 교체)
 교정 코드
15301122 0.30
메모: 절차에서 명시적으로 언급하지 않는 한 위 교정 코드 및 FRT는 연결된 절차를 포함하여 이 절차를 수행하는 데 필요한 모든 작업을 반영합니다. 명시적으로 지시하지 않는 한 교정 코드를 누적하지 마십시오.
참고: FRT와 그 생성 방법에 대한 자세한 내용은 표준 정비 작업시간을 참조하십시오. FRT 값에 대한 피드백을 제공하려면 ServiceManualFeedback@tesla.com으로 이메일을 보내십시오.
메모: 아래 절차를 수행할 때 개인 보호을(를) 참조하여 적절한 PPE를 착용했는지 확인하십시오. 안전하고 건강한 작업 사례는 인체공학적 주의 사항의 내용을 참조하십시오.
경고
시트 베이스 가장자리는 날카로우며 신체 상해를 유발할 수 있습니다. 차량에서 시트를 탈거할 때 및 시트 베이스 또는 그 근처에서의 작업과 관련된 절차를 주행하는 동안 절단 방지 장갑을 착용하십시오.
탈거
- Remove the RH mid A-pillar trim. See 트림 - A필러 - 중단 - LH(탈거 및 교체).
- Remove the RH lower A-pillar trim. See 트림 - A필러 - 하단 - LH(탈거 및 교체).
- Remove the RH center console side panel. See 사이드 패널 - 센터 콘솔 - LH(탈거 및 교체).
- Remove the passenger footwell cover. See 커버 - 발밑 공간 - 동승석(LHD)(탈거 및 교체).
- Move the RH front seat fully forward.
-
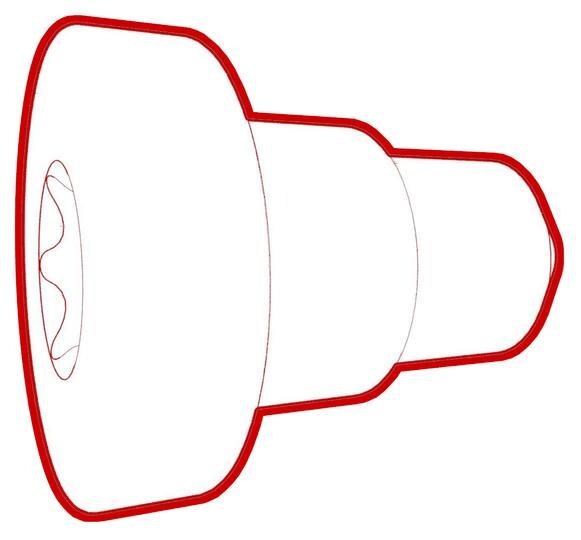
Remove and discard the bolts (x2) that
attach the rear of the 1st row RH seat to the body.
경고Use only the Torx Plus T45 bit to remove the seat bolts.참고다음 공구를 사용하는 것이 좋습니다.
- Trox Plus T45 소켓
- 3/8인치 표준 플렉스 헤드 래칫
- 3/8인치 플렉스 헤드 토크 렌치(장착 전용)
그림 1. LH shown; RH similar - Move the RH front seat fully rearward.
-
Remove and discard the bolts (x2) that
attach the front of the 1st row RH seat to the body.
경고Use only the Torx Plus T45 bit to remove the seat bolts.참고다음 공구를 사용하는 것이 좋습니다.
- Trox Plus T45 소켓
- 3/8인치 표준 플렉스 헤드 래칫
- 3/8인치 플렉스 헤드 토크 렌치(장착 전용)
-
Position the RH front seat up and
carefully tilt the seat backwards.
-
Release the clips (x2) that attach the
RH front carpet to the cabin support.
-
Release the clips (x4) that attach the
RH front carpet underneath the RH front seat.
그림 2. Seat removed for clarity -
Release the seat harness clip and
harness, release all edges, and then remove the RH front carpet from the vehicle.
참고Take note of the short edge under the center console.
장착
-
Position the RH front carpet into the vehicle, and then secure the seat harness clip
and harness and all edges.
참고Tuck the short edge underneath the center console.
-
Install the clips (x4) that attach the RH front carpet underneath the RH front
seat.
그림 3. Seat removed for clarity -
Install the clips (x2) that attach the RH front carpet to the cabin support.
-
Carefully position the RH front seat down.
-
1열 RH 시트의 전면을 차체에 고정하는 새 볼트(2개)를 장착합니다.
 33.5 Nm (24.7 lbs-ft)경고Use only the Torx Plus T45 bit to install the seat bolts.참고다음 공구를 사용하는 것이 좋습니다.
- Trox Plus T45 소켓
- 3/8인치 표준 플렉스 헤드 래칫
- 3/8인치 플렉스 헤드 토크 렌치(장착 전용)
그림 4. LH shown; RH similar - Move the RH front seat fully forward.
-
1열 RH 시트의 후면을 차체에 고정하는 새 볼트(2개)를 장착합니다.
 33.5 Nm (24.7 lbs-ft)경고Use only the Torx Plus T45 bit to install the seat bolts.참고다음 공구를 사용하는 것이 좋습니다.
- Trox Plus T45 소켓
- 3/8인치 표준 플렉스 헤드 래칫
- 3/8인치 플렉스 헤드 토크 렌치(장착 전용)
그림 5. LH shown; RH similar - Install the passenger footwell cover. See 커버 - 발밑 공간 - 동승석(LHD)(탈거 및 교체).
- Install the RH center console side panel. See 사이드 패널 - 센터 콘솔 - LH(탈거 및 교체).
- Install the RH lower A-pillar trim. See 트림 - A필러 - 하단 - LH(탈거 및 교체).
- Install the RH mid A-pillar trim. See 트림 - A필러 - 중단 - LH(탈거 및 교체).
- Move the RH front seat to the original position.