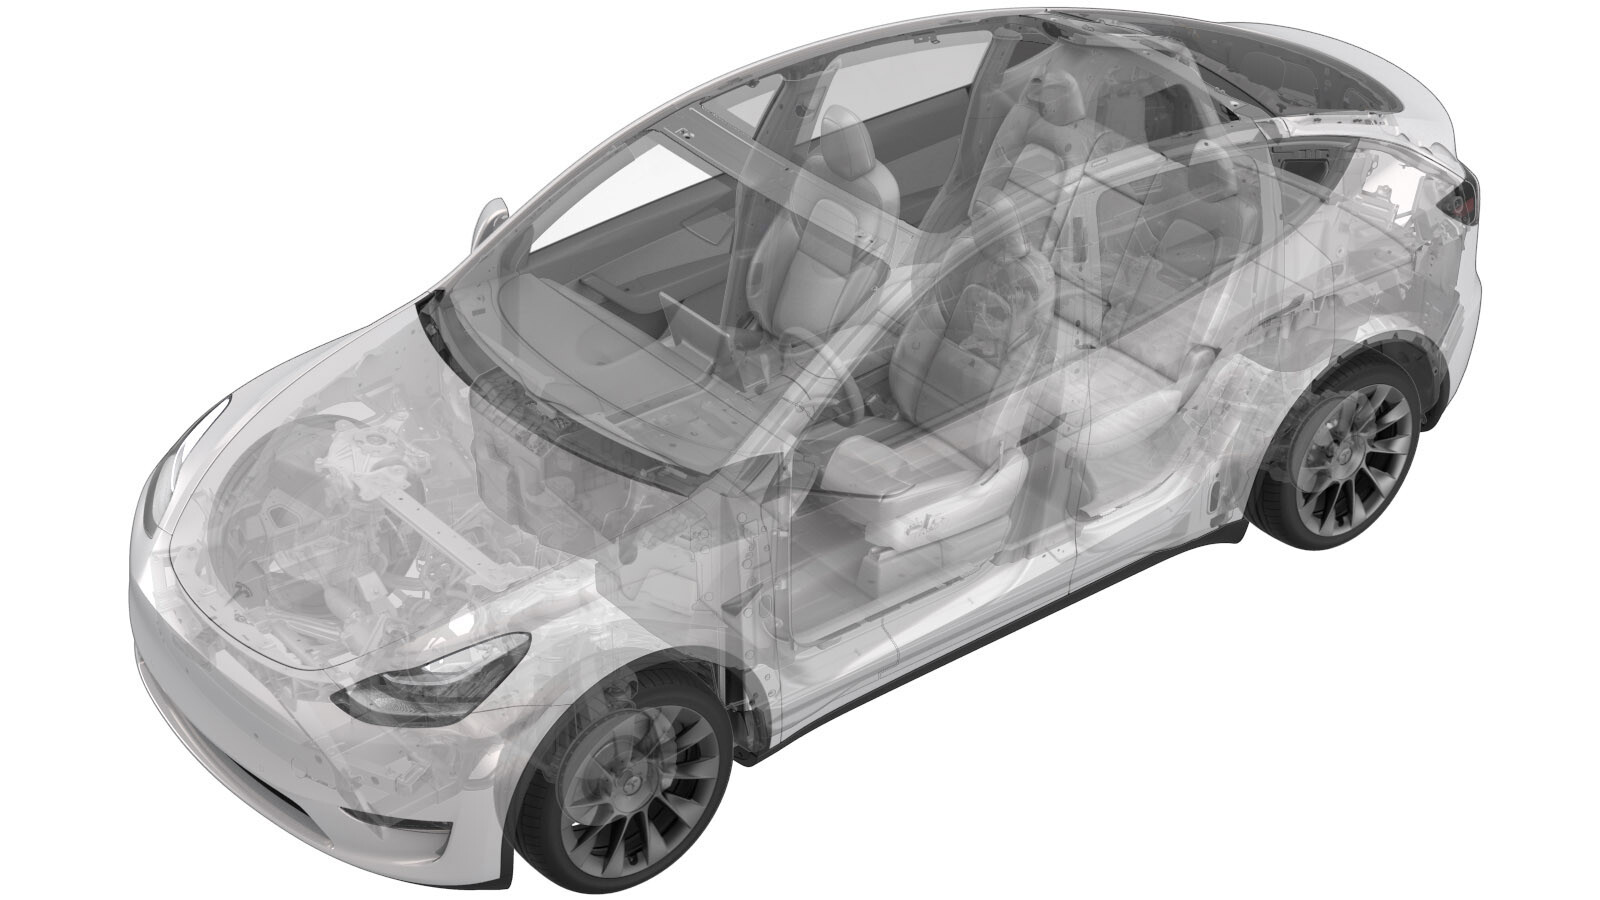
2024-06-17
점화식 배터리 차단기(구조용 팩)(탈거 및 장착)

- 2023-09-14: Removed correction code and FRT.
- 2023-07-25: Added step to record replacement pyrotechnic battery disconnect serial number and part number for later entry into SCA.
경고
이 절차는 초안입니다. 따라서 검증은 되었지만 경고 및 주의 사항이 누락되었을 수 있습니다. 고전압 시스템 및 구성 요소에서 또는 그 근처에서 작업하는 경우에는 안전 요구 사항을 준수하고 최고 수준의 주의를 기울여야 합니다.
참고
The following procedures are not
standalone. They conditionally supplement procedures that occur within the Model Y
Structural Pack ancillary bay, and require that the ancillary bay cover has already been
removed.
탈거
-
Remove the pyrotechnic battery
disconnect insulators (x2).
-
Remove and discard the bolts (x2) that
attach the pyrotechnic battery disconnect to the ancillary bay.
-
Lift the pyrotechnic battery
disconnect straight up to disconnect from the connector, and then remove the disconnect
from the ancillary bay.
-
Install the pyrotechnic battery
disconnect dummy cover.
- Return to the procedure that requested the pyrotechnic battery disconnect to be removed.
장착
- If a new pyrotechnic battery disconnect is to be installed, record the disconnect serial number and part number for later entry into SCA.
-
Perform a zero adjust of the Hioki resistance meter in preparation to measure
resistances later in this procedure. See 저항계(영점 조정).
경고이 절차의 남은 단계를 진행하면서 HV 절연 장갑 및 가죽 장갑 보호구를 착용해야 합니다. 별도로 명시하지 않은 경우 장갑 또는 보호구를 벗지 마십시오.
-
Remove the pyrotechnic battery
disconnect dummy cover.
-
Use an IPA wipe to clean the HV mating
surfaces of the shunt, busbar, and the pyrotechnic battery disconnect, and allow at
least 1 minute to fully dry.
-
Set the multimeter to the "LoZ" (low
impedance) mode.
참고For Fluke multimeters without "LoZ" mode on the mode selector, see 멀티미터(LoZ 설정).
-
Measure the voltage between the shunt
(left) and busbar (right) for at least 10 seconds, so as to balance the voltage across
the pyrotechnic battery disconnect mount points.
참고The voltage displayed on the multimeter is not as important as balancing the mount points.
-
While still measuring the voltage,
have an assistant position the pyrotechnic battery disconnect into the ancillary bay, align
the pins of the connector with the disconnect, and then press the disconnect straight
down onto the busbars.
- Continue to measure the voltage for another 10 seconds after the pyrotechic battery disconnect has been set onto the busbars.
-
Install new bolts (x2) to attach the
pyrotechnic battery disconnect to the HV battery, and then mark the bolts with a paint
pen after they are torqued.
 5 Nm (3.7 lbs-ft) +60 deg
 -
Use the Hioki resistance meter to
measure the resistance at the HV joint between the pyrotechnic battery disconnect and
the RH busbar.
참고The maximum acceptable resistance is 0.060 mΩ (60 μΩ). There is too much resistance in the High Voltage joint. Remove the fastener, clean areas with isopropyl alcohol, install fastener back and test again
-
Use the Hioki resistance meter to
measure the resistance at the HV joint between the newly-installed pyrotechnic battery
disconnect and the shunt.
참고The maximum acceptable resistance is 0.045 mΩ (45 μΩ). There is too much resistance in the High Voltage joint. Remove the fastener, clean areas with isopropyl alcohol, install fastener back and test again
-
Install the pyrotechnic battery
disconnect insulators (x2).
- Return to the procedure that requested the pyrotechnic battery disconnect to be installed.