2025-11-04
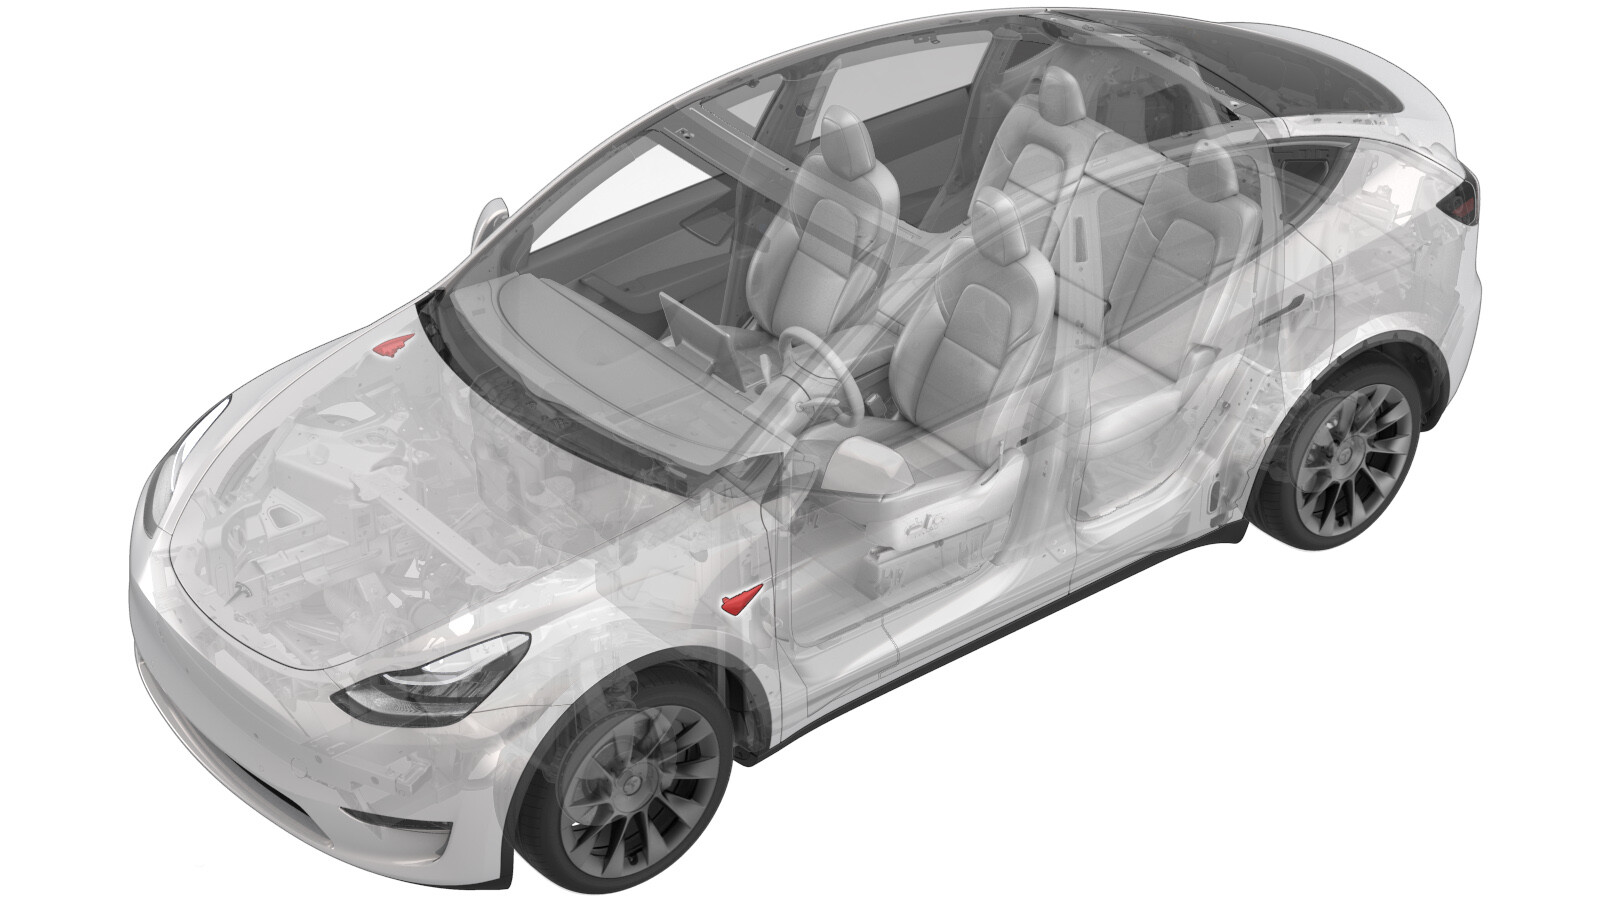
라이트 - 사이드 리피터 - 전면 - LH(탈거 및 교체)
 교정 코드
17403002 0.12
메모: 절차에서 명시적으로 언급하지 않는 한 위 교정 코드 및 FRT는 연결된 절차를 포함하여 이 절차를 수행하는 데 필요한 모든 작업을 반영합니다. 명시적으로 지시하지 않는 한 교정 코드를 누적하지 마십시오.
참고: FRT와 그 생성 방법에 대한 자세한 내용은 표준 정비 작업시간을 참조하십시오. FRT 값에 대한 피드백을 제공하려면 ServiceManualFeedback@tesla.com으로 이메일을 보내십시오.
메모: 아래 절차를 수행할 때 개인 보호을(를) 참조하여 적절한 PPE를 착용했는지 확인하십시오. 안전하고 건강한 작업 사례는 인체공학적 주의 사항의 내용을 참조하십시오.
- 2024-05-09: HW4 카메라용 Toolbox 루틴을 업데이트했습니다.
- 2023-12-12: 최신 검증에 따라 전체 절차를 업데이트했습니다.
경고
이 절차에 포함되어 있는 비디오는 보충 목적의 개요로만 제공됩니다. 구성품의 손상 및/또는 신체 상해를 방지하려면 절차에 나열된 모든 단계를 따르십시오.
탈거
경고
카메라가 원래 위치에서 벗어난 경우(예: 카메라 또는 윈드실드 교체) 차량 터치스크린을 사용하여 카메라 보정 데이터를 지워야 합니다. 컨트롤 > 정비 > 카메라 보정 > 보정 초기화.
- LH 전면 도어를 열고 LH 전면 창문을 내립니다.
- 터치스크린을 사용하여 정비 모드를 활성화합니다. 참조 항목: 정비 모드.
-
LH 전면 사이드 리피터등 주변의 LH 전면 펜더에 보호 테이프를 부착합니다.
-
LH 전면 사이드 리피터등의 하부에서 리피터등을 LH 전면 펜더에 고정하는 클립(2개)을 분리한 다음 펜더에서 리피터등을 분리합니다.
경고동일한 사이드 리피터를 다시 장착하는 경우 마운팅 탭이 손상되지 않도록 주의합니다.참고사이드 리피터를 위쪽으로 조심스럽게 들어올려 하부를 빼내 펜더에서 분리합니다. 클립 개수는 다를 수 있습니다.
-
LH 전면 사이드 리피터등 커넥터(2개)에서 전기 하네스를 연결 해제한 다음 차량에서 리피터등을 탈거합니다.
장착
-
전기 하네스를 LH 전면 사이드 리피터등 커넥터(2개)에 연결합니다.
-
LH 전면 사이드 리피터등을 LH 전면 펜더에 단단히 장착한 다음 리피터등을 펜더에 고정하는 클립을 조입니다.
경고동일한 쪽 리피터를 다시 장착하는 경우 마운팅 탭과 클립이 손상되지 않았는지 확인하십시오. 탭이나 클립이 손상된 경우 리피터를 교체합니다.참고클립 개수는 다를 수 있습니다.
- LH 전면 사이드 리피터등 주변의 LH 펜더에서 보호 테이프를 제거합니다.
- 터치스크린에서 을 탭한 다음, 메시지에 따라 루틴을 실행합니다.
-
HW4 카메라의 경우:
- 정비 모드를 종료합니다. 참조 항목: 정비 모드.
- LH 전면 창문을 올리고 LH 전면 도어를 닫습니다.
-
이제 카메라 자체 보정을 하게 하려면 수동 주행이 필요하다고 고객에게 알려줍니다.
참고자체 보정은 도로 유형과 상태에 따라 160km(100마일)의 수동 주행이 필요할 수 있습니다. 오토파일럿 기능을 실행하려는 경우 자체 보정이 완료될 때까지 "오토파일럿 기능을 현재 사용할 수 없음: 오토파일럿 기능을 시도하려는 경우, "카메라 보정 시 수동 주행이 필요합니다" 메세지가 표시됩니다.