2023-02-28
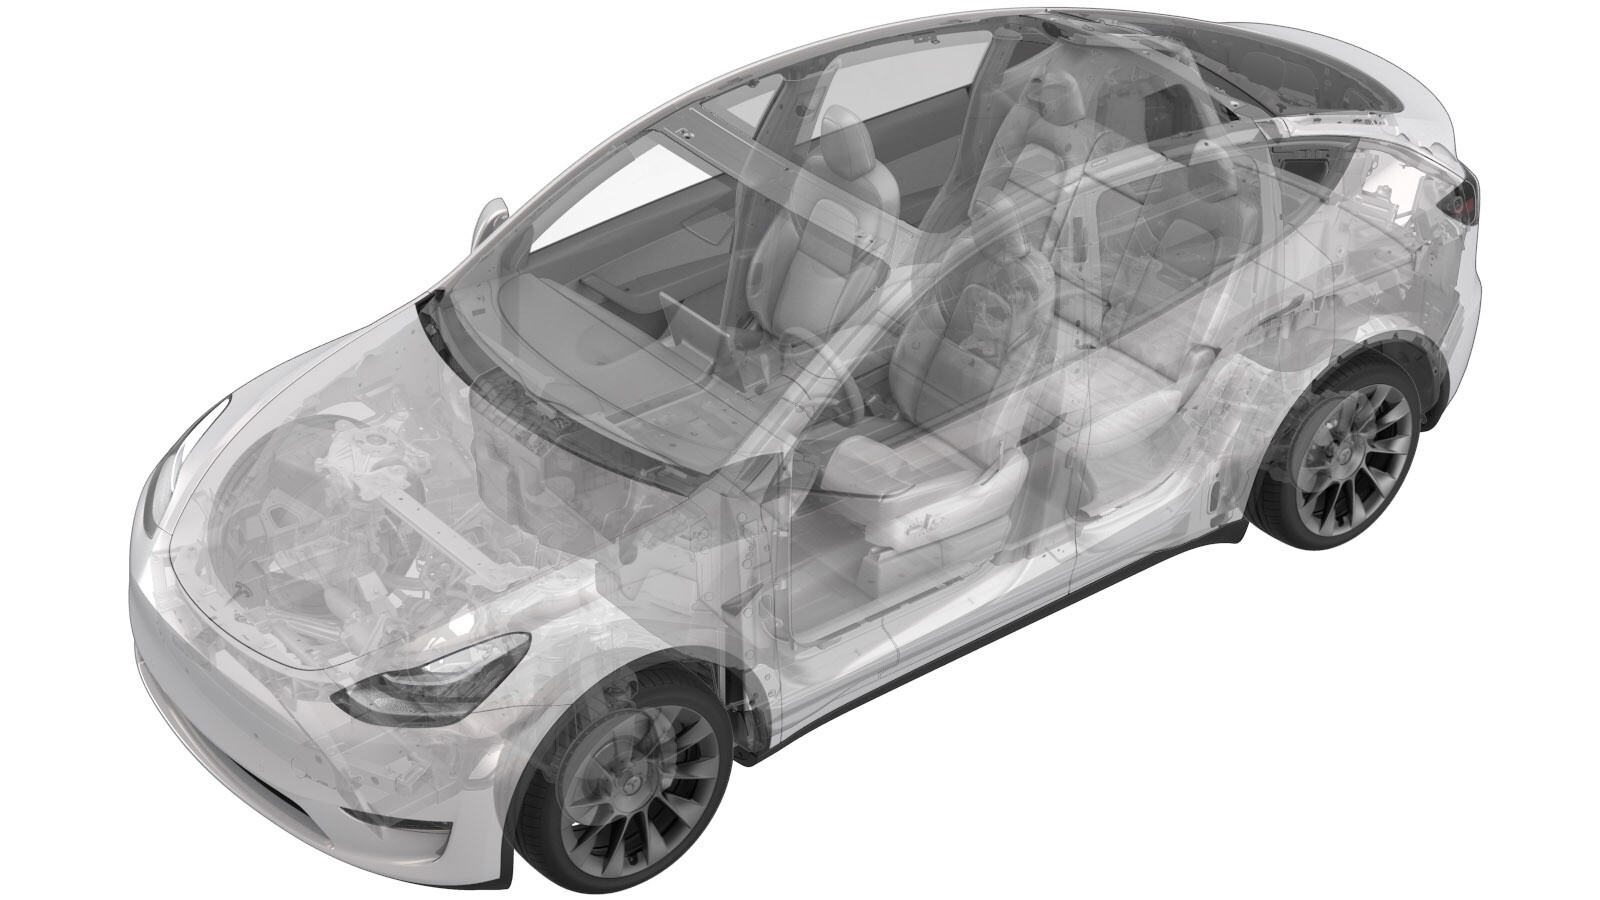
카펫 - 전면 - LH(구조용 팩)(탈거 및 교체)
 교정 코드
15301132 0.30
메모: 절차에서 명시적으로 언급하지 않는 한 위 교정 코드 및 FRT는 연결된 절차를 포함하여 이 절차를 수행하는 데 필요한 모든 작업을 반영합니다. 명시적으로 지시하지 않는 한 교정 코드를 누적하지 마십시오.
참고: FRT와 그 생성 방법에 대한 자세한 내용은 표준 정비 작업시간을 참조하십시오. FRT 값에 대한 피드백을 제공하려면 ServiceManualFeedback@tesla.com으로 이메일을 보내십시오.
메모: 아래 절차를 수행할 때 개인 보호을(를) 참조하여 적절한 PPE를 착용했는지 확인하십시오. 안전하고 건강한 작업 사례는 인체공학적 주의 사항의 내용을 참조하십시오.
경고
시트 베이스 가장자리는 날카로우며 신체 상해를 유발할 수 있습니다. 차량에서 시트를 탈거할 때 및 시트 베이스 또는 그 근처에서의 작업과 관련된 절차를 주행하는 동안 절단 방지 장갑을 착용하십시오.
탈거
- Remove the LH mid A-pillar trim. See 트림 - A필러 - 중단 - LH(탈거 및 교체).
- Remove the LH lower A-pillar trim. See 트림 - A필러 - 하단 - LH(탈거 및 교체).
- Remove the LH center console side panel. See 사이드 패널 - 센터 콘솔 - LH(탈거 및 교체).
-
Remove screw and clips (x2) that
attach the driver footwell cover to the instrument panel.
 2.5 Nm (1.8 lbs-ft)TIp다음 공구를 사용하는 것이 좋습니다.
- Torx T20 소켓
-
Disconnect the connectors (x2), and
then release the tabs (x3) to remove the driver footwell cover from the vehicle.
- Move the LH front seat fully forward.
-
Remove and discard the bolts (x2) that
attach the rear of the 1st row LH seat to the body.
경고Use only the Torx Plus T45 bit to remove the seat bolts.참고다음 공구를 사용하는 것이 좋습니다.
- Trox Plus T45 소켓
- Move the seat fully rearward.
-
Remove and discard the bolts (x2) that
attach the front of the 1st row LH seat to the body.
경고Use only the Torx Plus T45 bit to remove the seat bolts.참고다음 공구를 사용하는 것이 좋습니다.
- Trox Plus T45 소켓
-
Position the LH front seat up and
carefully lean it backwards.
-
Release the push clips (x2) and
vertical clip that attach the LH front carpet to the cabin support.
TIpInsert a clip pry tool on the outboard side of the clip, and then rotate to the right to release one side of clip. Move the clip pry tool inboard of clip and rotate to left to fully release the carpet clip from cabin support.
-
Release the clips (x4) that attach the
LH front carpet underneath the seat.
그림 1. Seat removed for clarity -
Release the harness clip and harness,
release all edges, and then remove the LH front carpet from the vehicle.
참고Take note of the short edge under the center console.
장착
-
Position the LH front carpet into the
vehicle, and then secure the harness clip and harness and all edges.
참고Tuck the short edge underneath the center console.
-
Install the clips (x4) that attach the LH front carpet underneath the seat.
그림 2. Seat removed for clarity -
Install the vertical clip and push clips (x2) that attach the LH front carpet to the
cabin support.
TIpSecure the vertical clip into place first.
-
Position the LH front seat down and
carefully tilt it forwards.
-
1열 LH 시트의 전면을 차체에 고정하는 새 볼트(2개)를 장착합니다.
 33.5 Nm (24.7 lbs-ft)경고Use only the Torx Plus T45 bit to install the seat bolts.참고다음 공구를 사용하는 것이 좋습니다.
- Trox Plus T45 소켓
- Move the LH front seat fully forward.
-
1열 LH 시트의 후면을 차체에 고정하는 새 볼트(2개)를 장착합니다.
 33.5 Nm (24.7 lbs-ft)경고Use only the Torx Plus T45 bit to install the seat bolts.참고다음 공구를 사용하는 것이 좋습니다.
- Trox Plus T45 소켓
- Move the LH front seat to the original position.
-
Position the driver footwell cover into the vehicle, and then connect the connectors
(x2) and then secure the tabs (x3).
-
Install screw and clips (x2) that attach the driver footwell cover to the instrument
panel.
 2.5 Nm (1.8 lbs-ft)TIp다음 공구를 사용하는 것이 좋습니다.
- Torx T20 소켓
- Install the LH center console side panel. See 사이드 패널 - 센터 콘솔 - LH(탈거 및 교체).
- Install the LH lower A-pillar trim. See 트림 - A필러 - 하단 - LH(탈거 및 교체).
- Install the LH mid A-pillar trim. See 트림 - A필러 - 중단 - LH(탈거 및 교체).
- Close the LH front door.