10/08/2023 00:45:52
글로브박스 - 무릎 에어백 포함(히트 펌프)(탈거 및 교체)
 교정 코드
14051022
참고: 절차에서 명시적으로 언급하지 않는 한 위 교정 코드 및 FRT는 연결된 절차를 포함하여 이 절차를 수행하는 데 필요한 모든 작업을 반영합니다. 명시적으로 지시하지 않는 한 교정 코드를 누적하지 마십시오.
참고: FRT와 그 생성 방법에 대한 자세한 내용은 표준 정비 작업시간을 참조하십시오. FRT 값에 대한 피드백을 제공하려면 LaborTimeFeedback@tesla.com으로 이메일을 보내십시오.
참고: 아래 절차를 수행할 때 개인 보호을(를) 참조하여 적절한 PPE를 착용했는지 확인하십시오.
교정 코드
14051022
참고: 절차에서 명시적으로 언급하지 않는 한 위 교정 코드 및 FRT는 연결된 절차를 포함하여 이 절차를 수행하는 데 필요한 모든 작업을 반영합니다. 명시적으로 지시하지 않는 한 교정 코드를 누적하지 마십시오.
참고: FRT와 그 생성 방법에 대한 자세한 내용은 표준 정비 작업시간을 참조하십시오. FRT 값에 대한 피드백을 제공하려면 LaborTimeFeedback@tesla.com으로 이메일을 보내십시오.
참고: 아래 절차를 수행할 때 개인 보호을(를) 참조하여 적절한 PPE를 착용했는지 확인하십시오.
경고
이 절차는 검증되었지만 초안입니다. 경고와 주의사항이 누락되었을 수 있습니다. 고전압 시스템 및 구성 요소에서 또는 그 근처에서 작업하는 경우에는 안전 요구 사항을 준수하고 최고 수준의 주의를 기울여야 합니다. 수정 사항 및 기타 의견이 있으면 ServiceDevelopment@teslamotors.com으로 알려 주십시오.
탈거
-
Open both front doors
-
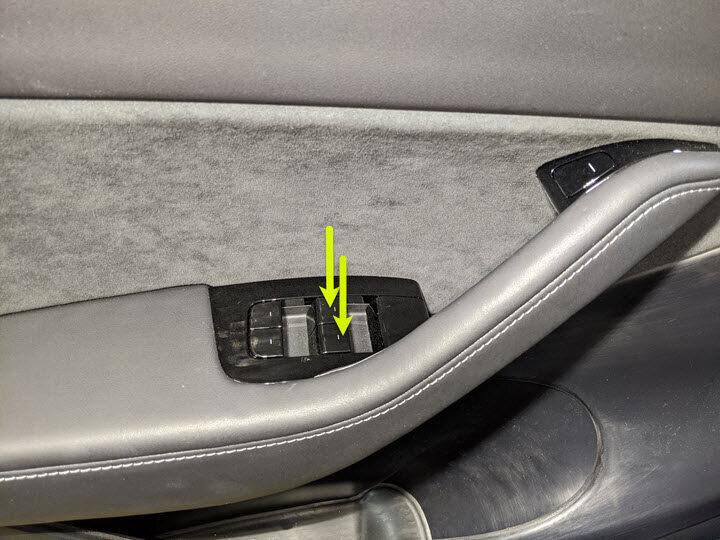
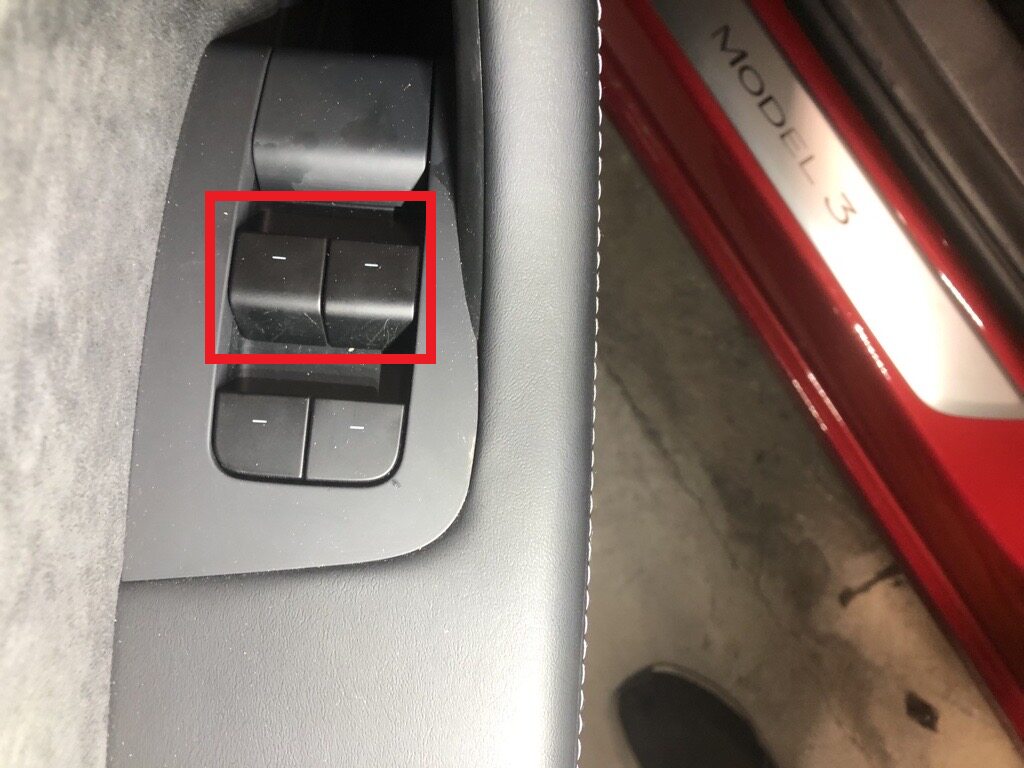
Lower both front windows
-
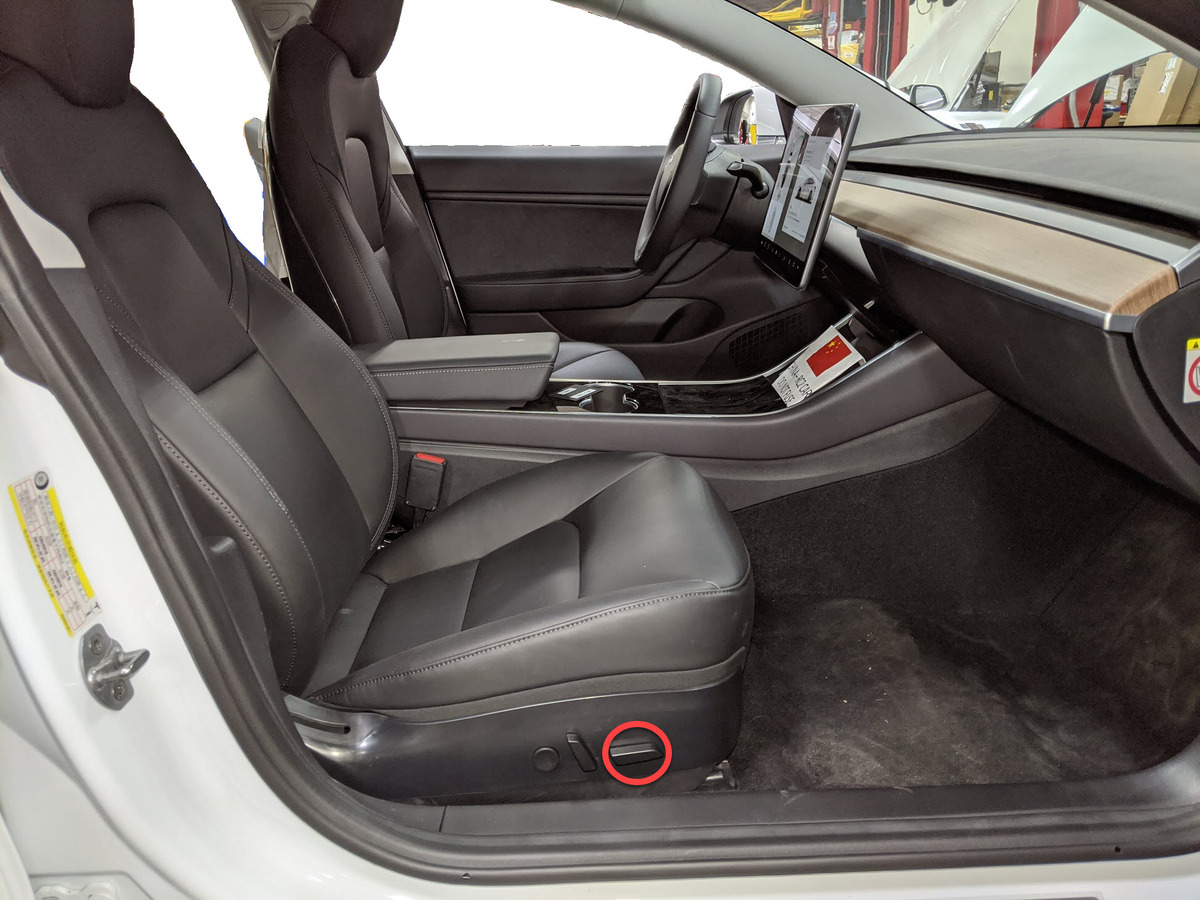
Move RH front seat backward
-
Open hood
참고Press "Open" button on touchscreen to release latch, Lift lid manually

-
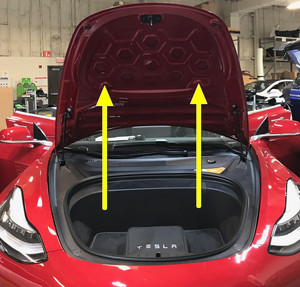
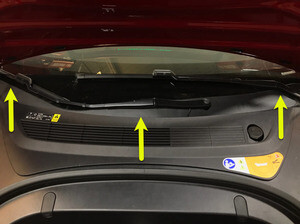
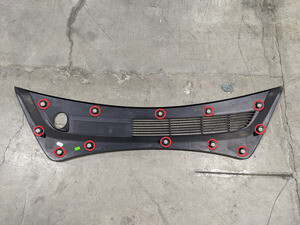
Remove rear apron
참고12x clips, Only store rear apron visible face upwards

-
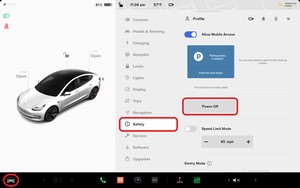
Power off vehicle from center
display
참고Via Controls > Safety > Power Off, Select Power Off button at warning dialogue box

-
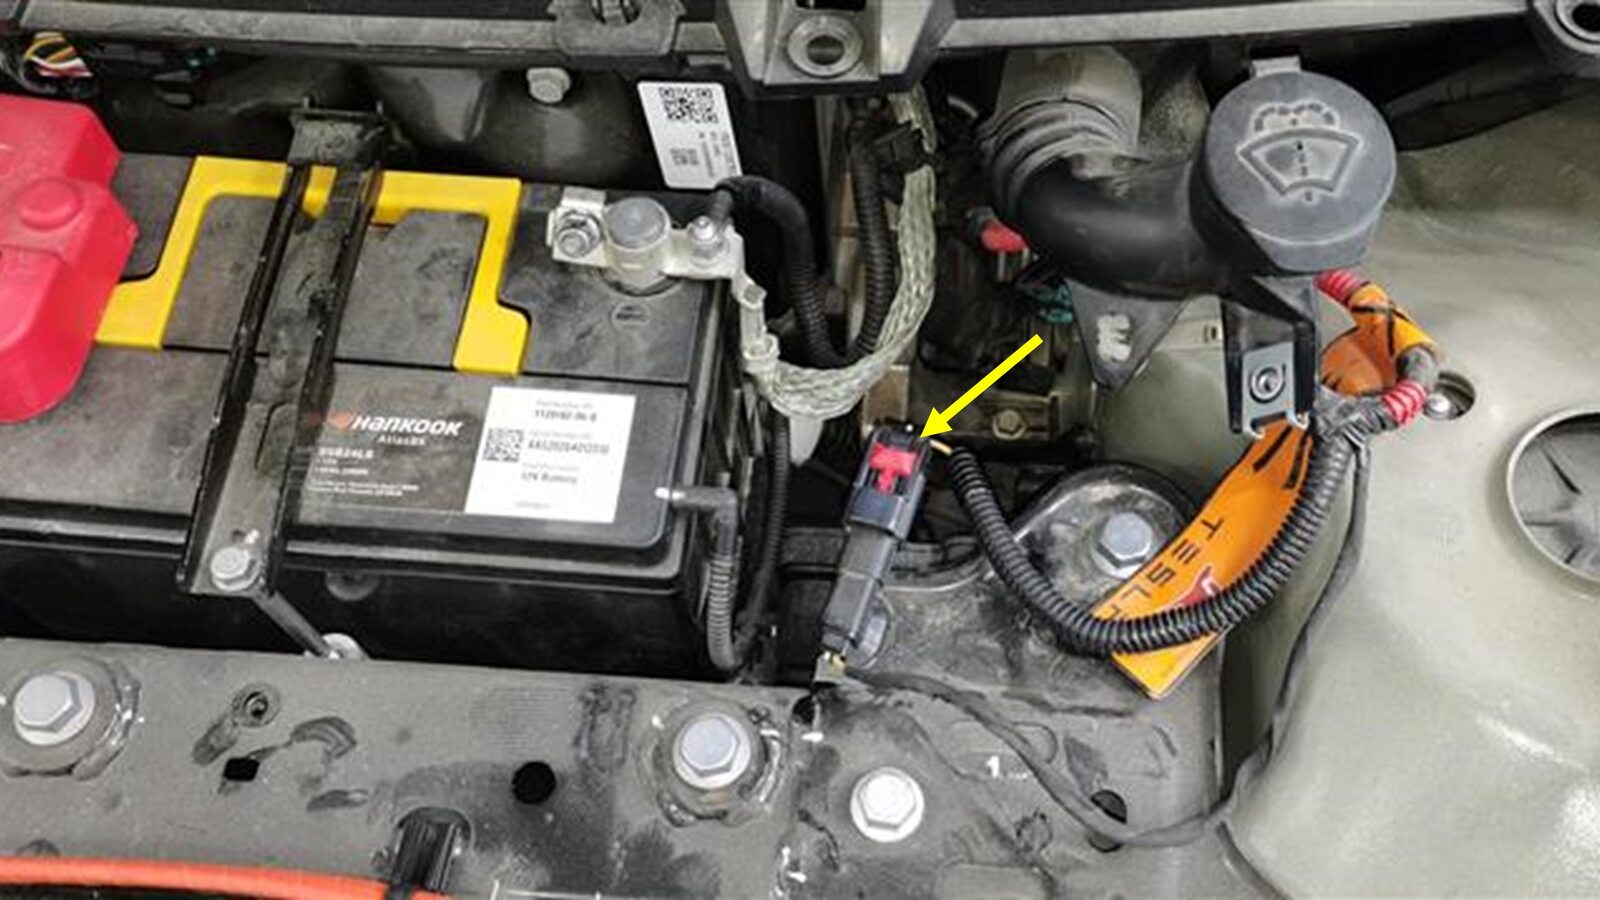
Disconnect 12V negative terminal
참고1x nut, 10mm, 6 Nm, Ensure vehicle is in park, climate control system is off, and vehicle is not charging before disconnecting 12V

-
Disconnect first responder loop
참고1x connector, Release locking tab
-
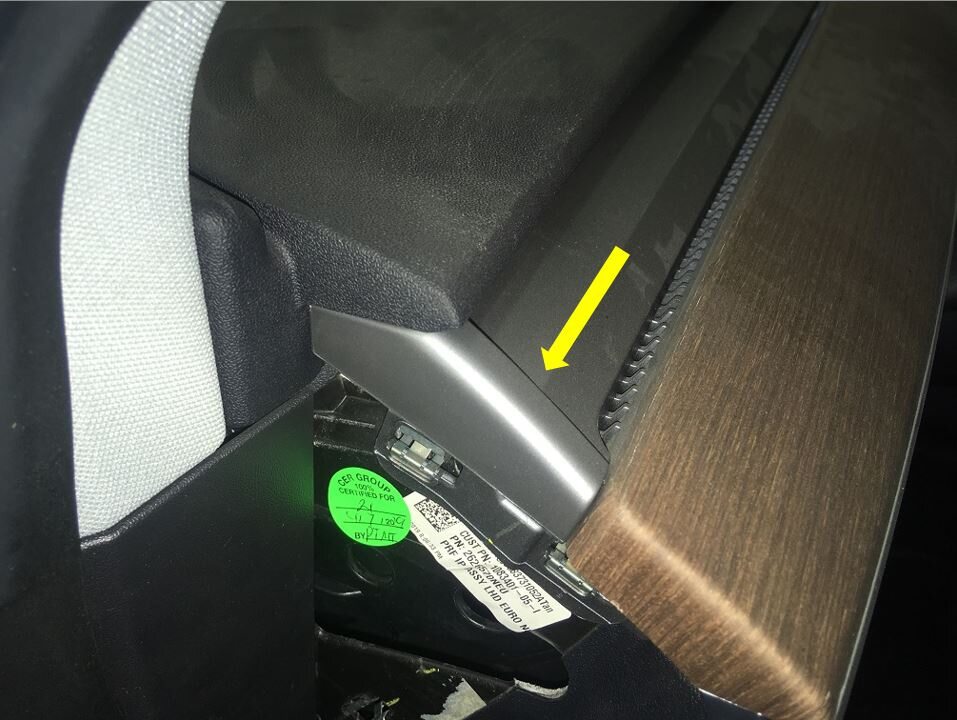
Remove LH IP end cap
참고3x clips

-
Remove LH air wave bezel cap from main
decor assembly
참고2x clips, Newer vehicles are equipped with solid bezel.

-
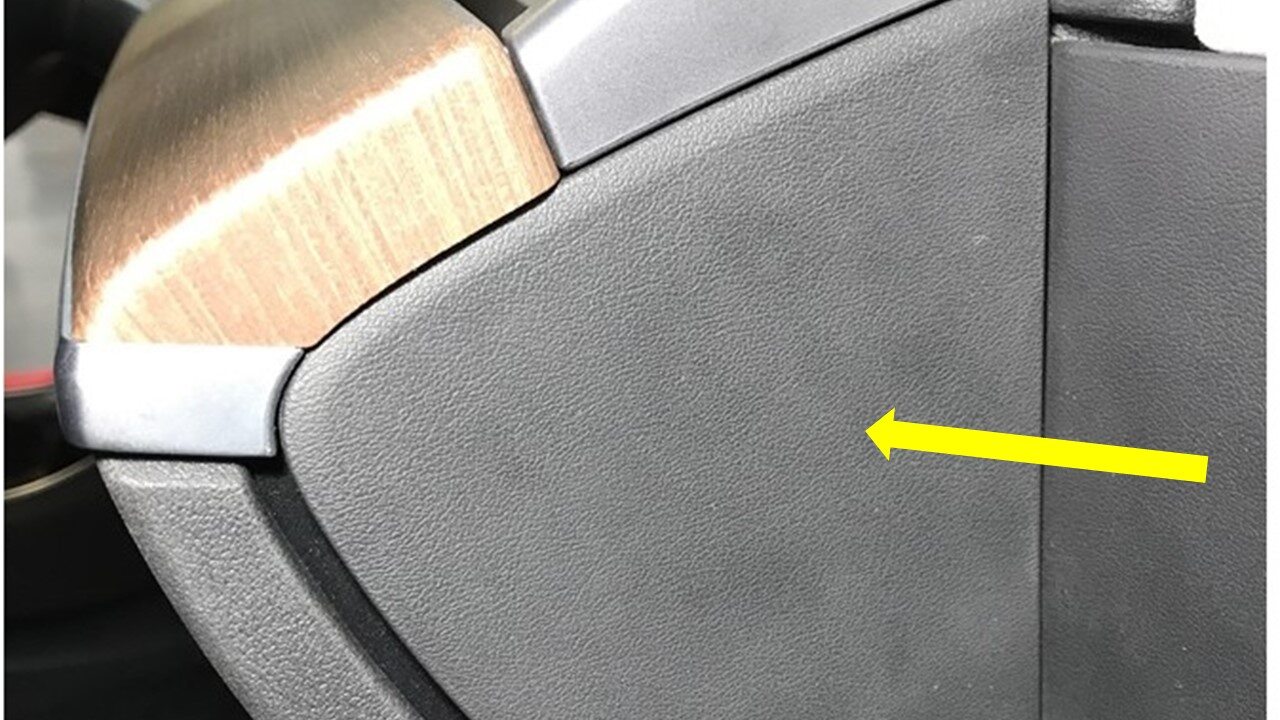
Remove RH IP end cap
참고3x clips

-
Remove RH air wave bezel cap from main
decor assembly
참고2x clips, Newer vehicles are equipped with solid bezel.
-
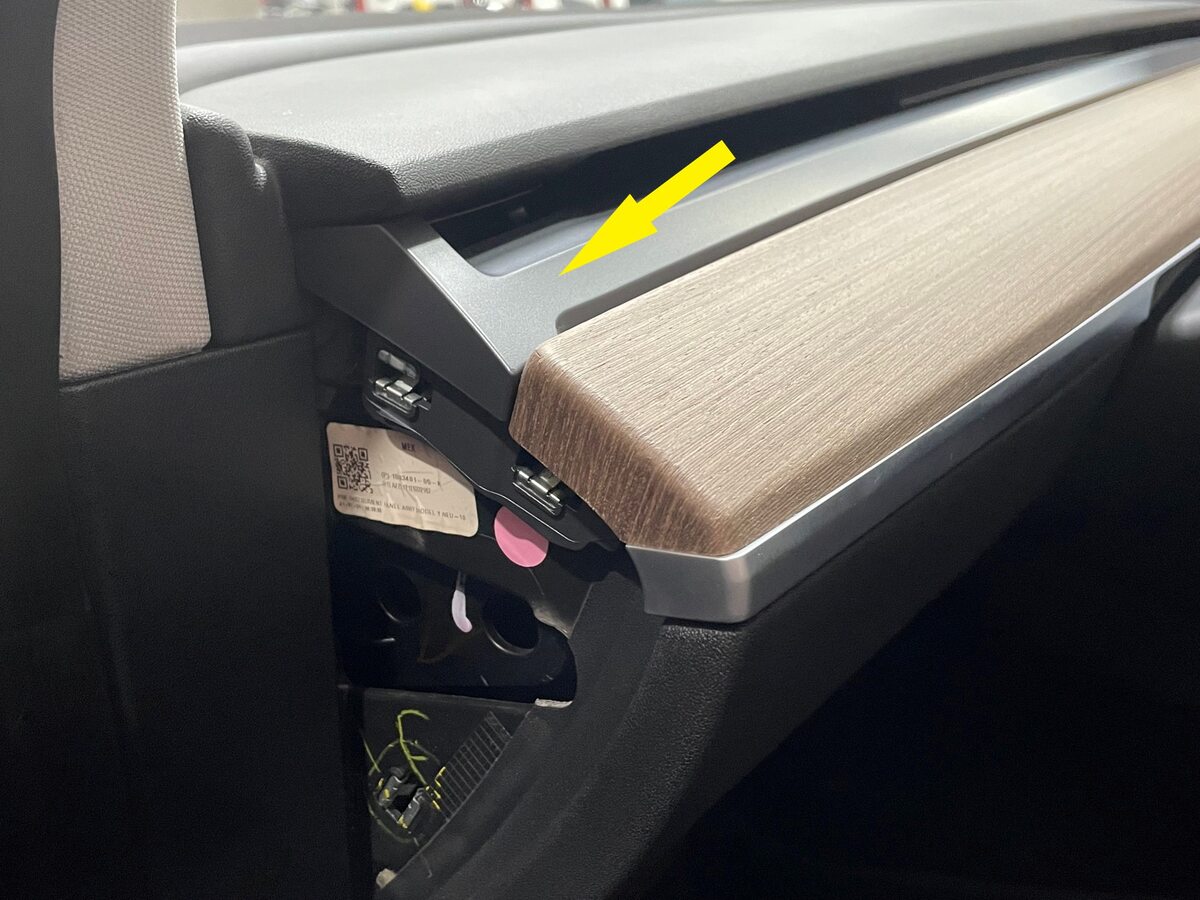
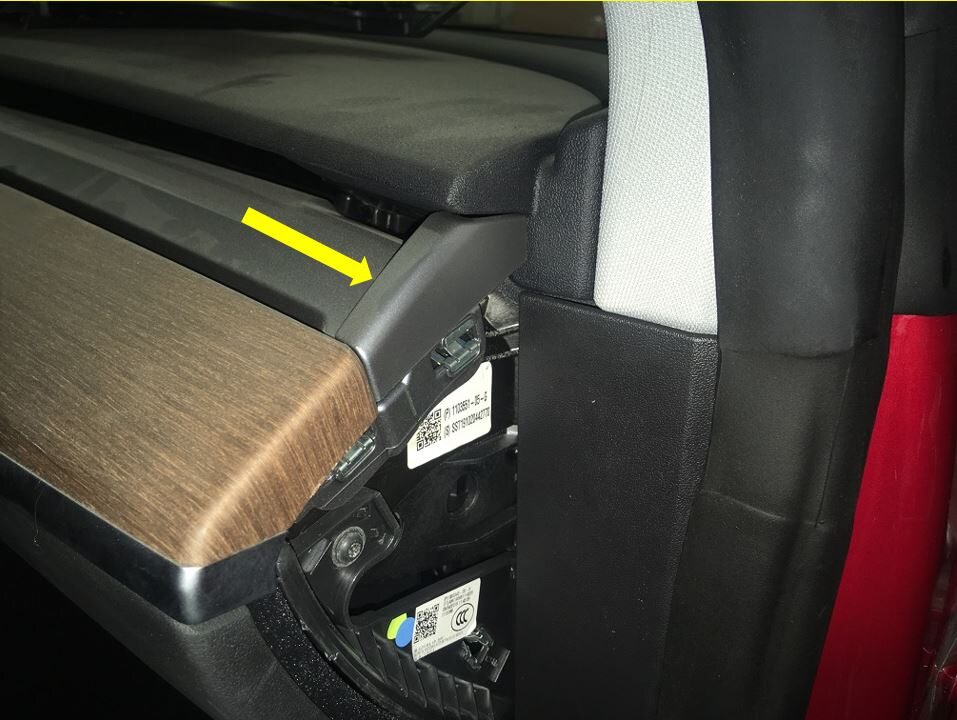
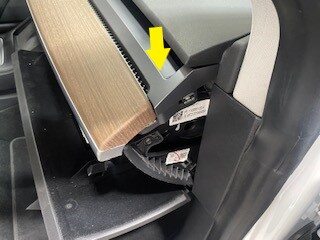
Remove main decor assembly
참고15x clips, Entire decor does not need to come off for glove box removal, If you lift RH side of decor then you will have access to 3x torx screws securing top of glove box, Replace securing clips as needed


-
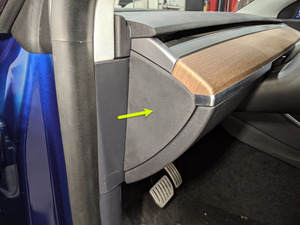
Release RH footwell assembly from
IP
참고4x push clips

-
Remove RH footwell assembly
참고2x connectors

-
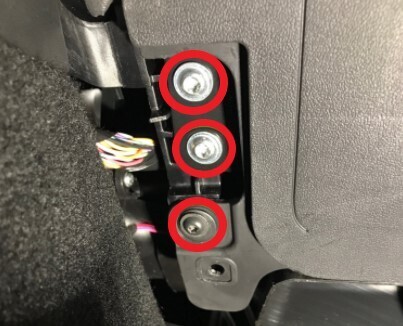
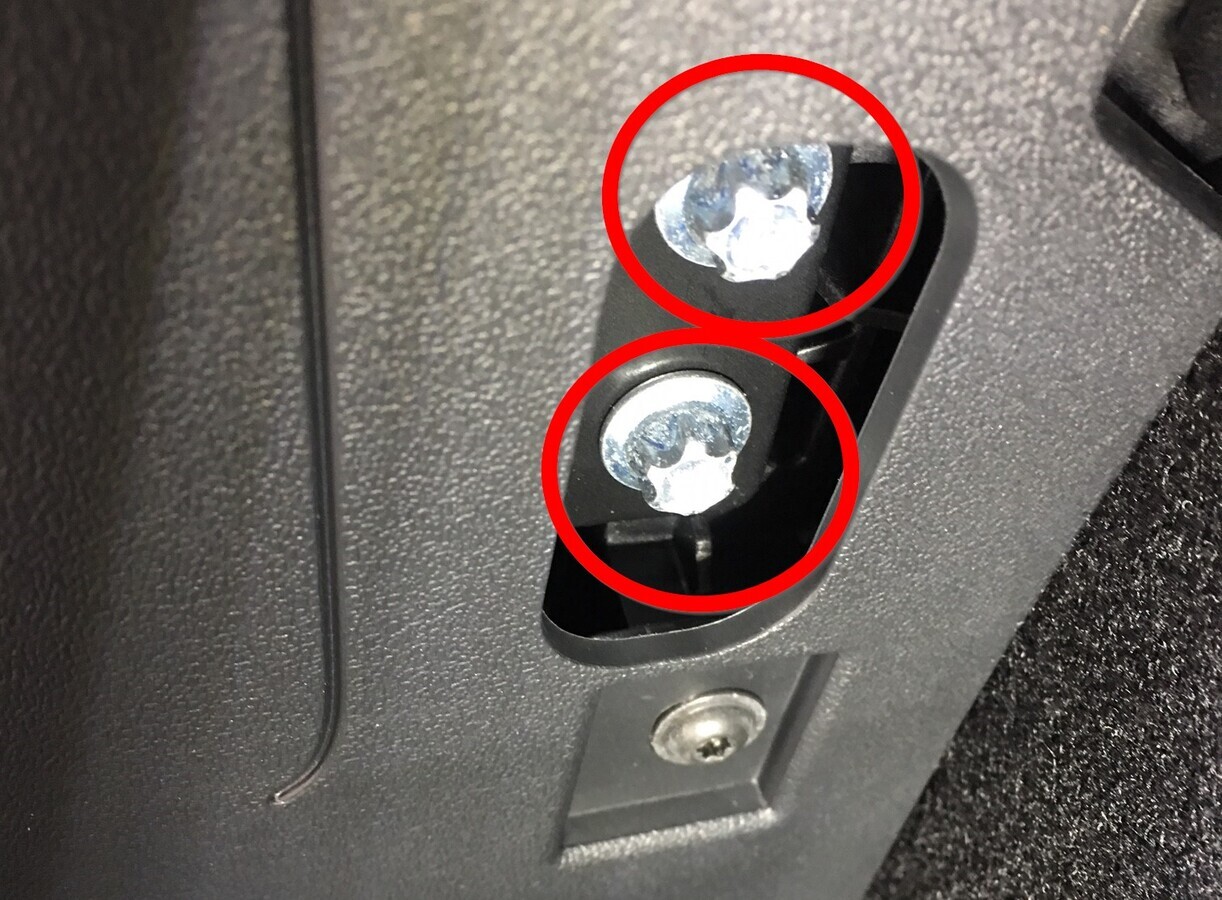
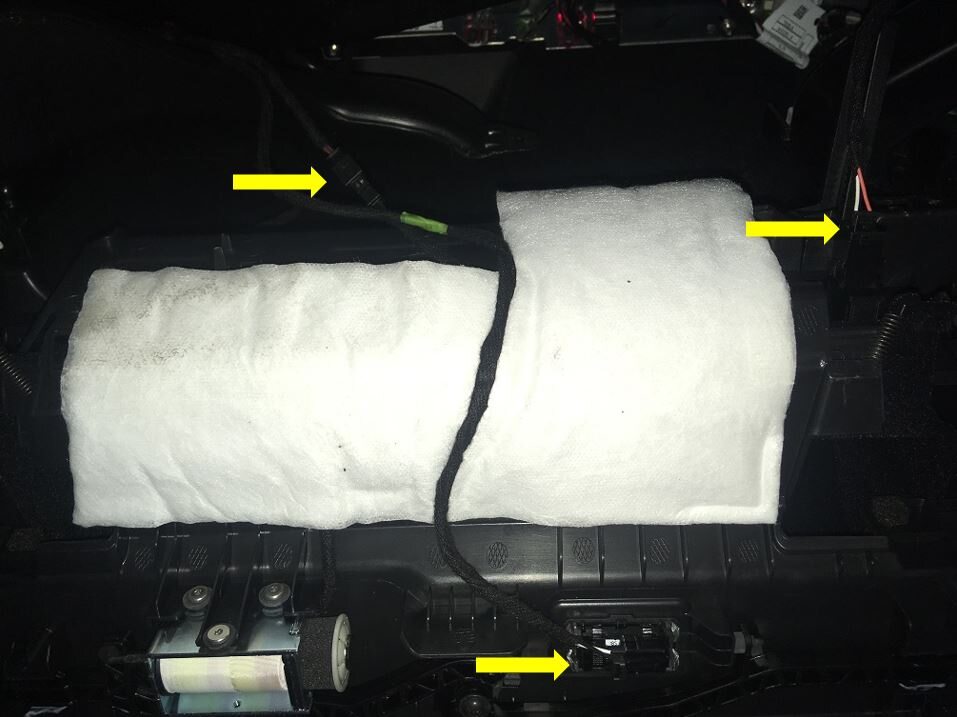
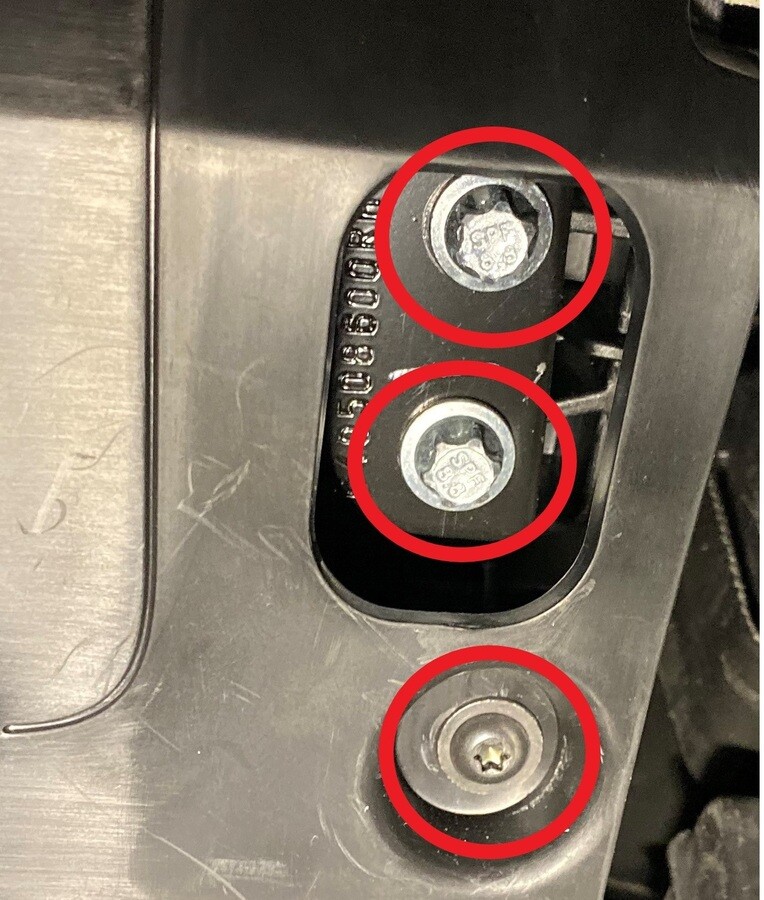
Remove bolts securing passenger knee
air bag onto vehicle
참고4x patch bolts, T30, 8 Nm, Discard after removal, 2x screws, T20, 2 Nm, 1x push clip, Newer vehicles have 4x E10 patch bolts

-
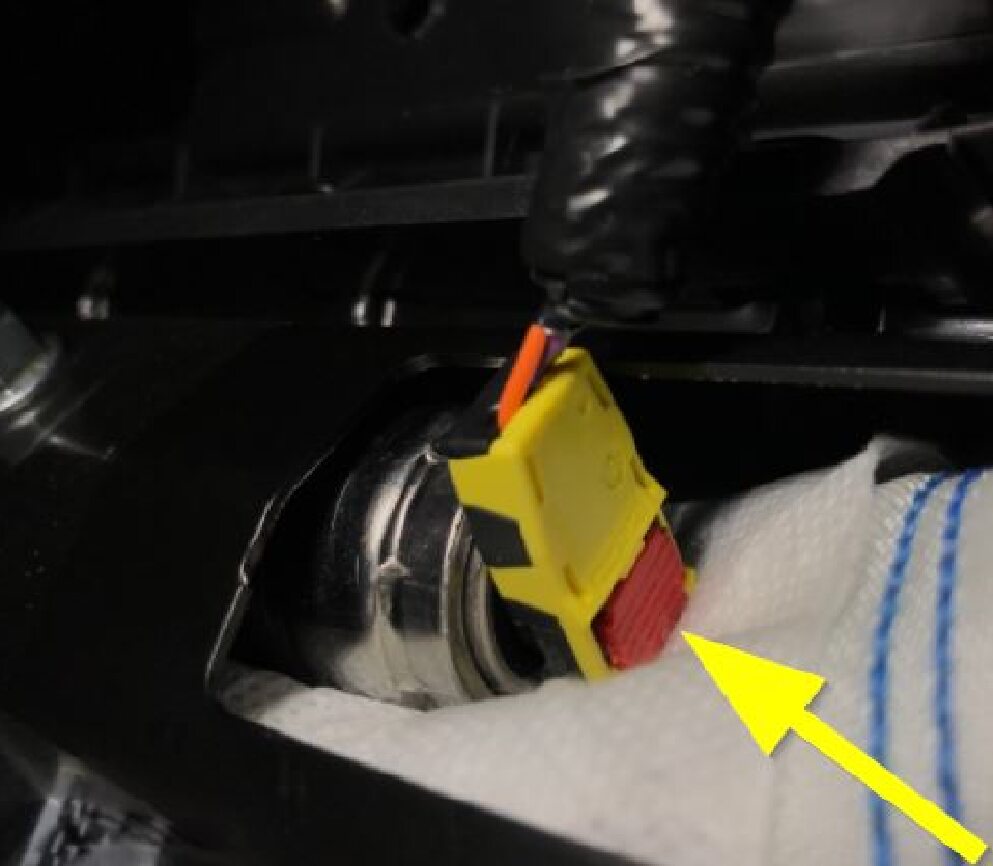
Remove passenger knee air bag from
vehicle
참고1x connector, Release locking tab, Connector release may vary

-
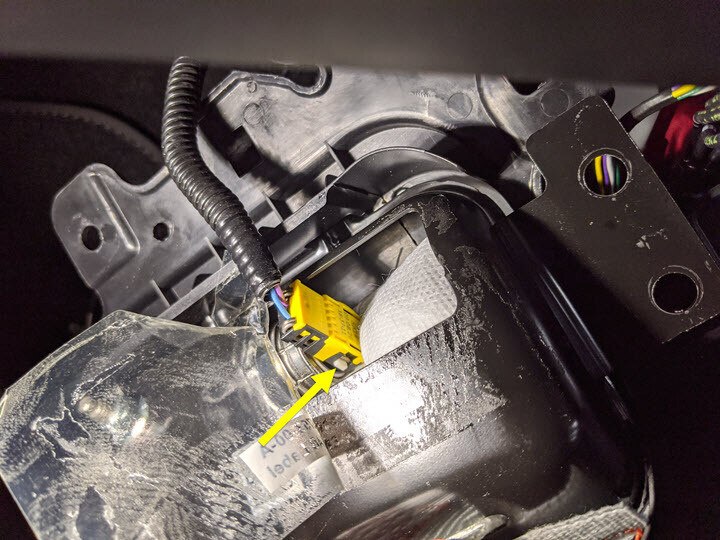
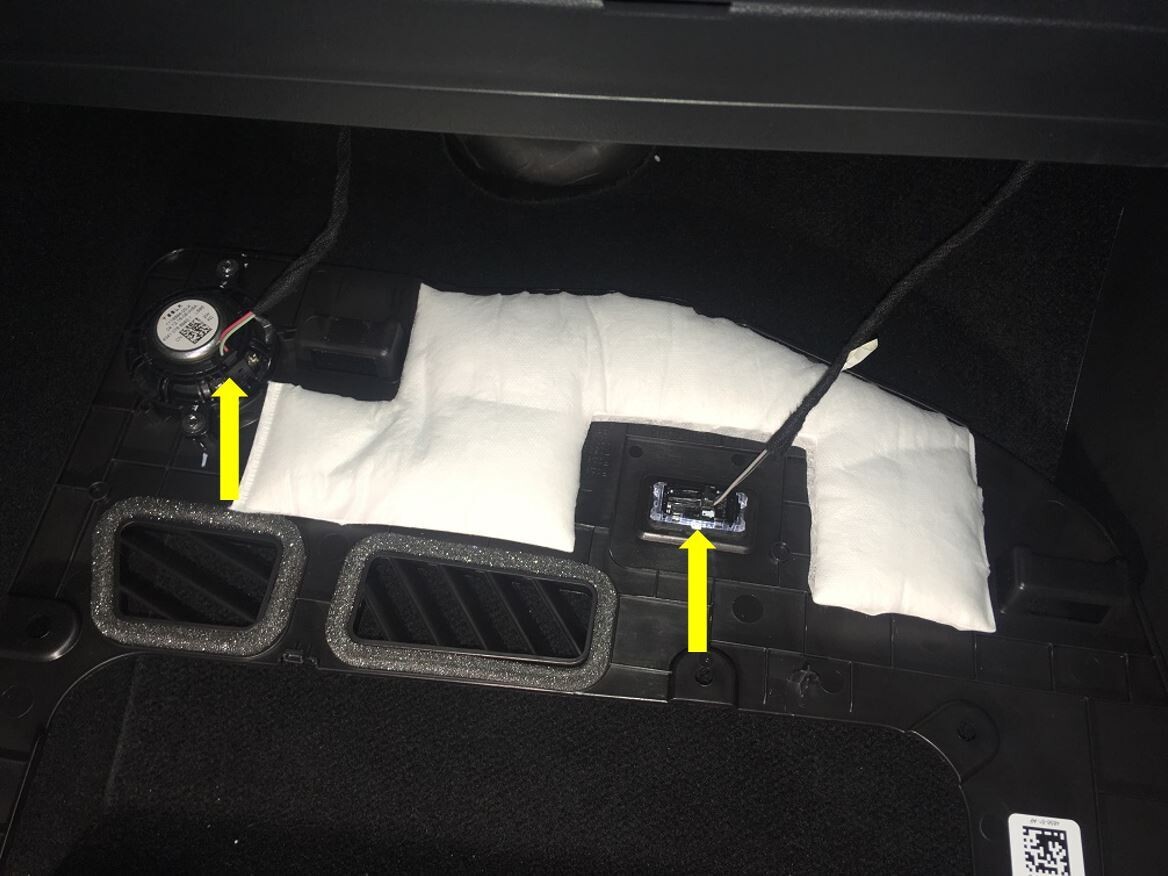
Disconnect glove box USB cable from
car computer
참고1x connector, Depress latch on top of USB cable to release internal latches, then release from car computer

-
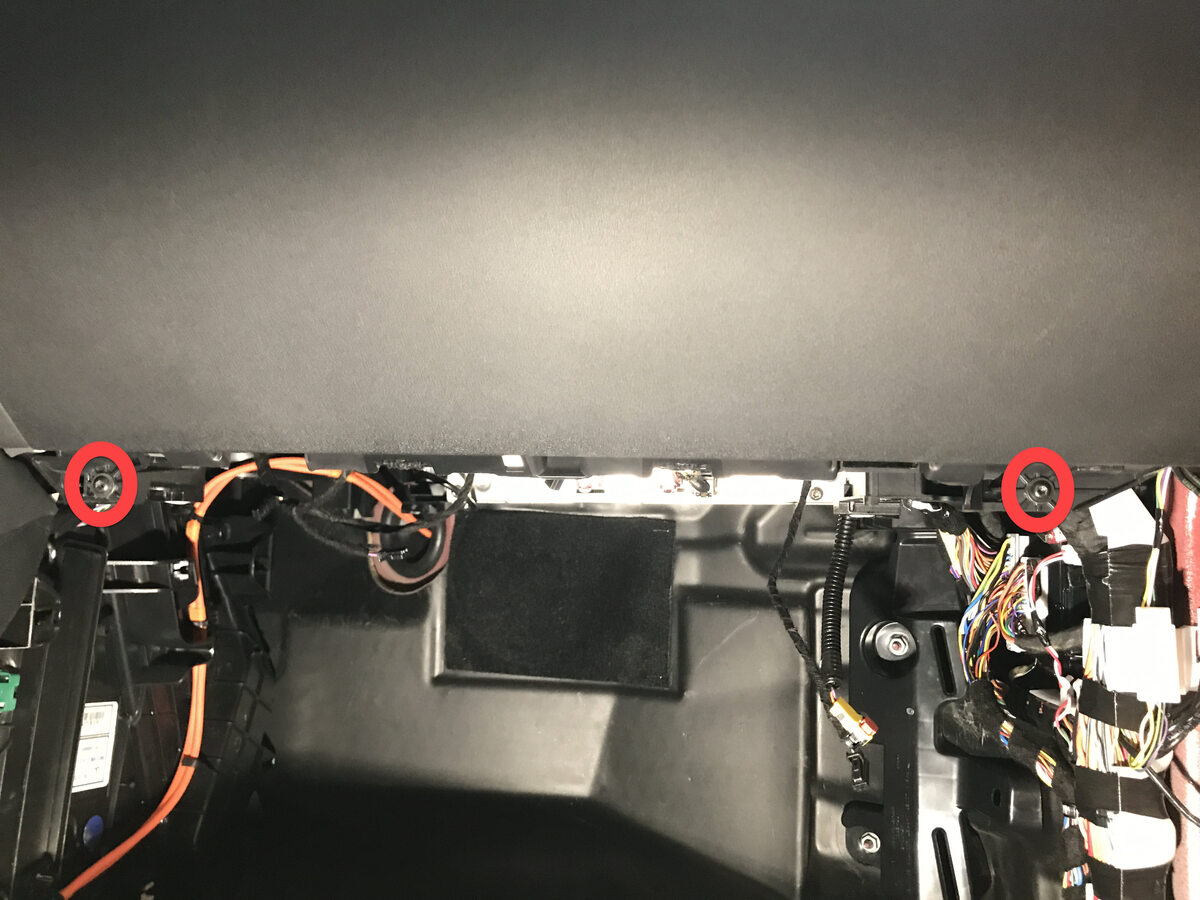
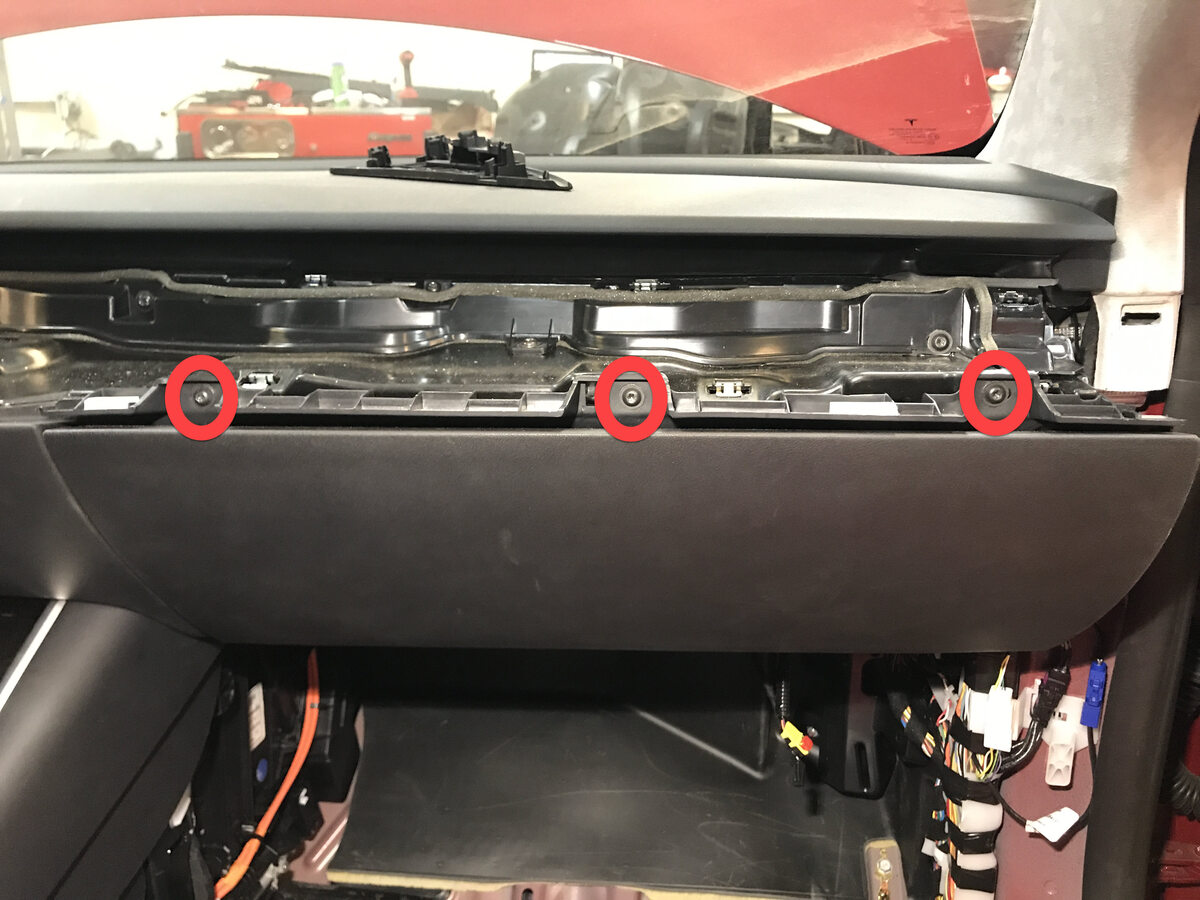
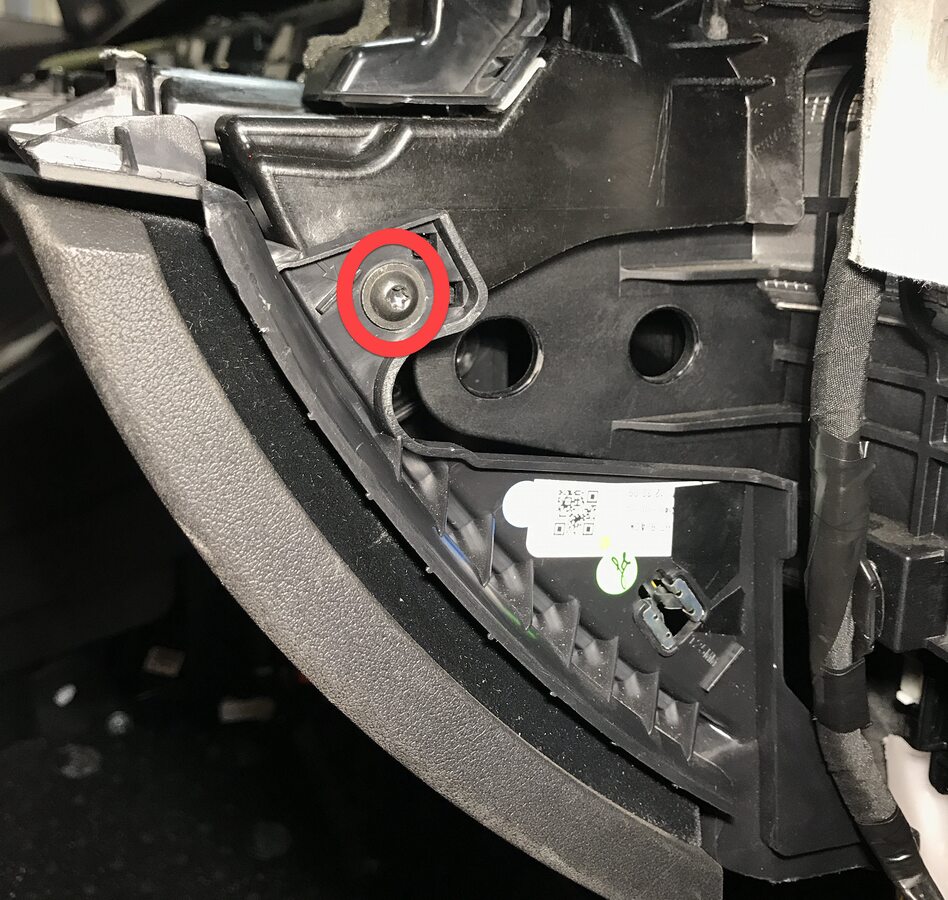
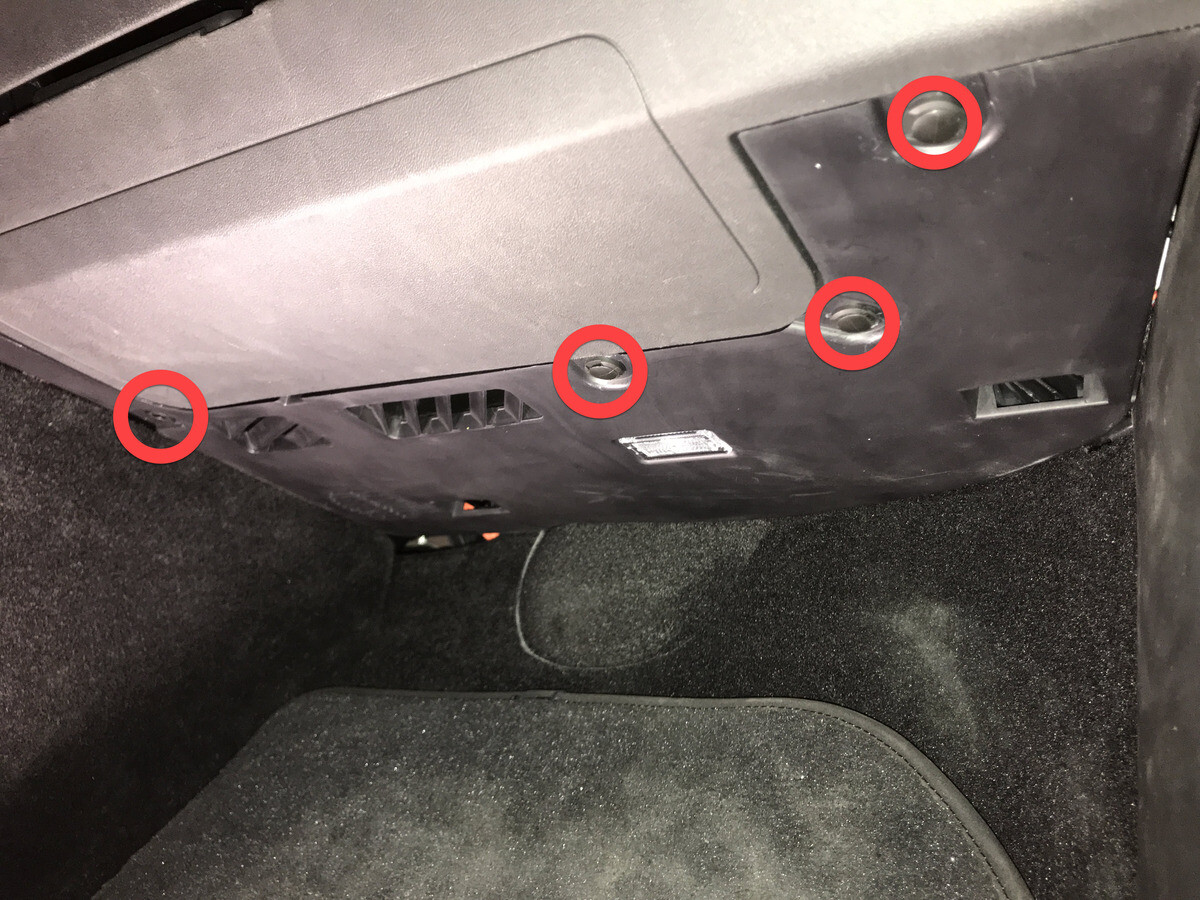
Remove screws securing glove box
assembly to IP carrier
참고6x screws, T20, 2.3 Nm


-
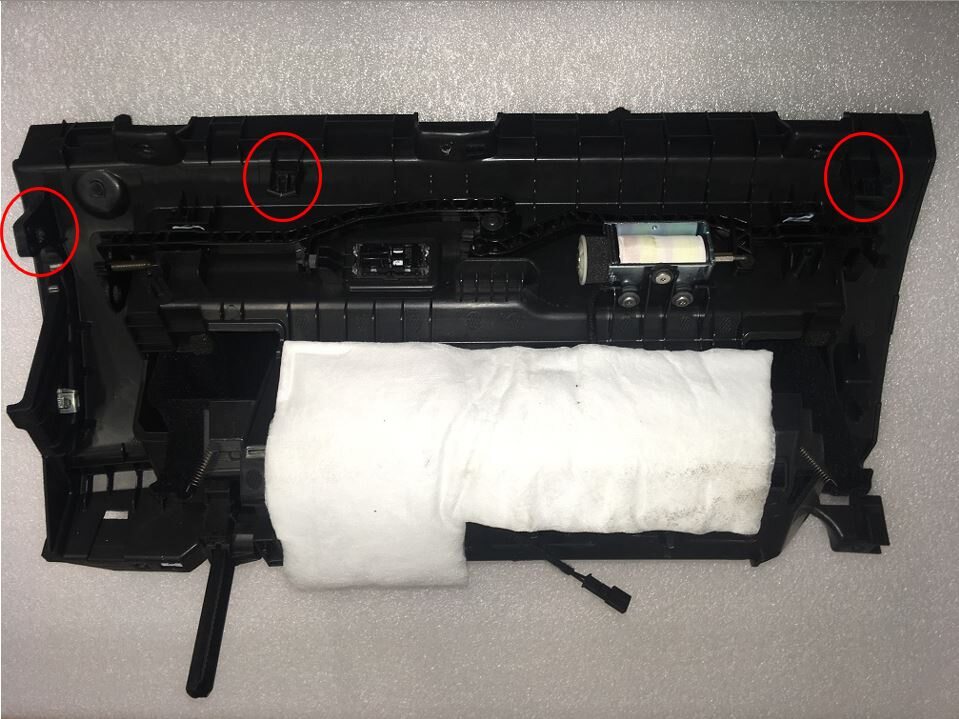
Remove glove box from IP carrier
참고3x clips
-
Disconnect glove box assembly
connectors
참고3x electrical connectors

장착
-
Connect glove box assembly
connectors
참고3x connectors, New puddle lamp harness routing prevent blocking movement of pawls, Make sure harness is routed properly above passenger footwell air duct before connecting


-
Install glove box into IP
carrier
참고3x clips

-
Install screws securing glove box
assembly to IP carrier
참고6x screws, T20, 2.3 Nm

-
Connect glove box USB cable to car
computer
참고1x connector
-
Install passenger knee air bag onto
vehicle
참고1x connector, Use caution not to damage connector and harness, Support knee air bag while connecting connector

-
Install bolts securing passenger knee
air bag to vehicle
참고4x patch bolts, E10, 8 Nm, Install new patch bolts, 2x screws, T20, 2 Nm, 1x push clip, If vehicle equipped with T30 bolts update to E10


-
Position RH footwell assembly
참고2x connectors
-
Install RH footwell assembly onto
IP
참고4x push clips
-
Install main decor assembly
참고15x clips, 1x center clip


-
Install RH air wave bezel cap to main
decor assembly
참고2x clips, Newer vehicles are equipped with solid bezel.


-
Install RH IP end cap
참고3x clips
-
Install LH air wave bezel cap to main
decor assembly
참고2x clips, Newer vehicles are equipped with solid bezel.

-
Install LH IP end cap
참고3x clips
-
Connect first responder loop
참고1x connector, Engage locking tab, Connect FRL before connecting 12V to avoid damage to car computer
-
Connect 12V negative terminal
참고1x nut, 10mm, 6 Nm

-
Install rear apron
참고12x clips


-
Close hood
-
Move RH front seat to original
position

-
Raise LF and RF windows
-
Close both front doors
