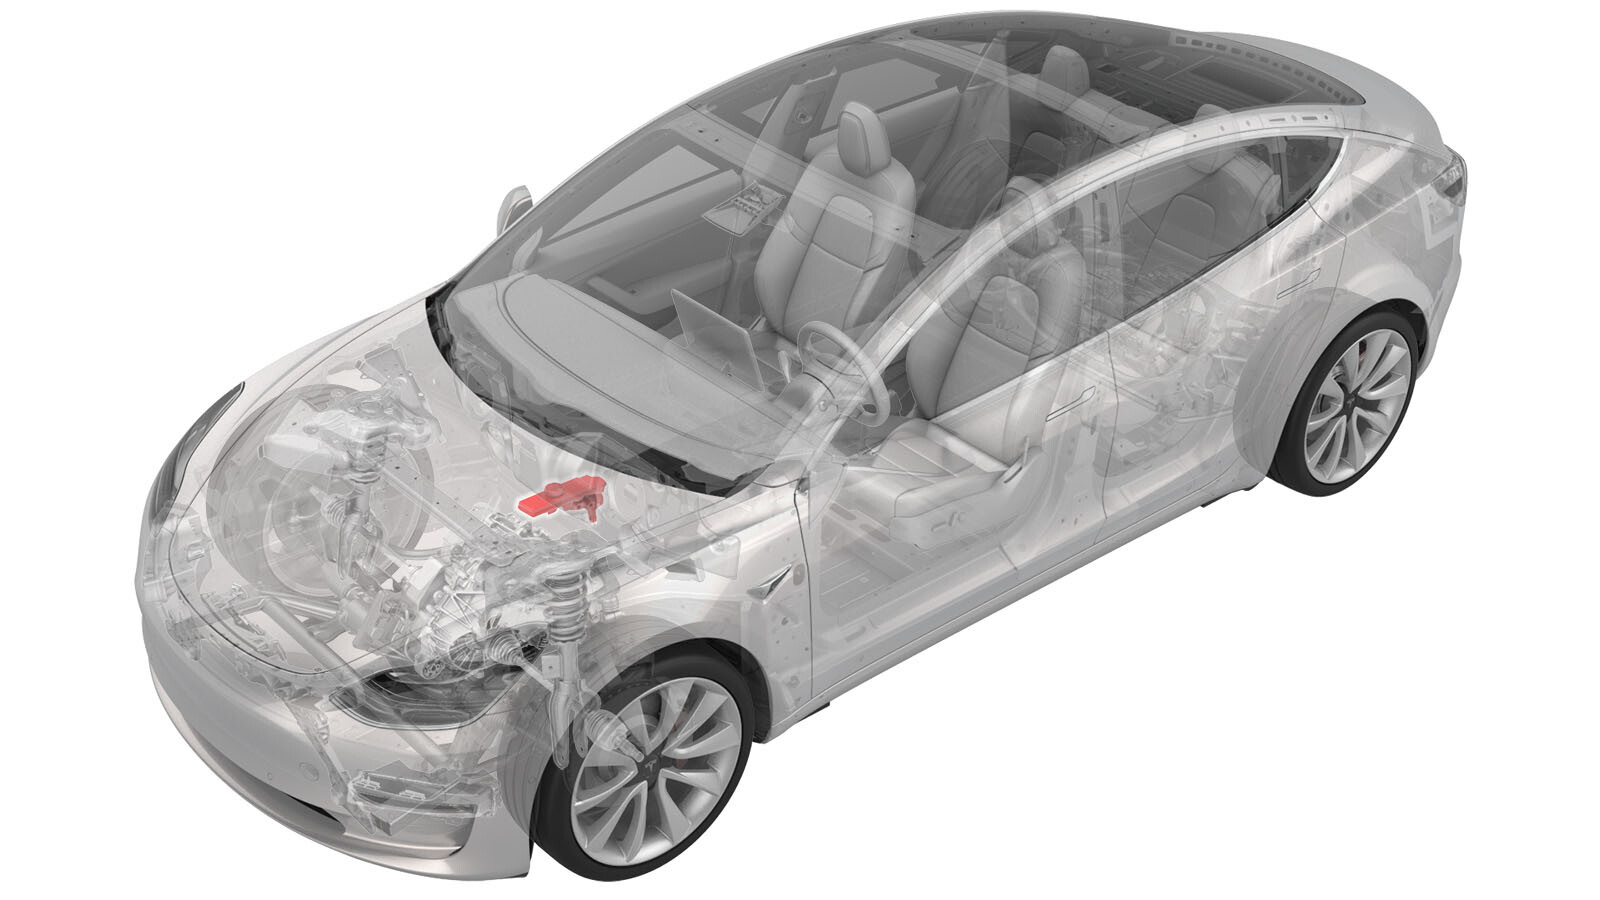
Ensemble maître-cylindre et réservoir (retirez et remplacez)
 Code de correction
33201012 1.26
REMARQUE : À moins d’indications explicites contraires dans la procédure, le code de correction et le temps forfaitaire ci-dessus représentent tout le travail à être fait pour cette procédure, notamment les procédures connexes. N’appliquez pas plusieurs codes de correction à la fois, à moins qu’il vous soit explicitement indiqué de le faire.
REMARQUE : Consultez Temps forfaitaires pour en apprendre plus à propos des temps forfaitaires et de leur création. Vous pouvez transmettre par courriel vos commentaires relatifs aux valeurs des temps forfaitaires à l'adresse ServiceManualFeedback@tesla.com.
REMARQUE : Consultez Protection individuelle pour vous assurer de porter l’équipement de protection individuelle adéquat lors vous effectuez la procédure ci-dessous. Voir Précautions ergonomiques pour consulter les pratiques de travail sécuritaires et saines.
- 2025-06-25: Modification de la méthode de purge des freins pour purger uniquement par les valves intérieures.
- 2025-03-06: Retrait de l'instruction servant au retrait du coussin de siège inférieur de 2e rangée et autres références redondantes.
Équipement :
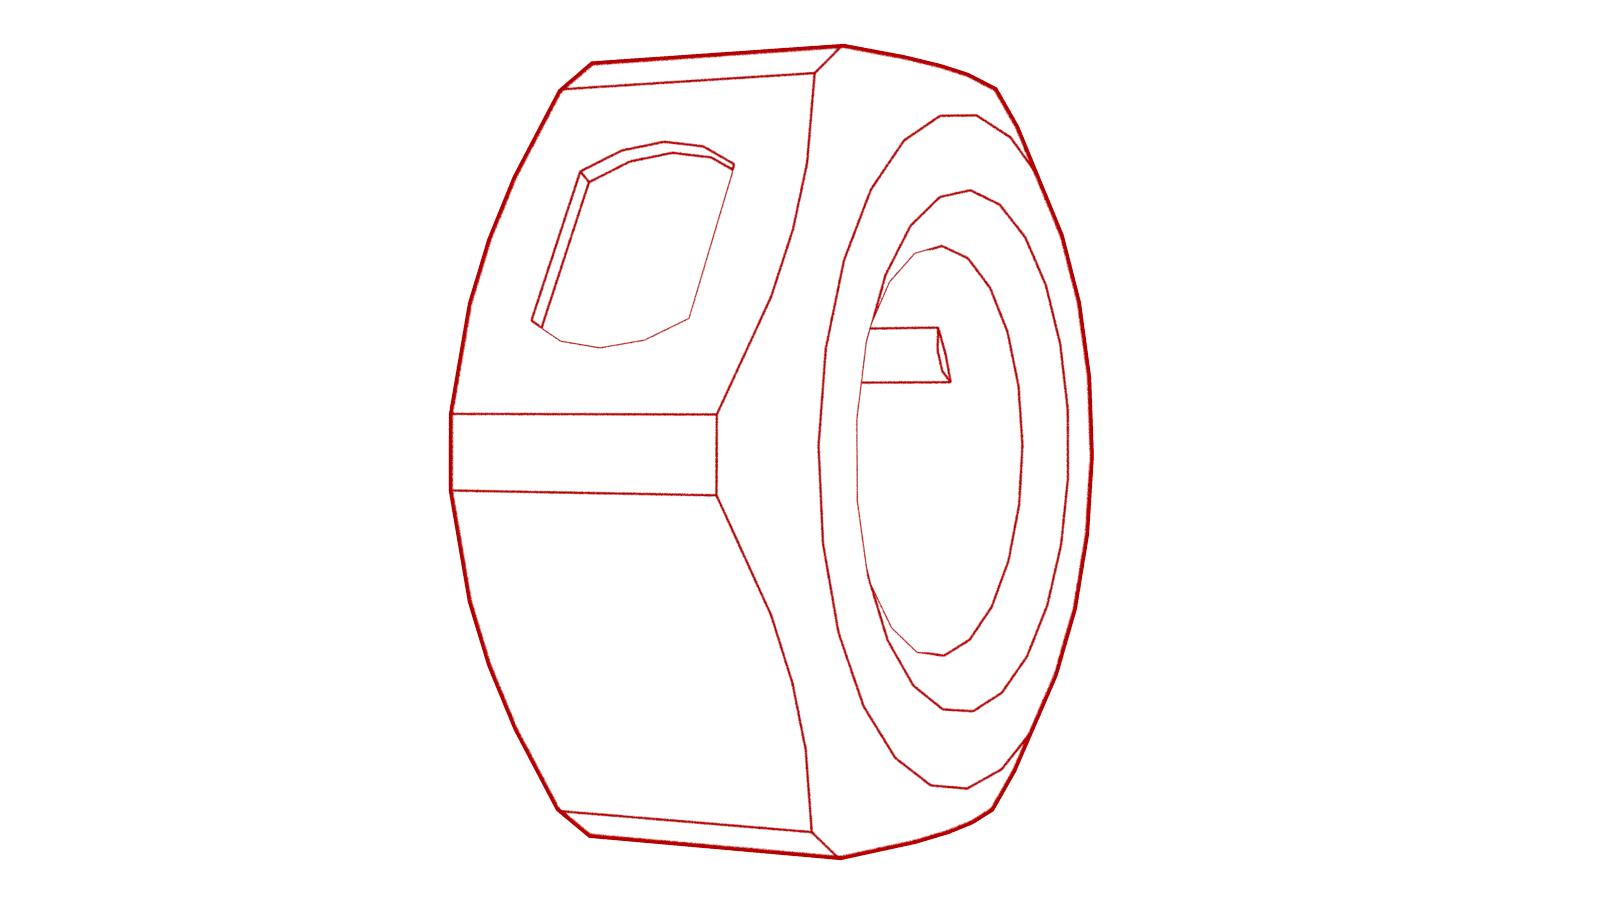
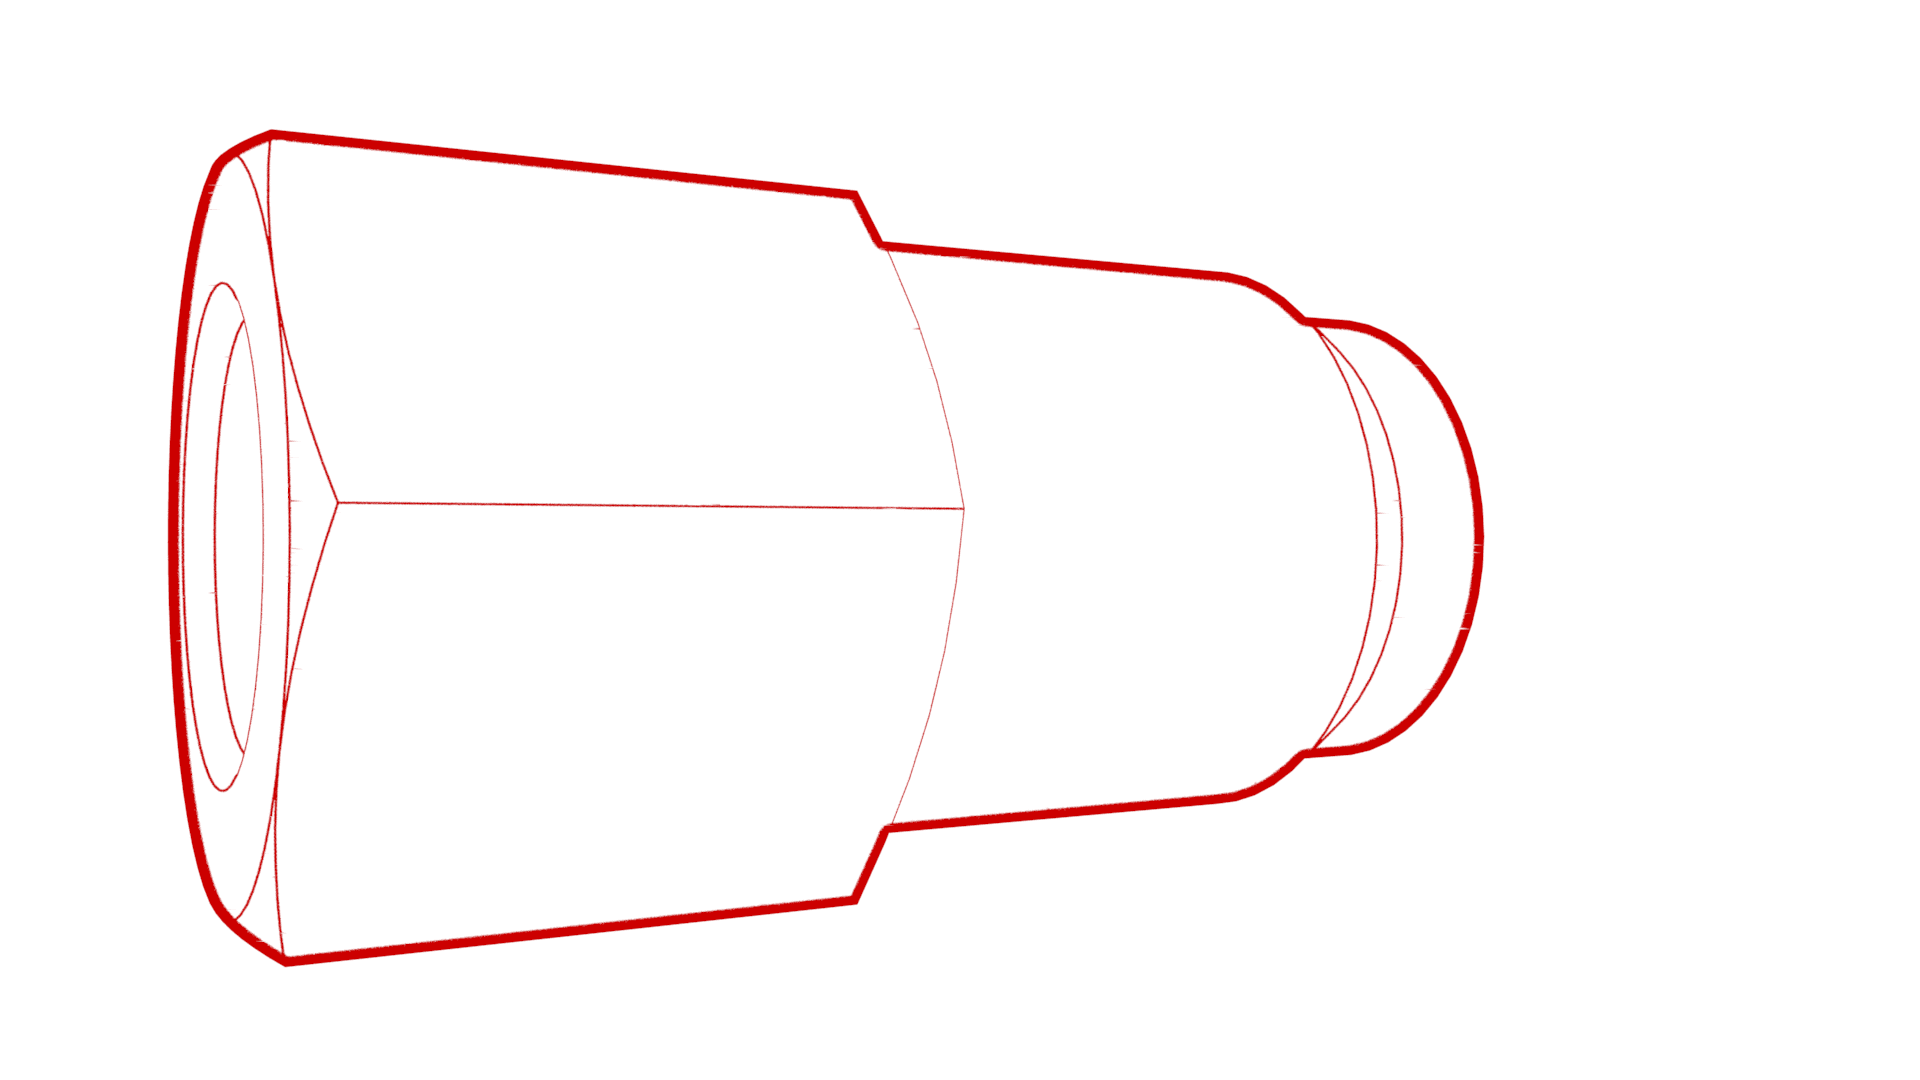
- 1079041-00-A Jeu de pied de biche pour écrou évasé
Retirer
-
ATTENTION
Le liquide de frein dissout la peinture. Ayez à portée de main des serviettes propres et beaucoup d’eau afin de nettoyer tout déversement de liquide de frein sur les surfaces peintes, le cas échéant.
RemarqueJetez le liquide de frein usé d’une manière qui respecte les codes environnementaux locaux.
- Soulevez et soutenez le véhicule. Voir Soulever le véhicule - pont élévateur à 2 poteaux,
- Retirez les roues avant. Voir Ensemble de roue (retrait et installation),
- Débranchez l'alimentation 12 V. Voir Alimentation 12 V/BT (déconnectez et connectez),
- Retirez le conduit d’entrée de la cabine. Voir Conduit - supérieur - admission de la cabine (retrait et remplacement),
- Retirez l’unité de rangement qui se trouve sous le capot. Voir Unité de rangement sous le capot (retirez et remplacez),
- Retirez les essuie-glace. Voir Bras d’essuie-glace (retirez et remplacez),
- Retirez les renforts gauche et droit de la tour d’amortisseur. Voir Couvercle - tour d’amortisseur - gauche (retirez et remplacez),
- Retirez le panneau de l'écran d’auvent. Voir Panneau - Écran d’auvent (retrait et remplacement),
-
Débranchez le connecteur du réservoir de liquide de frein.
-
Placez des linges absorbants sous le réservoir de liquide de frein.
-
Nettoyez la zone autour du réservoir de liquide de freins, puis enlevez le bouchon du réservoir de liquide de freins.
- Utilisez une seringue pour liquide de freins pour retirer le liquide de freins du réservoir.
- Installez le bouchon du réservoir de liquide de freins.
-
Desserrez les écrous qui fixent les conduites de frein au servofrein, puis faites glisser les écrous vers l’arrière sur les conduites de frein.
-
Retirez les écrous qui fixent le maître-cylindre au servofrein.
-
Retirez le maître-cylindre et l’ensemble réservoir du véhicule.
RemarqueAssurez-vous d’enlever aussi le joint torique du maître-cylindre.
Installer
-
Positionnez le maître-cylindre et l’ensemble réservoir dans le véhicule.
ATTENTIONManipulez l’amplificateur de freinage électromécanique seulement par le boîtier principal. N’utilisez pas la tige-poussoir, le réservoir ou les connecteurs pour soulever ou manipuler l’amplificateur de freinage électromécanique.ATTENTIONLors du positionnement du maître-cylindre contre le servofrein, assurez-vous que la tige du servofrein entre dans le maître-cylindre.
Figure 1. Positionnez le réservoir et le maître-cylindre dans le véhicule Figure 2. Alignez la tige du servofrein avec l’orifice du maître-cylindre -
Installez les écrous qui fixent le maître-cylindre au servofrein.
 20 Nm (14.7 lbs-ft)
 - Retirez les bouchons des conduites de frein du nouveau maître-cylindre.
-
Installez les écrous qui fixent les conduites de frein au maître-cylindre.
 16 Nm (11.8 lbs-ft)
 - Retirez les linges absorbants de l’espace sous le réservoir de liquide de freins.
-
Branchez le connecteur électrique au réservoir de liquide de freins.
- Installez le panneau de l’écran d’auvent. Voir Panneau - Écran d’auvent (retrait et remplacement),
- Installez les couvercles de tour d’amortisseur gauche et droit. Voir Couvercle - tour d’amortisseur - gauche (retirez et remplacez),
- Installez les bras d'essuie-glace. Voir Bras d’essuie-glace (retirez et remplacez),
- Installez l’unité de rangement sous le capot Voir Unité de rangement sous le capot (retirez et remplacez),
- Installez le conduit d’admission d’air de la cabine. Voir Conduit - supérieur - admission de la cabine (retrait et remplacement),
- Branchez l’alimentation 12 V. Voir Alimentation 12 V/BT (déconnectez et connectez),
-
Purgez les étriers de frein avant gauche et droit à partir des vannes de purge internes des étriers de frein jusqu'à ce que le liquide qui s'écoule de l'étrier soit propre et sans bulles d'air.
RemarqueIl n'est pas nécessaire de purger les étriers de frein à partir des vannes de purge externes.
- Rincez l'étrier avant gauche à l'aide de la vanne de purge interne jusqu'à ce que vous observiez une réduction notable des bulles d'air.
- Rincer l'étrier avant droit à l'aide de la vanne de purge interne jusqu'à ce que vous observiez une réduction notable des bulles d'air.
- Purgez l'étrier avant gauche à l'aide de la vanne de purge interne. Voir Saignement/vidage de fluide de frein pour les détails.
- Purgez l'étrier avant droit à l'aide de la vanne de purge interne. Voir Saignement/vidage de fluide de frein pour les détails.
- Assurez-vous d'effectuer le test de rigidité des freins. Voir Saignement/vidage de fluide de frein pour les détails.
- Installez les roues avant. Voir Ensemble de roue (retrait et installation),
- Installez le tablier sous le capot. Voir Tablier sous le capot - arrière (retirez et remplacez),
-
Effectuez un essai routier lors duquel vous ferez une série d’arrêts secs pour vous assurer que la sensation de la pédale et les performances de freinage sont adéquates.
RemarqueAjoutez le code de correction 00040100 d'essai routier en tant qu'activité distincte au registre de la visite d'entretien.