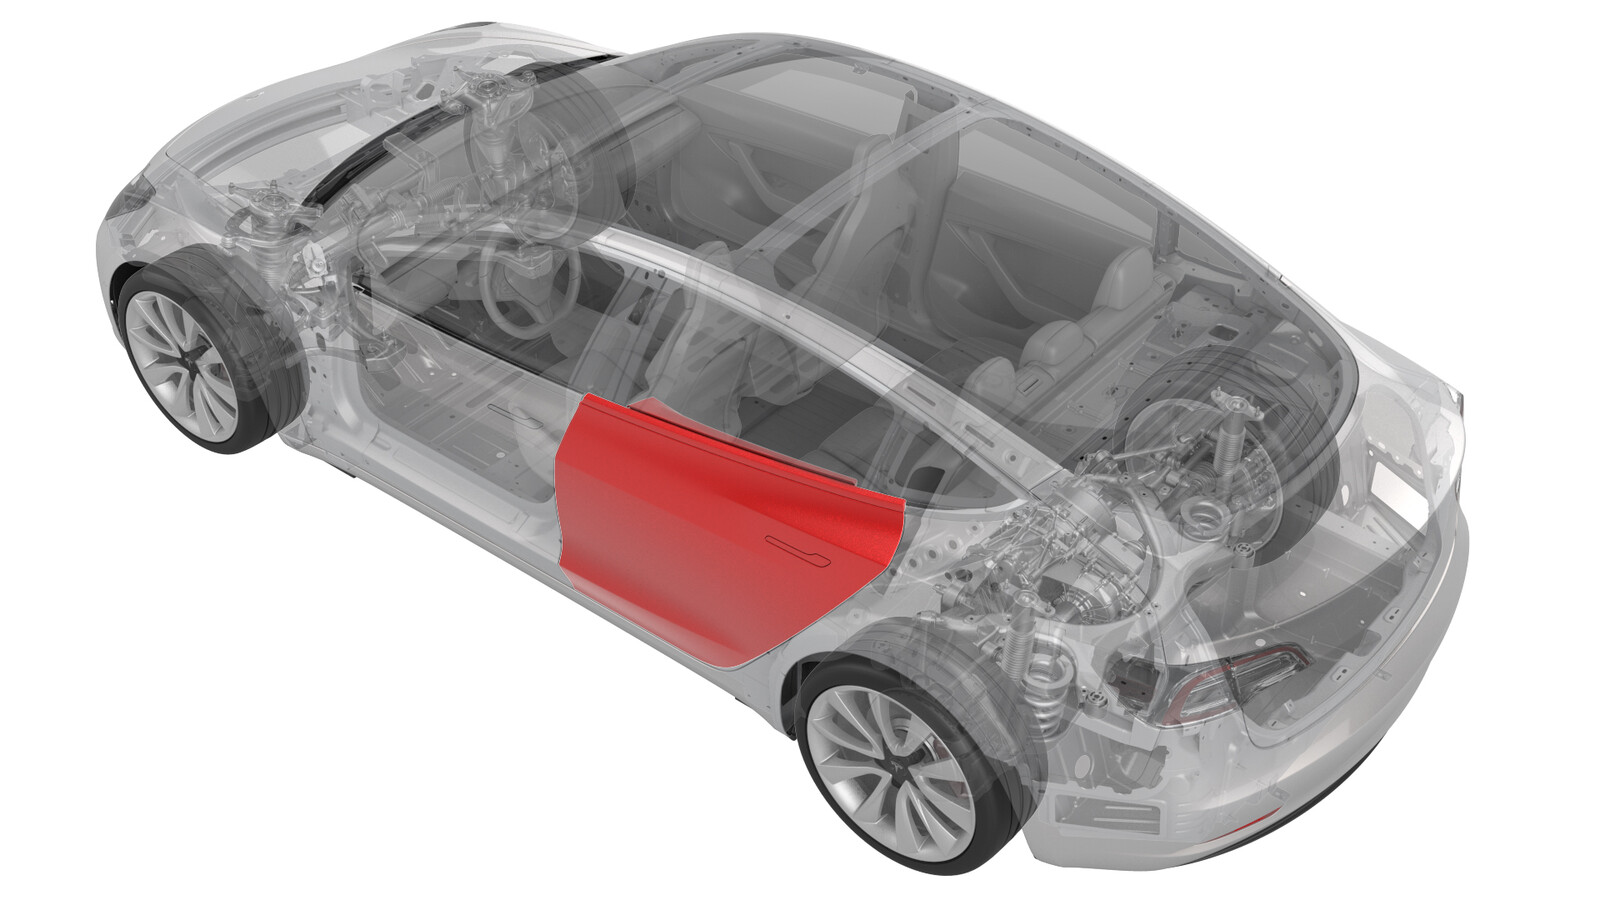
Porte - arrière - gauche (retirez et remplacez)
 Code de correction
10106502 1.02
REMARQUE : À moins d’indications explicites contraires dans la procédure, le code de correction et le temps forfaitaire ci-dessus représentent tout le travail à être fait pour cette procédure, notamment les procédures connexes. N’appliquez pas plusieurs codes de correction à la fois, à moins qu’il vous soit explicitement indiqué de le faire.
REMARQUE : Consultez Temps forfaitaires pour en apprendre plus à propos des temps forfaitaires et de leur création. Vous pouvez transmettre par courriel vos commentaires relatifs aux valeurs des temps forfaitaires à l'adresse ServiceManualFeedback@tesla.com.
REMARQUE : Consultez Protection individuelle pour vous assurer de porter l’équipement de protection individuelle adéquat lors vous effectuez la procédure ci-dessous. Voir Précautions ergonomiques pour consulter les pratiques de travail sécuritaires et saines.
Retirer
- Ouvrez la porte arrière gauche, passez un chiffon d'atelier à mi chemin dans la gâche et fermez la porte de façon à ce qu'elle repose sur le chiffon d'atelier.
- Retirez la vitre de la porte arrière gauche. Voir Vitre - porte - gauche - arrière (retirez et remplacez),
- Retirez le joint de ceinture extérieure de la porte arrière gauche. Voir Joint - ceinture extérieure - porte arrière - gauche (retirez et remplacez),
- Retirez le lève-vitre arrière gauche. Voir Régulateur de vitre - arrière - gauche (retrait et remplacement),
- Retirez le loquet de porte arrière gauche. Voir Loquet - porte - arrière - gauche (retirez et remplacez),
- Retirez la poignée de déverrouillage extérieure de porte arrière gauche. Voir Poignée - déverrouillage extérieur - portière - arrière - gauche (retirez et remplacez),
-
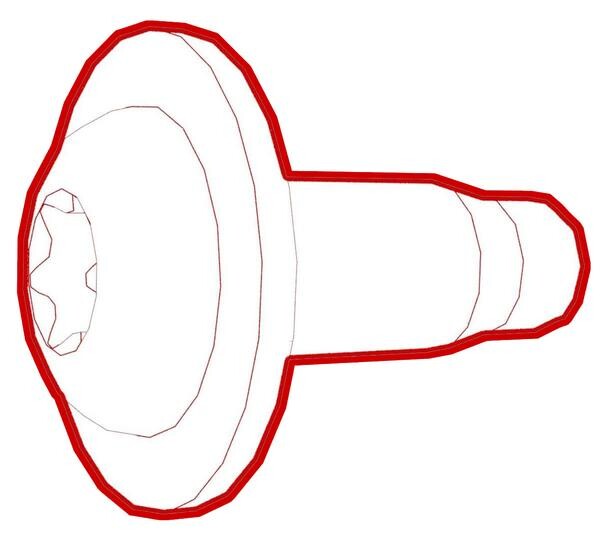
Retirez les bouchons-boutons de la partie inférieure de la porte.
- Ouvrez la porte avant gauche et fermez partiellement la porte arrière gauche.
-
Relâchez les attaches (x4) du joint de faisceau électrique de la porte arrière gauche au niveau du montant B et tirez sur le faisceau de câbles pour le sortir de la cloison du montant B.
- Tirez sur le connecteur du faisceau de câbles de porte arrière gauche pour le sortir du montant B, puis pressez le faisceau de câbles pour l'insérez dans la cavité à l'avant de la porte arrière gauche.
-
Ouvrez délicatement la porte arrière gauche, puis fermez la porte avant gauche.
ATTENTIONNe laissez pas le bord avant de la porte arrière gauche écraser le faisceau de câbles ou le connecteur contre le montant B.
-
Débranchez le faisceau électrique de porte arrière gauche, puis faites pivoter de 90 degrés le connecteur sortant du montant B, de façon à empêcher le connecteur de retomber dans le montant B.
-
Relâchez toutes les attaches du faisceau électrique de la porte.
- Poussez le faisceau électrique à travers la cloison de la porte pour le sortir et le retirer de la porte.
-
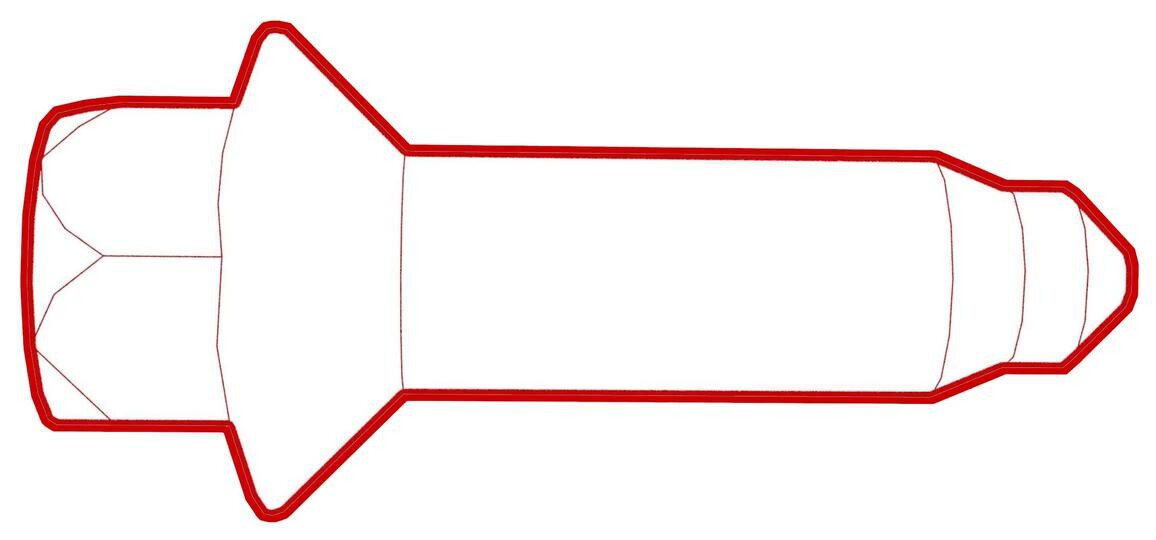
Retirez le boulon qui fixe le tirant de porte au montant B.
ATTENTIONDéboulonner le tirant de porte permettra à la porte de balancer librement au-delà de la limite d'ouverture prévue.
-
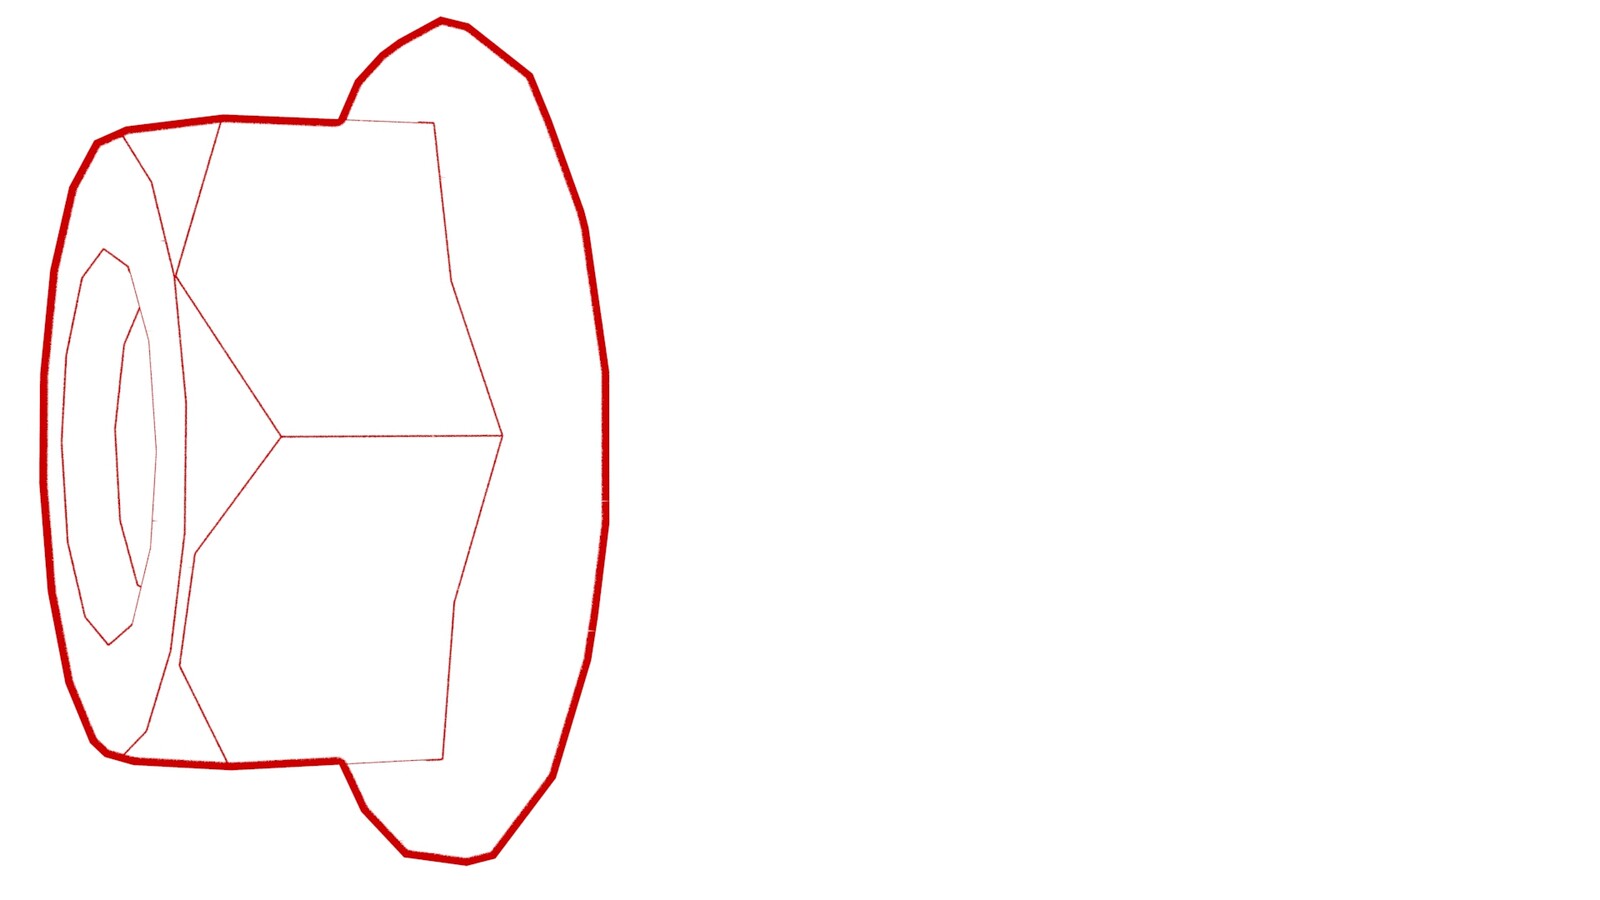
Retirez les écrous qui fixent le tirant de porte à l'intérieur de celle-ci, puis retirez le tirant de porte.
 24 Nm (17.7 lbs-ft)
 -
Desserrez d'environ 5 mm le boulon supérieur qui retient la porte arrière gauche à chaque charnière.
-
Avec l'aide d'un assistant, retirez le boulon inférieur de chaque charnière, puis décrochez et soulevez la porte pour l'éloigner du véhicule.
Installer
- Installez un nouveau joint secondaire sur la porte de rechange. Voir Joint - secondaire - porte arrière - gauche (retirez et remplacez),
-
Assurez-vous que le boulon supérieur de chaque charnière de porte est en place et que la tête du boulon ressort d'environ 10 mm par rapport à la position d'affleurement.
- Avec l'aide d'un assistant, abaissez la porte arrière gauche sur les charnières de porte et insérez les boulons supérieurs dans les charnières.
-
Posez le boulon inférieur de chaque charnière dans la porte et serrez tous les boulons à la main.
- Ajustez les espaces et l'affleurement de la porte.
-
Serrez les boulons des charnières.
 24 Nm (17.7 lbs-ft)
 -
Placez le tirant de porte dans la porte, puis posez les écrous qui fixent le tirant dans la porte.
 24 Nm (17.7 lbs-ft)
 -
Posez le boulon qui fixe le tirant de porte au montant B.
 24 Nm (17.7 lbs-ft)
 - Poussez le faisceau électrique à travers la cloison de la porte, puis installez le faisceau sur la porte.
-
Serrez toutes les attaches du faisceau électrique de la porte.
-
Branchez le connecteur du faisceau de câbles de porte arrière gauche et pressez le faisceau de câbles contre l'intérieur de la porte arrière gauche.
- Ouvrez la porte avant gauche et fermez la porte arrière gauche.
-
Déplacez le connecteur de faisceau électrique de la porte arrière gauche dans l'ouverture présente dans le montant B, enfoncez le joint de faisceau de câbles de la porte arrière gauche dans le montant B, puis serrez les attachez (x4) qui fixent le joint à la cloison du montant B.
RemarqueAssurez-vous que le joint de faisceau de câbles de la porte arrière gauche est fermement ajusté contre la cloison du montant B.
- Ouvrez la porte arrière gauche, puis fermez la porte avant gauche.
-
Posez les bouchons-boutons sur la partie inférieure de la porte.
- Installez la poignée de déverrouillage extérieure de porte arrière gauche. Voir Poignée - déverrouillage extérieur - portière - arrière - gauche (retirez et remplacez),
- Installez le loquet de porte arrière gauche. Voir Loquet - porte - arrière - gauche (retirez et remplacez),
- Installez le lève-vitre arrière gauche. Voir Régulateur de vitre - arrière - gauche (retrait et remplacement),
- Installez le joint de ceinture extérieur de la porte arrière gauche. Voir Joint - ceinture extérieure - porte arrière - gauche (retirez et remplacez),
- Installez la vitre de la porte arrière gauche. Voir Vitre - porte - gauche - arrière (retirez et remplacez),
- Retirez le chiffon d'atelier de la gâche.
- Ajustez l'espace et l'affleurement au niveau du loquet et de la gâche.
- Réétalonnez la vitre arrière gauche. Voir Régulateur de vitre (réétalonnage),