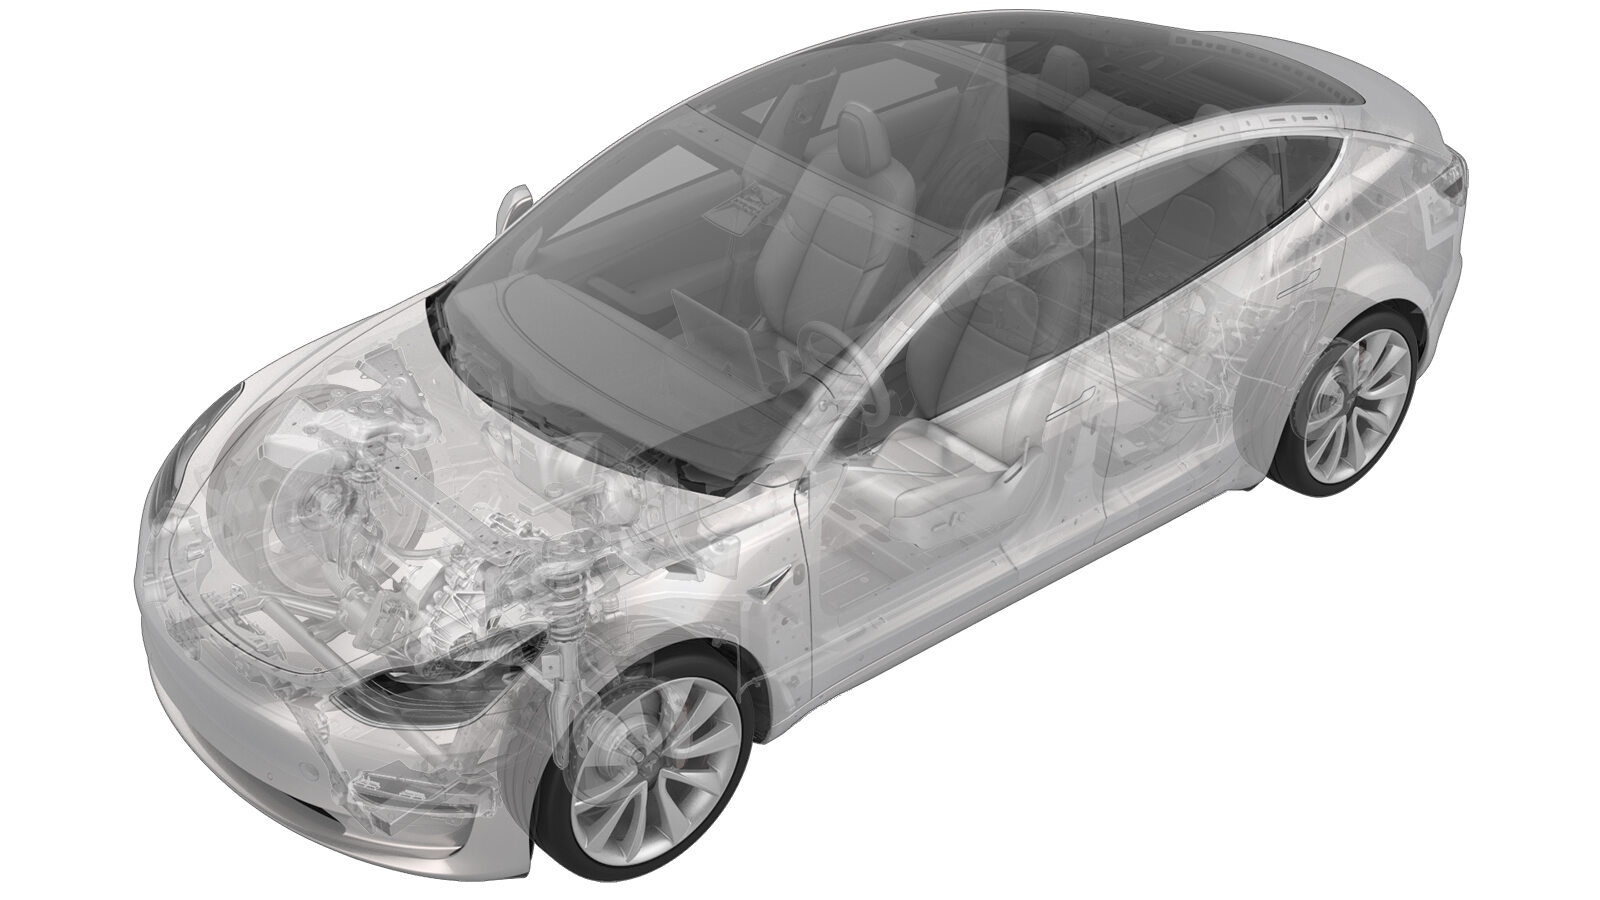
Module - commande de retenue (pompe à chaleur) (retirez et remplacez)
 Code de correction
20015012 0.42
REMARQUE : À moins d’indications explicites contraires dans la procédure, le code de correction et le temps forfaitaire ci-dessus représentent tout le travail à être fait pour cette procédure, notamment les procédures connexes. N’appliquez pas plusieurs codes de correction à la fois, à moins qu’il vous soit explicitement indiqué de le faire.
REMARQUE : Consultez Temps forfaitaires pour en apprendre plus à propos des temps forfaitaires et de leur création. Vous pouvez transmettre par courriel vos commentaires relatifs aux valeurs des temps forfaitaires à l'adresse ServiceManualFeedback@tesla.com.
REMARQUE : Consultez Protection individuelle pour vous assurer de porter l’équipement de protection individuelle adéquat lors vous effectuez la procédure ci-dessous. Voir Précautions ergonomiques pour consulter les pratiques de travail sécuritaires et saines.
- 2026-01-30: Added steps to disarm the restraint control module.
- 2024-05-14: Replaced Toolbox 3 routines by routines using the touchscreen.
- 2024-04-18: Eliminated redundant ODIN routine and refined instructions on headlight adjustment.
- 2023-10-20: Added step to aim the headlights.
- 2023-09-26: Updated links to Center Console 2.0 (Remove and Install).
- 2023-08-24: Added additional warning to make sure LV is disconnected.
- 2023-09-05: Updated the Toolbox routine steps.
Retirer
-
Open all the doors and lower the windows.
RemarqueIf the vehicle is being powered down, latch the rear doors to prevent accidental closure.
- Enable Service Mode Plus. See Mode Entretien Plus.
-
Sur l'écran tactile, touchez , touchez Exécuter, et laissez la routine se terminer.
RemarqueAssurez-vous que les coussins gonflables sont désactivés une fois la routine terminée.
Model Y présenté, les autres modèles sont similaires.
- Open the hood.
-
Remove the center console assembly from the vehicle. See Console centrale (2.0) (Retirez et installez).
AvertissementAssurez-vous que la BT est déconnectée avant de passer à l'étape suivante.
-
Release the locking tabs, release the connector levers, and disconnect the restraint control module connectors (x2).
-
Remove and discard the nuts (x3) that attach the restraint control module to the vehicle, and then remove the module from the vehicle.
RemarqueL'un ou plusieurs des outils suivants sont recommandés :
- Douille de 10 mm
Installer
-
Position the restraint control module into vehicle, and then install new nuts (x3) that attach the module to the vehicle.
 8 Nm (5.9 lbs-ft)RemarqueVerify that the part number on the new module is correct.TIpL'un ou plusieurs des outils suivants sont recommandés :
- Douille de 10 mm
-
Connect the restraint control module connectors (x2), and then engage the locking levers and connector locks.
- Install the center console assembly into the vehicle. See Console centrale (2.0) (Retirez et installez).
- Reinstall the vehicle software. See Réinstallation du logiciel – Écran tactile.
- Entrez le Mode Entretien Plus. Voir Mode Entretien Plus
-
Sur l'écran tactile, appuyez sur .
-
Sur l'écran suivant, appuyez sur Exécuter et laissez la routine se terminer.
-
On the touchscreen, check the headlight leveling system.
- If the headlight leveling system is "Ride Height Sensor", exit Service Mode, see Mode Entretien, and discontinue this procedure.
- If the headlight leveling system is "Virtual Pitch Sensor", exit Service Mode, see Mode Entretien, and continue to the next step.
- Adjust the headlights: