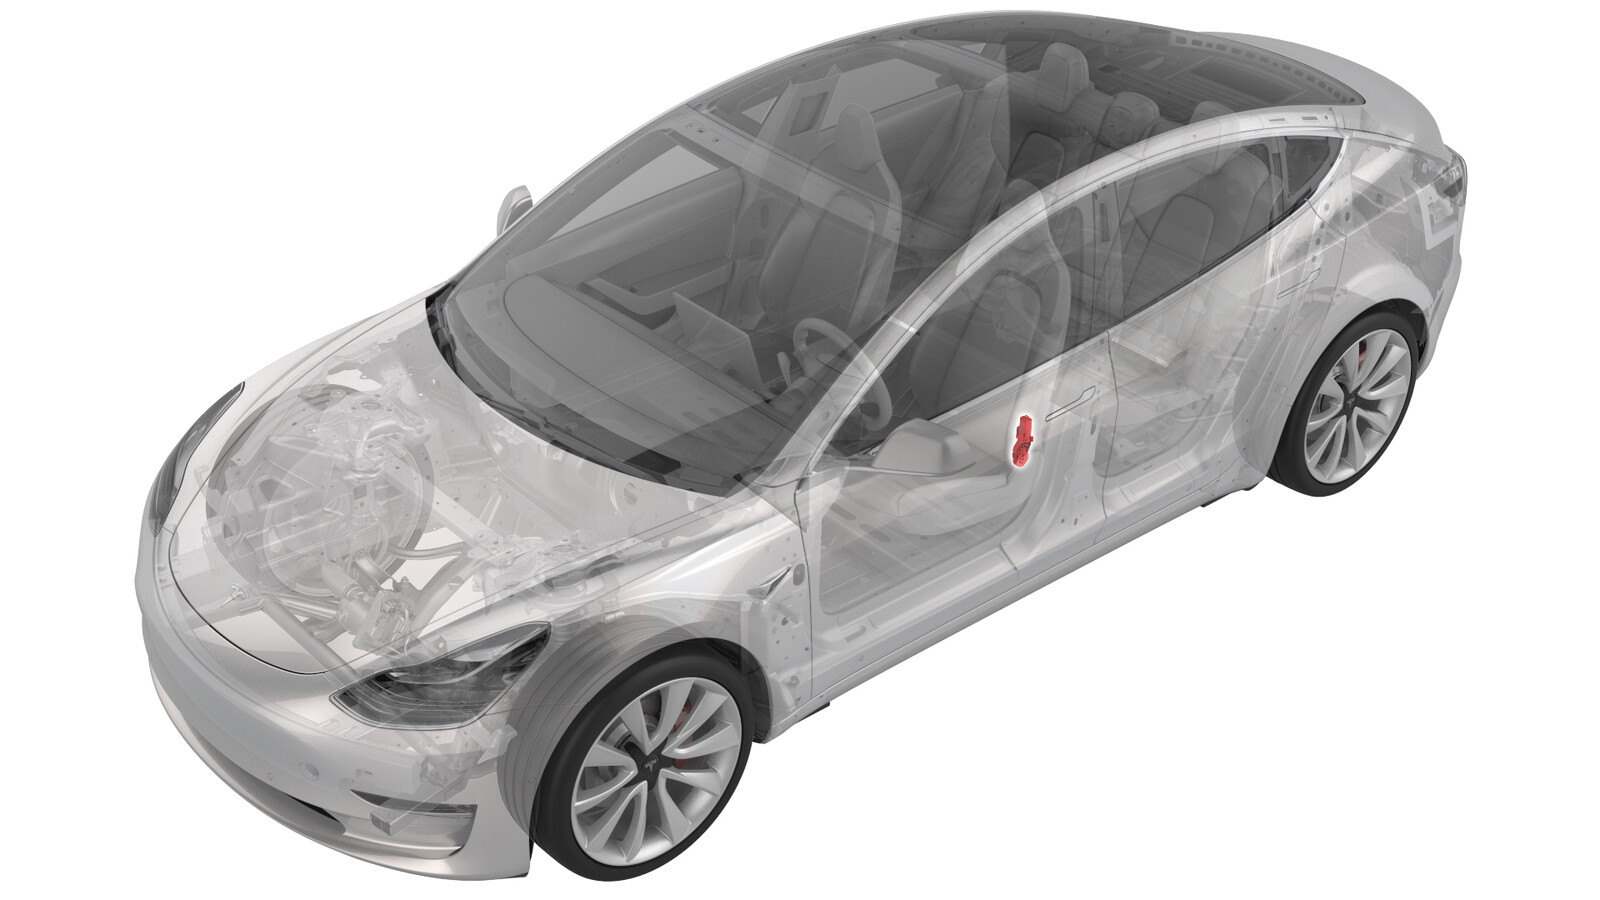
Moteur - dossier inclinable - dossier de siège - siège du conducteur (retirez et remplacez)
 Code de correction
13016602 1.08
REMARQUE : À moins d’indications explicites contraires dans la procédure, le code de correction et le temps forfaitaire ci-dessus représentent tout le travail à être fait pour cette procédure, notamment les procédures connexes. N’appliquez pas plusieurs codes de correction à la fois, à moins qu’il vous soit explicitement indiqué de le faire.
REMARQUE : Consultez Temps forfaitaires pour en apprendre plus à propos des temps forfaitaires et de leur création. Vous pouvez transmettre par courriel vos commentaires relatifs aux valeurs des temps forfaitaires à l'adresse ServiceManualFeedback@tesla.com.
REMARQUE : Consultez Protection individuelle pour vous assurer de porter l’équipement de protection individuelle adéquat lors vous effectuez la procédure ci-dessous. Voir Précautions ergonomiques pour consulter les pratiques de travail sécuritaires et saines.
- 2025-12-16: Mise à jour de la procédure pour inclure le retrait de pièces supplémentaires.
- Le 3 mai 2023 : Ajout d'une étape pour l'étalonnage du siège du passager avant et l'étalonnage du CCO.
Retirer
- Retirez l'ensemble de support lombaire de dossier de siège du conducteur. Voir Support lombaire - dossier de siège - siège du conducteur (retirez et remplacez).
- Retirez la housse du dossier du siège du conducteur. Voir Couvercle - dossier de siège - conducteur (avec coussin gonflable intérieur) (retirez et remplacez),
- Retirez le panneau latéral extérieur du siège du conducteur. Voir Protection latérale - extérieur - siège du conducteur (retirez et remplacez),
- Retirez la protection latérale intérieure du siège du conducteur. Voir Protection latérale - intérieur - siège du conducteur (retirez et remplacez),
- Débranchez le connecteur électrique de la boucle de ceinture de sécurité avant gauche, puis libérez l'attache qui fixe le connecteur de la boucle de ceinture de sécurité gauche.
-
Retirez les attaches (x2) qui fixent le support de protection latérale.
-
Soulevez partiellement le carénage supérieur du support de protection latéral.
-
Retirez le support du couvercle latéral intérieur du siège avant gauche en le faisant glisser vers l'arrière.
-
Retirez et jetez l’attache qui fixe le tube d’inclinaison au cadre.
-
Utilisez un marteau en caoutchouc pour taper sur le tube d’inclinaison où se trouvait l’attache plus tôt, puis retirez le tube du cadre.
RemarqueLe retrait du tube peut nécessiter plusieurs coups avec le marteau en caoutchouc afin de faire sortir le tube du siège.
-
Retirez le boulon qui fixe le moteur d'inclinaison au cadre du dossier du siège.
-
Retirez le moteur d’inclinaison du fauteuil du cadre.
Installer
-
Installez le moteur d’inclinaison sur le cadre du dossier du siège et serrez à la main le boulon qui fixe le moteur au cadre
-
Installez le tube d'inclinaison dans le cadre de dossier du siège, à travers le moteur d'inclinaison et de l'autre côté du cadre.
RemarqueUtilisez le marteau en caoutchouc pour taper sur le tube d'inclinaison de sorte que le tube dépasse de 16 mm le cadre de dossier du siège.
-
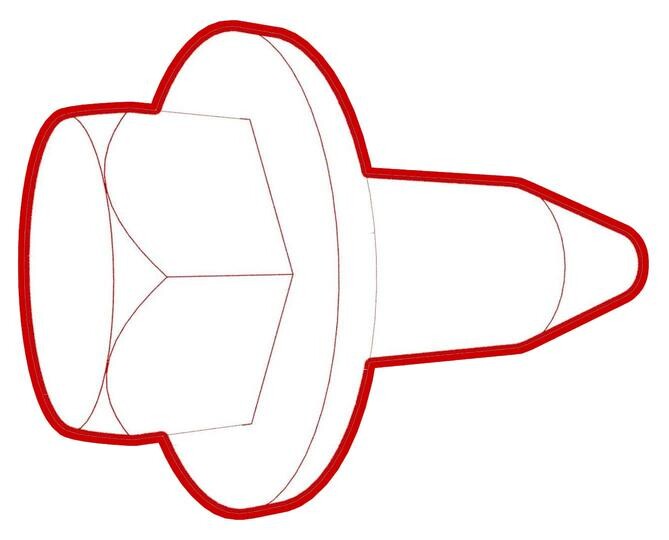
Avec de l'aide, installez un nouvelle attache sur le tube d’inclinaison.
RemarqueUtilisez une douille longue de 12 mm et un marteau en caoutchouc pour taper l’attache sur le tube d’inclinaison. Demandez à un assistant d'utiliser un autre marteau à l'autre extrémité du tube pour s'opposer au taraudage.
-
Serrez le boulon qui fixe le moteur d’inclinaison au cadre du dossier du siège.
 5 Nm (3.7 lbs-ft)
 -
Installez le support du couvercle latéral intérieur sur le siège avant gauche.
-
Installez les attaches (x2) qui fixent le support de protection latérale.
- Installez l'attache qui fixe le connecteur de la boucle de ceinture de sécurité gauche, puis branchez le connecteur électrique de la boucle du siège avant gauche.
- Installez la protection latérale intérieure du siège du conducteur. Voir Protection latérale - intérieur - siège du conducteur (retirez et remplacez),
- Installez la protection latérale extérieure sur le siège du conducteur. Voir Protection latérale - extérieur - siège du conducteur (retirez et remplacez),
- Installez la housse du dossier du siège du conducteur. Voir Couvercle - dossier de siège - conducteur (avec coussin gonflable intérieur) (retirez et remplacez),
- Installez l'ensemble de support lombaire sur le dossier du siège du conducteur. Voir Support lombaire - dossier de siège - siège du conducteur (retirez et remplacez).
-
En cas d’entretien du siège du passager avant d’un véhicule nord-américain :
- Avant de commencer l’étalonnage, retirez tout objet du siège passager avant.
- Sur l’écran tactile du véhicule, touchez et vérifiez la version du micrologiciel du véhicule. Si le micrologiciel du véhicule n’est pas 2023.2.11 ou une version plus récente, réinstallez le micrologiciel du véhicule. Voir Réinstallation du logiciel – Écran tactile, Si le micrologiciel du véhicule n’est pas 2023.2.11 ou une version plus récente, mettez à jour le micrologiciel du véhicule. Voir Mise à jour du logiciel,
- Branchez localement un ordinateur portable doté du logiciel Toolbox 3 au véhicule. Voir Toolbox (connecter et déconnecter),
- Déverrouillez la passerelle du véhicule. Voir Passerelle (déverrouiller),
- Dans Toolbox, cliquez sur l’onglet Actions, puis recherchez « OCS ».
- Exécutez la routine PROC_OCS1P_SELF-CALIBRATIONvia Toolbox: (link)via Service Mode Plus: Safety & Restraints ➜ Seats ➜ OCS1P Self Capacitance Calibration.
- Sélectionnez l’onglet Actions, puis recherchez « Étalonnage de siège ».
- Exécutez la routine PROC_VCRIGHT_SEAT-CALIBRATEvia Toolbox: (link)via Service Mode Plus: Low Voltage ➜ Seats ➜ Calibrate.
- Déconnectez le logiciel Toolbox et retirez l’ordinateur portable du véhicule.
-
Étalonnez le siège du conducteur, le volant et les miroirs à l'aide de l'écran tactile.
RemarqueTouchez , puis touchez Démarrer. Laissez la routine se terminer.