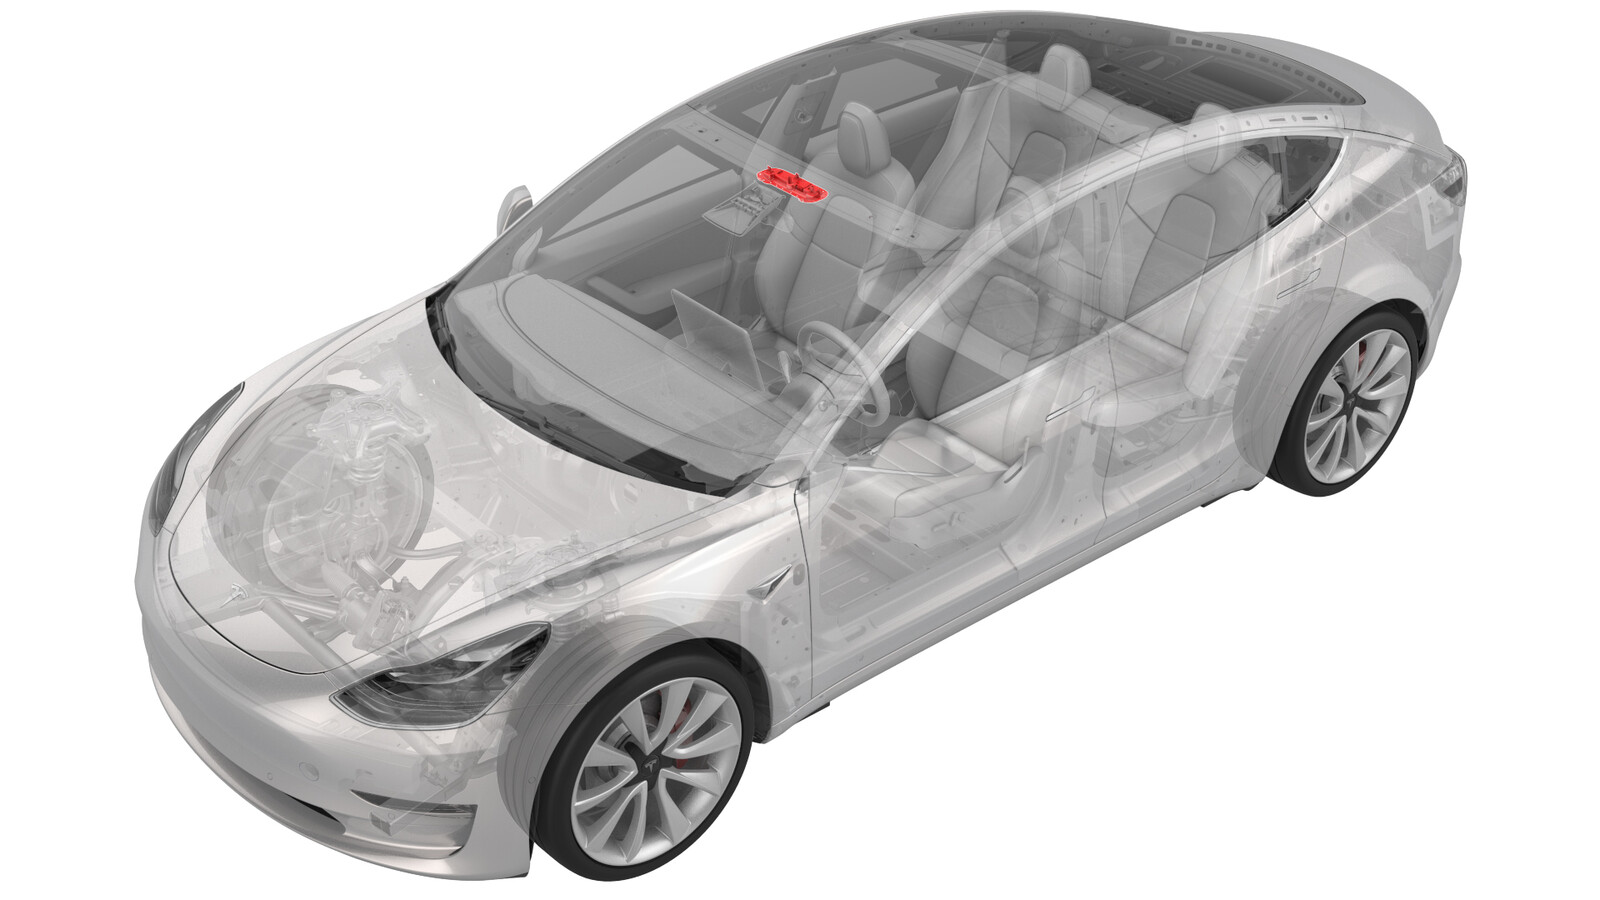
Console de plafond – avant (sans bouton e-Call) (EMEA) (adaptation)
 Code de correction
15202306 0.36
REMARQUE : À moins d’indications explicites contraires dans la procédure, le code de correction et le temps forfaitaire ci-dessus représentent tout le travail à être fait pour cette procédure, notamment les procédures connexes. N’appliquez pas plusieurs codes de correction à la fois, à moins qu’il vous soit explicitement indiqué de le faire.
REMARQUE : Consultez Temps forfaitaires pour en apprendre plus à propos des temps forfaitaires et de leur création. Vous pouvez transmettre par courriel vos commentaires relatifs aux valeurs des temps forfaitaires à l'adresse ServiceManualFeedback@tesla.com.
REMARQUE : Consultez Protection individuelle pour vous assurer de porter l’équipement de protection individuelle adéquat lors vous effectuez la procédure ci-dessous. Voir Précautions ergonomiques pour consulter les pratiques de travail sécuritaires et saines.
0,10
- 2023-10-20: Updated steps to change Gateway configuration using Toolbox 3.
Procedure
- Open the LH front door and lower the window.
- Put the vehicle in service mode through the touchscreen. See Mode Entretien.
- Disconnect 12V power. See Alimentation 12 V/BT (déconnectez et connectez).
- Remove the front overhead console. See Console de plafond - avant (retirez et remplacez).
-
Pull the FOHC connector (X299)
outwards for access
-
Remove 2 - 4 cm of the electrical tape
from the harness.
RemarqueTake care not to damage the wires while using a blade to remove the tape.
-
Release the locking clips from the
connector
-
Remove pin 6 (X299-6) from the
connector
RemarqueUse the pin drag kit to release the locking tab, then pull out the wire.
-
Cut off the terminal from the removed
wire.
-
Apply heat shrink tube to the cut wire
end, and then apply heat to prevent the wire from making contact.
- Remove pin 12 (X299-12) from the electrical connector, and then repeat steps 9and 10.
- Remove pin 14 (X299-14) from the electrical connector, and then repeat steps 9 and 10.
- Remove pin 15 (X299-15) from the electrical connector, and then repeat steps 9 and 10.
- Remove pin 16 (X299-16) from the electrical connector, and then repeat steps 9 and 10.
-
Use electrical tape to attach the
removed wires from connector X299 to the FOHC harness.
RemarqueUse the yellow electrical tape in the kit to denote a rework has been performed.
- Install the front overhead console assembly to the headliner. See Console de plafond - avant (retirez et remplacez).
- Connect 12V power. See Alimentation 12 V/BT (déconnectez et connectez).
- Connect a laptop with Toolbox 3 to the vehicle. See Toolbox (connecter et déconnecter).
- Usie Toolbox 3 to change the configuration value for eCallEnabled to enabled_ui_sos. See Configuration de la passerelle (affichage et modification).
-
On the touchscreen, touch and make sure that the SOS shortcut button (1) and
the SOS EMERGENCY
CALL button (2) are available on the touchscreen.
RemarqueThe SOS shortcut button (1) takes the user directly to the Safety and Security tab, the SOS EMERGENCY CALL button (2) makes the actual call when touched.
-
Using toolbox 3:
- Select the Actions tab, and then type "VFOHC" in the search field.
- Run the ODIN routine TEST-SELF_VCLEFT_X_VFOHCvia Toolbox: (link) and allow the routine to complete.
- Disconnect the laptop from the vehicle.
- Reinstall the vehicle firmware. See Réinstallation du logiciel – Écran tactile.
- Exit Service Mode. See Mode Entretien.
- Inform the customer why the e-Call functionality has changed after the headliner retrofit and instruct them how to use the touchscreen to make an emergency call.