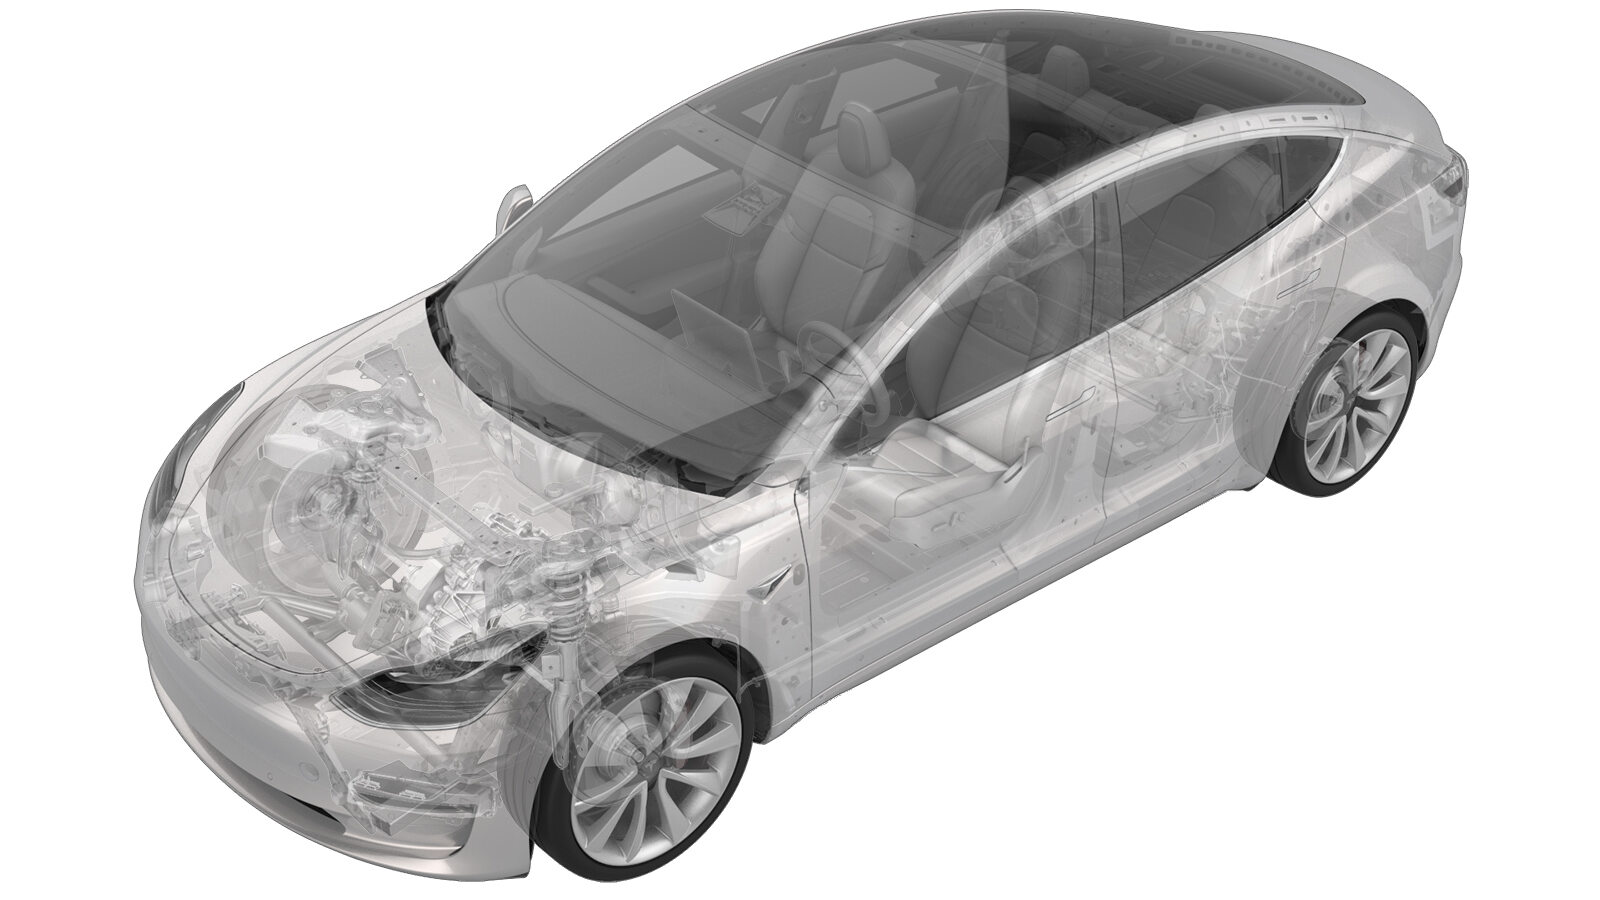
Faisceau - filtre - antenne - droit (retirez et remplacez)
 Code de correction
17108402
0.25
REMARQUE : À moins d’indications explicites contraires dans la procédure, le code de correction et le temps forfaitaire ci-dessus représentent tout le travail à être fait pour cette procédure, notamment les procédures connexes. N’appliquez pas plusieurs codes de correction à la fois, à moins qu’il vous soit explicitement indiqué de le faire.
REMARQUE : Consultez Temps forfaitaires pour en apprendre plus à propos des temps forfaitaires et de leur création. Vous pouvez transmettre par courriel vos commentaires relatifs aux valeurs des temps forfaitaires à l'adresse ServiceManualFeedback@tesla.com.
REMARQUE : Consultez Protection individuelle pour vous assurer de porter l’équipement de protection individuelle adéquat lors vous effectuez la procédure ci-dessous. Voir Précautions ergonomiques pour consulter les pratiques de travail sécuritaires et saines.
Retirer
-
Open all the doors and fully lower all the windows.
RemarqueIf the vehicle is being powered down, latch the rear doors to prevent accidental closure.
- Move the LH and RH front seats fully forward.
- Remove the LH 2nd row seat side bolster. See Bride - côté - siège - 2e rangée - gauche (retirez et remplacez).
- Remove the LH side rail trim. See Garniture - longeron - gauche (retirez et remplacez).
- Remove the LH upper C-pillar trim. See Garniture – montant arrière – supérieure – côté gauche (retrait et remplacement).
-
Release the clip and tabs (x4) that attach the LH rear C-pillar trim to the body, and then set the trim aside.
RemarquePull the rear of the trim forward, and then upward to remove it.TIpL'un ou plusieurs des outils suivants sont recommandés :
- Plastic trim tool
- Remove the RH 2nd row seat side bolster. See Bride - côté - siège - 2e rangée - gauche (retirez et remplacez).
- Remove the RH side rail trim. See Garniture - longeron - gauche (retirez et remplacez).
- Remove the RH upper C-pillar trim. See Garniture – montant arrière – supérieure – côté gauche (retrait et remplacement).
-
Release the clip and tabs (x4) that attach the RH rear C-pillar trim to the body, and then set the trim aside.
RemarquePull the rear of the trim forward, and then upward to remove it.TIpL'un ou plusieurs des outils suivants sont recommandés :
- Plastic trim tool
- Remove the package tray trim. See Garniture - étagère à colis (retirez et remplacez).
-
Disconnect the RH antenna filter harness connector from the tuner.
TIpL'un ou plusieurs des outils suivants sont recommandés :
- Small flat head screwdriver
-
Disconnect the RH antenna filter harness connector from the tuner and body harness.
TIpL'un ou plusieurs des outils suivants sont recommandés :
- Small flat head screwdriver
-
Release the clip that attaches the RH antenna filter harness to the body.
TIpL'un ou plusieurs des outils suivants sont recommandés :
- Outil de levier avec pince
-
Remove the RH antenna filter harness from the backlight glass.
RemarquePeel the tape back found at each end of harness housing seal.TIpL'un ou plusieurs des outils suivants sont recommandés :
- Plastic trim tool
-
Disconnect the RH antenna filter harness connector from the heater grid, and then remove the harness from the vehicle.
ATTENTIONGently disconnect the harness. Do not damage the heater grid.TIpL'un ou plusieurs des outils suivants sont recommandés :
- Pic à prise souple, embout à 90 degrés, 6 po
Installer
-
Position the RH antenna filter harness on the vehicle, and then connect the harness connector to the heater grid.
-
Install the clip that attaches the RH antenna filter harness to the body.
-
Connect the RH antenna filter harness connector to the tuner and body harness.
-
Connect the RH antenna filter harness connector to the tuner.
-
Install the RH antenna filter harness on the backlight glass.
RemarqueApply a small piece of tape at each end of the seal clip.TIpL'un ou plusieurs des outils suivants sont recommandés :
- Felt tape
- Scissors
- Install the package tray trim. See Garniture - étagère à colis (retirez et remplacez).
-
Install the clip and tabs (x4) that attach the LH rear C-pillar trim to the body.
RemarqueSlide the back tabs into package tray, and then push the front tabs toward the rear.
- Install the LH upper C-pillar trim. See Garniture – montant arrière – supérieure – côté gauche (retrait et remplacement).
- Install the LH side rail trim. See Garniture - longeron - gauche (retirez et remplacez).
- Install the LH 2nd row seat side bolster. See Bride - côté - siège - 2e rangée - gauche (retirez et remplacez).
- Raise the LH 2nd row seat.
- Repeat step 7 through step 11 for the RH side of the vehicle.
- Move the LH and RH front seats to the original positions.
- Raise all the windows and close all the doors.