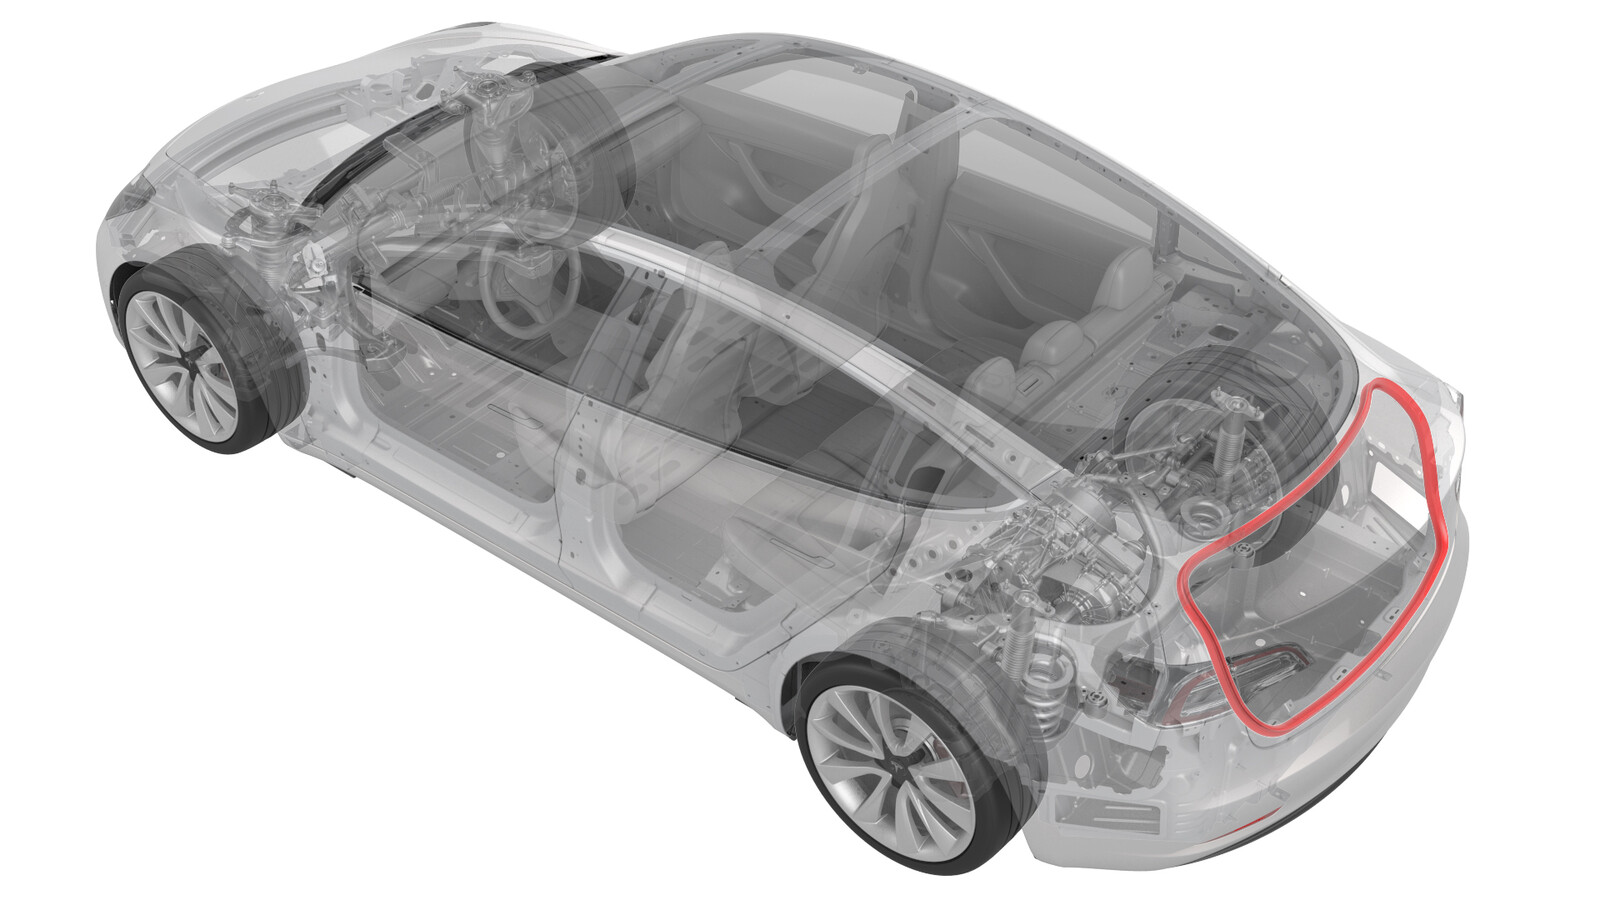
Joint - coffre (retirez et remplacez)
 Code de correction
11702002 0.18
REMARQUE : À moins d’indications explicites contraires dans la procédure, le code de correction et le temps forfaitaire ci-dessus représentent tout le travail à être fait pour cette procédure, notamment les procédures connexes. N’appliquez pas plusieurs codes de correction à la fois, à moins qu’il vous soit explicitement indiqué de le faire.
REMARQUE : Consultez Temps forfaitaires pour en apprendre plus à propos des temps forfaitaires et de leur création.
REMARQUE : Consultez Protection individuelle pour vous assurer de porter l’équipement de protection individuelle adéquat lors vous effectuez la procédure ci-dessous. REMARQUE : Voir Précautions ergonomiques pour consulter les pratiques de travail sécuritaires et saines.
Code de correction
11702002 0.18
REMARQUE : À moins d’indications explicites contraires dans la procédure, le code de correction et le temps forfaitaire ci-dessus représentent tout le travail à être fait pour cette procédure, notamment les procédures connexes. N’appliquez pas plusieurs codes de correction à la fois, à moins qu’il vous soit explicitement indiqué de le faire.
REMARQUE : Consultez Temps forfaitaires pour en apprendre plus à propos des temps forfaitaires et de leur création.
REMARQUE : Consultez Protection individuelle pour vous assurer de porter l’équipement de protection individuelle adéquat lors vous effectuez la procédure ci-dessous. REMARQUE : Voir Précautions ergonomiques pour consulter les pratiques de travail sécuritaires et saines.
Retirer
- Retirez la garniture du seuil du coffre. Voir Garniture - seuil - coffre (retirez et remplacez).
-
Dégagez le joint de coffre du périmètre du coffre, puis retirez le joint de la carrosserie.
Installer
-
Alignez la ligne du joint de coffre sur la gâche.
-
Posez le joint de coffre sur le périmètre du coffre.
TIpTapez sur le joint de coffre à l'aide d'un maillet de caoutchouc et utilisez un outil de finition en plastique pour installer complètement le joint de coffre sur la carrosserie.RemarqueAssurez-vous que le bas du joint est rentré dans le carénage arrière.
- Installez la garniture du seuil du coffre. Voir Garniture - seuil - coffre (retirez et remplacez).
-
Tirez les fils présents sur le joint de coffre pour appuyer ce dernier de façon à ce qu'il soit en affleurement dans tout l'intérieur.
- Installez le plancher du coffre arrière.
- Fermez le coffre arrière.