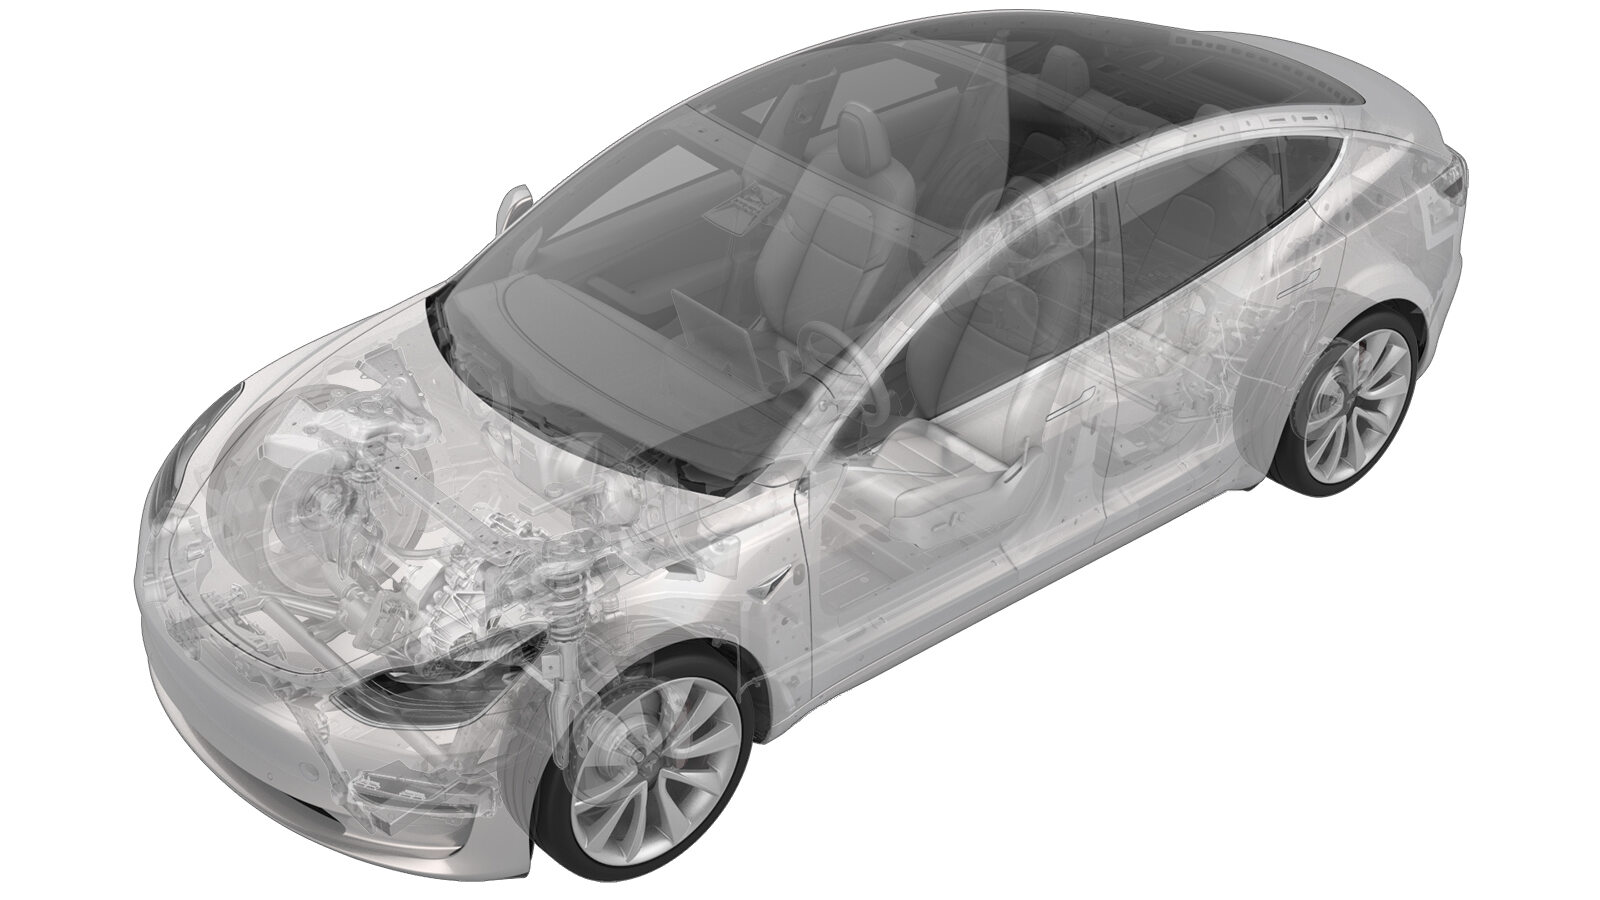
Tôle de protection - commande de la carrosserie -avant (pompe à chaleur) (retirez et remplacez)
 Code de correction
17152122
0.18
REMARQUE : À moins d’indications explicites contraires dans la procédure, le code de correction et le temps forfaitaire ci-dessus représentent tout le travail à être fait pour cette procédure, notamment les procédures connexes. N’appliquez pas plusieurs codes de correction à la fois, à moins qu’il vous soit explicitement indiqué de le faire.
REMARQUE : Consultez Temps forfaitaires pour en apprendre plus à propos des temps forfaitaires et de leur création. Vous pouvez transmettre par courriel vos commentaires relatifs aux valeurs des temps forfaitaires à ServiceManualFeedback@tesla.com.
REMARQUE : Consultez Protection individuelle pour vous assurer de porter l’équipement de protection individuelle adéquat lorsque vous effectuez la procédure ci-dessous.
REMARQUE : Voir Précautions ergonomiques pour consulter les pratiques de travail sécuritaires et saines.
Retirer
-
Open LH front door
-
Lower LH front window
-
Open hood
RemarquePress "Open" button on touchscreen to release latch, Lift lid manually
-
Remove rear apron
Remarque12x clips, Only store rear apron visible face upwards
-
Power off vehicle from center
display
RemarqueVia Controls > Safety > Power Off, Select Power Off button at warning dialogue box
-
Disconnect 12V negative terminal
Remarque1x nut, 10mm, 6 Nm, Ensure vehicle is in park, climate control system is off, and vehicle is not charging before disconnecting 12V
-
Disconnect first responder loop
Remarque1x connector, Release locking tab
-
Remove vent tube hose from LH side of
12V battery
Remarque1x tube adapter
-
Release terminal cover and remove
positive terminal
Remarque2x clips, 1x nut, 10mm, 6 Nm, Do not fully remove positive terminal nut
-
Remove 12V battery upper tie down
strap to AC compressor bracket
Remarque1x bolt, 10mm, 5 Nm, Lift battery tie down strap up and remove it from rear tie down hook strap
-
Remove battery upper tie down strap
RemarqueLift battery tie down strap up and remove it from the rear tie down hook strap
-
Remove 12V battery from vehicle
-
Remove rear battery tie down
strap
RemarqueRotate forward to disengage
-
Disconnect thermal sub-harness from
front controller
Remarque1x connector, Depress locking tab and rotate to release
-
Remove bolts securing front controller
shield assembly and remove from vehicle
Remarque2x bolts, 10mm, 8.5 Nm
Installer
-
Install front controller shield to the
front controller
Remarque2x bolts, 10mm, 8.5 Nm
-
Connect thermal sub-harness to front
controller
Remarque1x connector, Rotate fully to secure locking tab
-
Install rear battery tie down
strap
RemarqueInsert assembly into bracket and rotate to 90 degrees
-
Install 12V battery into vehicle
-
Position battery tie down strap onto
battery
RemarqueHook upper tie down strap into rear tie down hook strap and position for installation
-
Install bolt securing upper tie down
strap to AC compressor bracket
Remarque1x bolt, 10mm, 5 Nm
-
Install vent tube hose in 12V
battery
-
Install positive terminal and terminal
cover
Remarque1x nut, 10mm, 6 Nm, 2x clips
-
Connect first responder loop
Remarque1x connector, Engage locking tab, Connect FRL before connecting 12V to avoid damage to car computer
-
Connect 12V negative terminal
Remarque1x nut, 10mm, 6 Nm
-
Install rear apron
Remarque12x clips
-
Close hood
-
Raise LH front window
-
Close LH front door