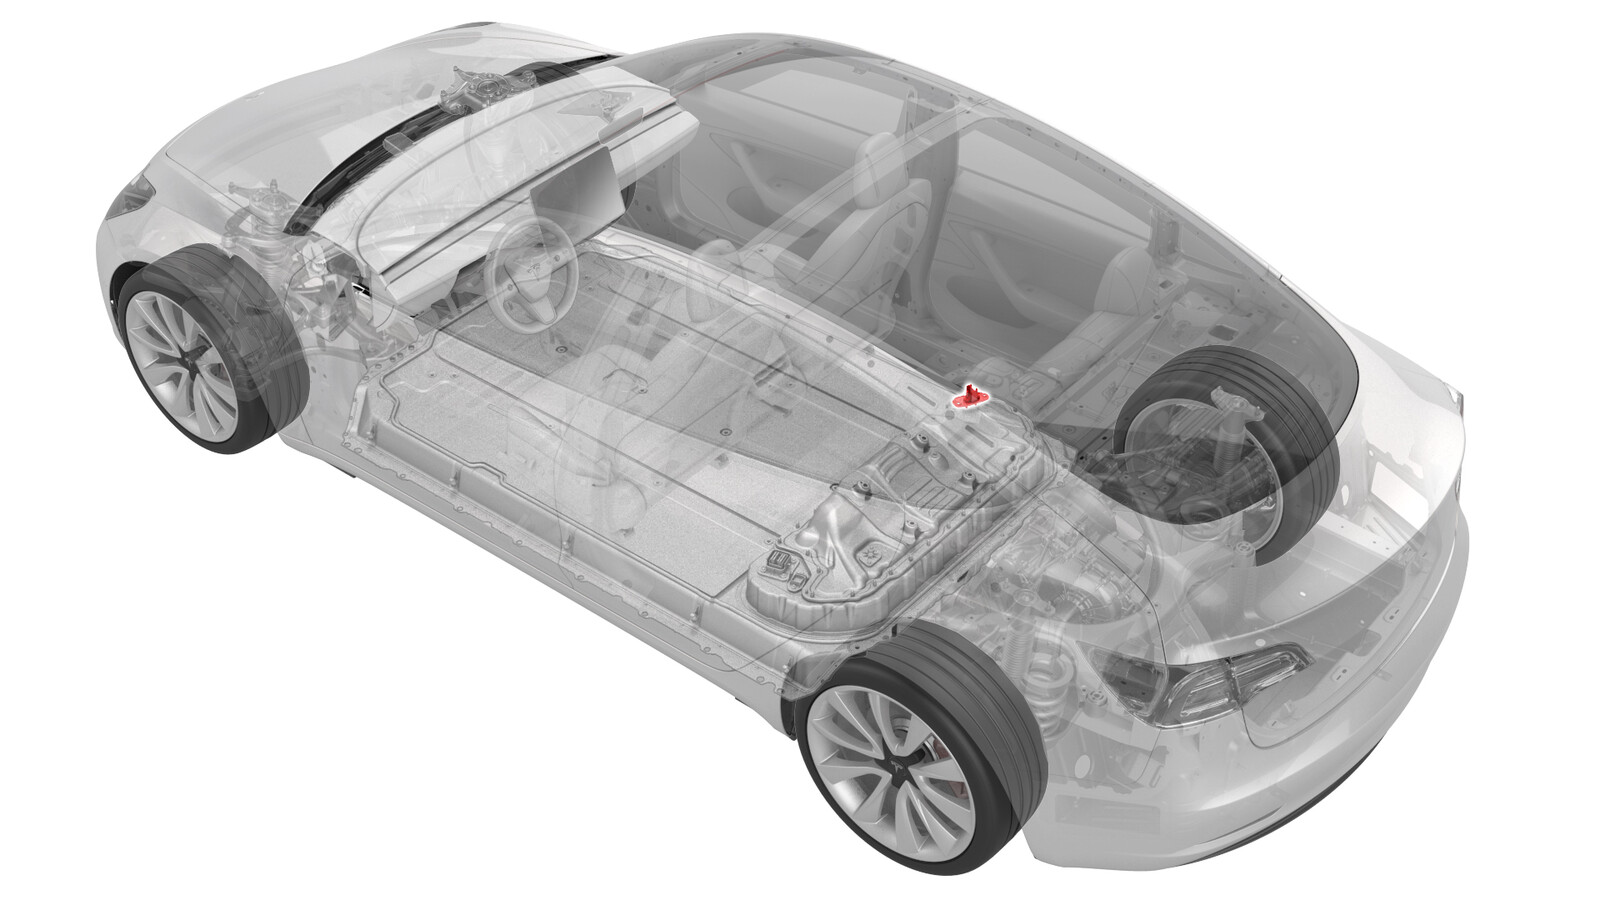
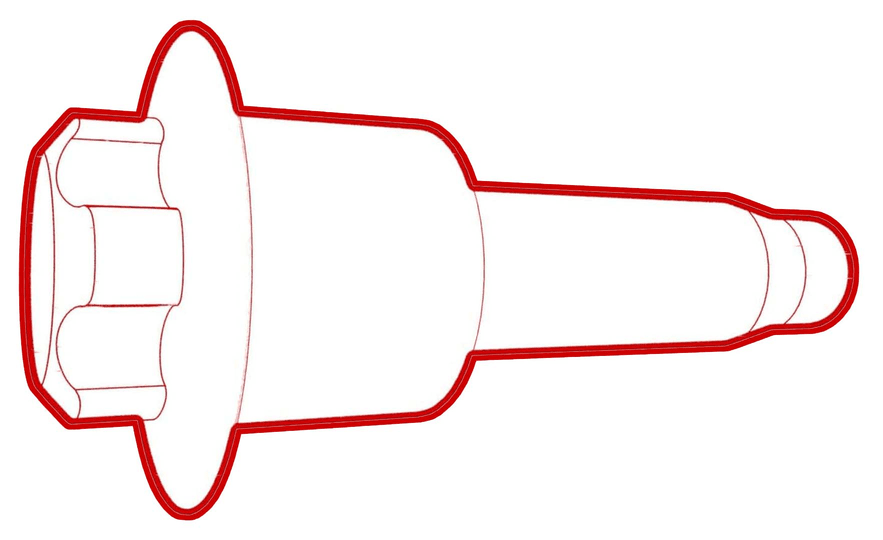
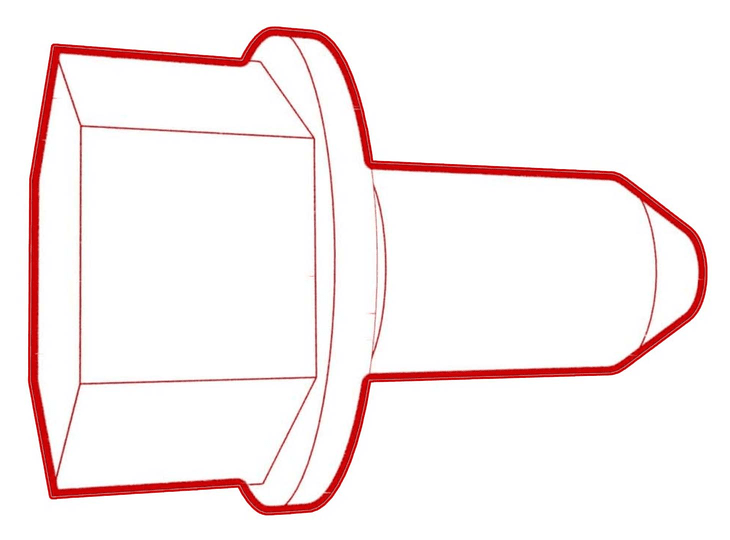
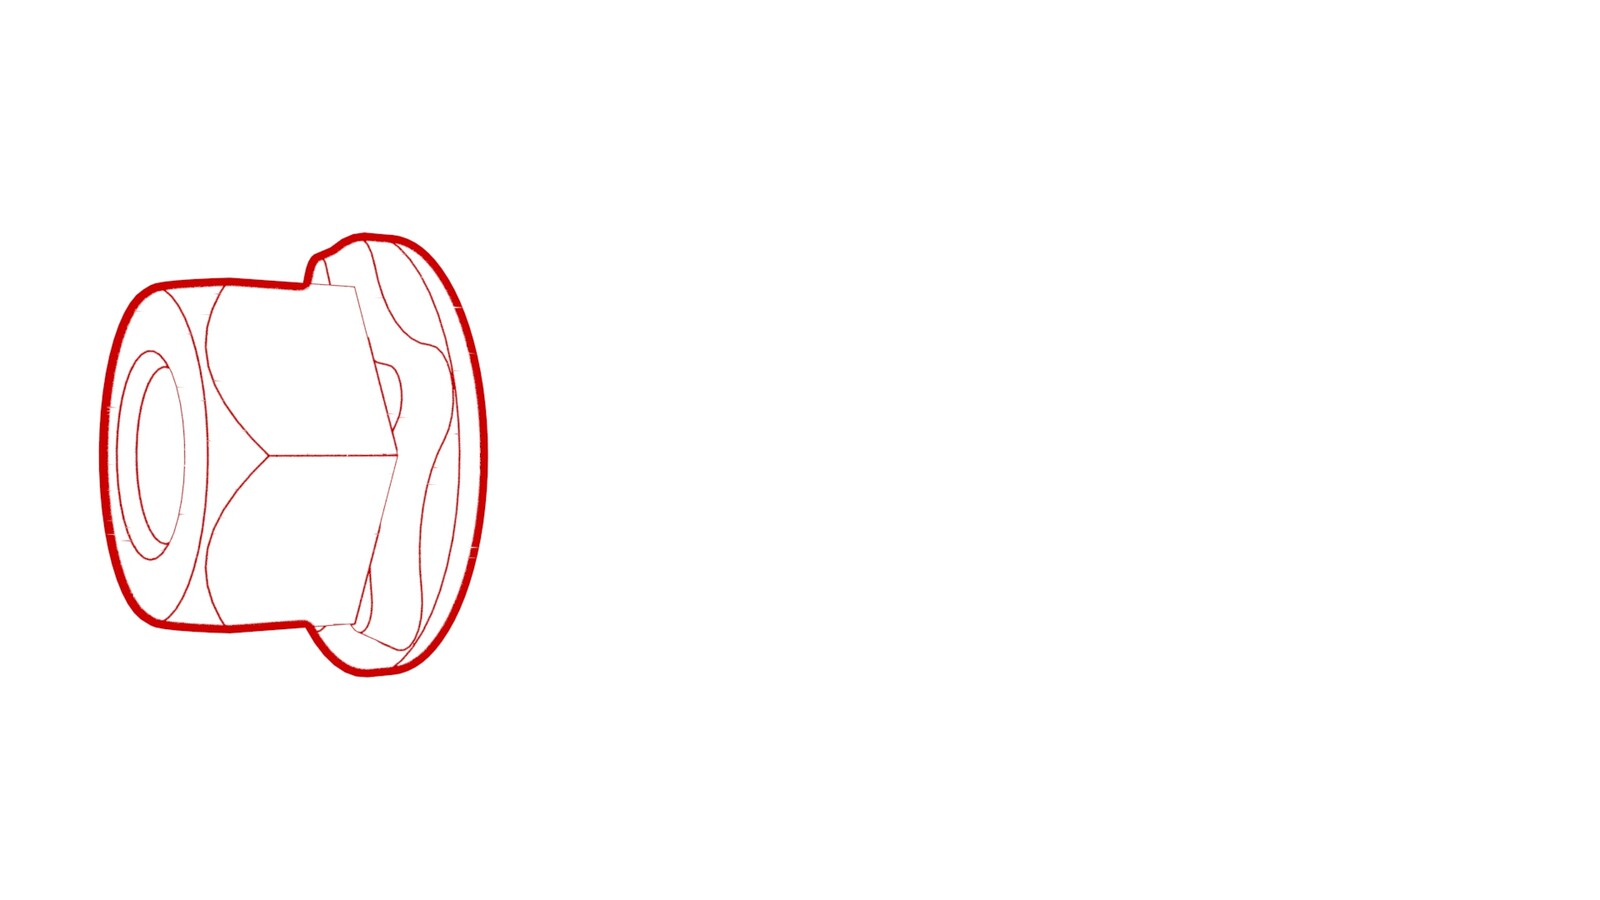
Interconnexion - CC-CC - 12 V - (type de barre omnibus) (retirez et remplacez)
 Code de correction
16306002 1.20
REMARQUE : À moins d’indications explicites contraires dans la procédure, le code de correction et le temps forfaitaire ci-dessus représentent tout le travail à être fait pour cette procédure, notamment les procédures connexes. N’appliquez pas plusieurs codes de correction à la fois, à moins qu’il vous soit explicitement indiqué de le faire.
REMARQUE : Consultez Temps forfaitaires pour en apprendre plus à propos des temps forfaitaires et de leur création. Vous pouvez transmettre par courriel vos commentaires relatifs aux valeurs des temps forfaitaires à l'adresse ServiceManualFeedback@tesla.com.
REMARQUE : Consultez Protection individuelle pour vous assurer de porter l’équipement de protection individuelle adéquat lors vous effectuez la procédure ci-dessous. Voir Précautions ergonomiques pour consulter les pratiques de travail sécuritaires et saines.
Équipement :
- 1059330-00-B Douille, cond. 1/4 po, embout Torx externe Plus 5-Lobe
- 1076927-00-A Resistance meter, microohm, Hioki RM 3548
Retirer
- Retirez le sectionneur de batterie pyrotechnique. Voir Sectionneur de batterie pyrotechnique (retirez et remplacez).
- Remove the high voltage controller. See Contrôleur - haute tension (retirez et remplacez).
-
Remove the nut that attaches the positive terminal of the DCDC harness to the positive DCDC passthrough busbar.
-
Remove the nut that attaches the negative terminal of the DCDC harness to the negative DCDC passthrough busbar.
-
Release the clip and disconnect the DCDC harness from the power conversion system.
-
Remove the bolts that attaches the DCDC ground busbar to the body.
-
Remove and discard the nut that attaches the DCDC ground busbar to the HV battery, and remove the DCDC ground busbar from the vehicle.
 15 Nm (11.1 lbs-ft)
 -
Remove the bolts that attach the 12V DCDC passthrough to the ancillary bay, and then remove the 12V DCDC passthrough from the ancillary bay..
Installer
- Perform a zero adjust of the Hioki resistance meter in preparation to measure resistances later in this procedure. See Compteur de résistance (réglage zéro).
- Use an IPA wipe to clean the mating surfaces of the DCDC passthrough, and the DCDC harness.
-
Install the 12V DCDC passthrough into the ancillary bay, install the bolts that attach the 12V DCDC passthrough to the ancillary bay, and then mark the bolts with a paint pen after they are torqued.
 10 Nm (7.4 lbs-ft)
 -
Install the bolt that attaches the DCDC ground busbar to the body, and then mark the bolt with a paint pen after it is torqued.
 20 Nm (14.7 lbs-ft)
 -
Install the DCDC ground busbar to the DCDC passthrough, install a new nut to attach the DCDC ground busbar to the DCDC passthrough, and then mark the nut with a paint pen after it is torqued.
 15 Nm (11.1 lbs-ft)
 -
Connect the DCDC harness to the power conversion system, and then fasten the clip that attaches the DCDC harness to the power conversion system.
-
Install the nut that attaches the negative terminal of the DCDC harness to the negative DCDC passthrough busbar, and then mark the nut with a paint pen after it is torqued.
 4.5 Nm (3.3 lbs-ft)
 -
Install the nut that attaches the positive terminal of the DCDC harness to the positive DCDC passthrough busbar, and then mark the nut with a paint pen after it is torqued.
 4.5 Nm (3.3 lbs-ft)
 -
Use the Hioki resistance meter to measure the resistance between the positive joint of the DCDC harness and the positive terminal of the 12V DCDC passthrough.
NoteThe maximum acceptable resistance is 0.100 mΩ (100 μΩ). There is too much resistance in the High Voltage joint. Remove the fastener, clean areas with isopropyl alcohol, install fastener back and test again
Figure 1. Generic Measurement - Actual busbars and fasteners might appear different -
Use the Hioki resistance meter to measure the resistance between the negative joint of the DCDC harness and the negative terminal of the 12V DCDC passthrough.
NoteThe maximum acceptable resistance is 0.100 mΩ (100 μΩ). There is too much resistance in the High Voltage joint. Remove the fastener, clean areas with isopropyl alcohol, install fastener back and test again
Figure 2. Generic Measurement - Actual busbars and fasteners might appear different - Install the high voltage controller. See Contrôleur - haute tension (retirez et remplacez).
- Mesurez la tension à travers les points de montage de déconnexion de la batterie pyrotechnique puis installez la déconnexion de la batterie pyrotechnique Voir Sectionneur de batterie pyrotechnique (retirez et remplacez).
-
Install the ancillary bay cover. See Couvercle - baie auxiliaire (retirer et remplacer).
NotePerform an ancillary bay air leak test when instructed to do so.
- Connect 12V power. See Alimentation 12 V/BT (déconnectez et connectez).