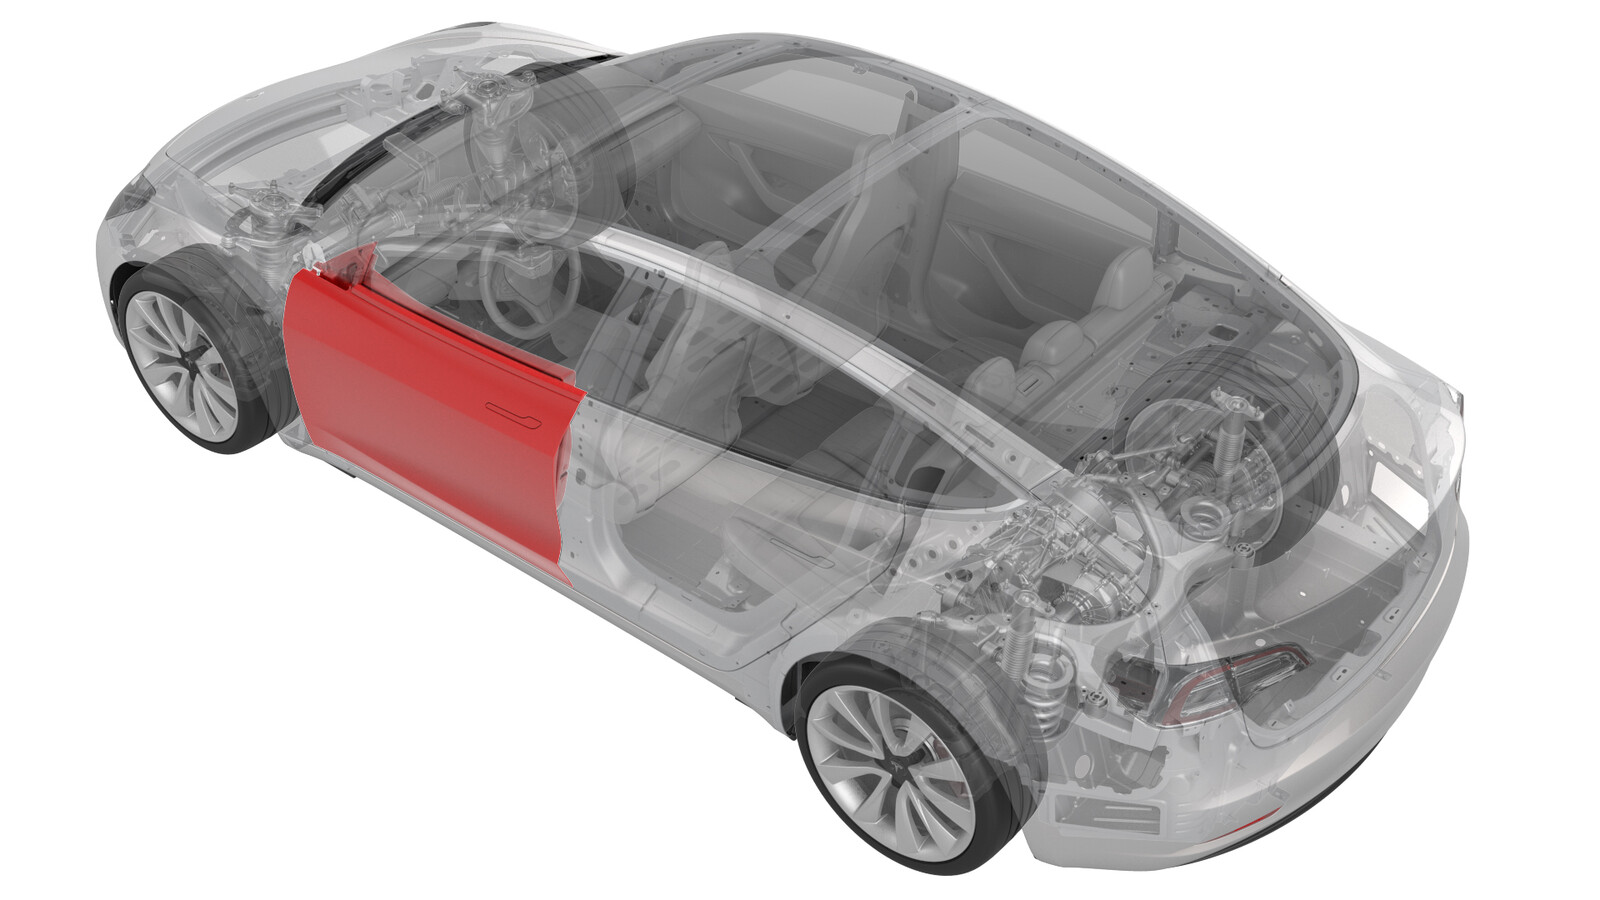
Porte - avant - gauche (retirez et remplacez)
 Code de correction
10106002 1.20
REMARQUE : À moins d’indications explicites contraires dans la procédure, le code de correction et le temps forfaitaire ci-dessus représentent tout le travail à être fait pour cette procédure, notamment les procédures connexes. N’appliquez pas plusieurs codes de correction à la fois, à moins qu’il vous soit explicitement indiqué de le faire.
REMARQUE : Consultez Temps forfaitaires pour en apprendre plus à propos des temps forfaitaires et de leur création. Vous pouvez transmettre par courriel vos commentaires relatifs aux valeurs des temps forfaitaires à l'adresse ServiceManualFeedback@tesla.com.
REMARQUE : Consultez Protection individuelle pour vous assurer de porter l’équipement de protection individuelle adéquat lors vous effectuez la procédure ci-dessous. Voir Précautions ergonomiques pour consulter les pratiques de travail sécuritaires et saines.
Spécifications de couple
| Description | Valeur de couple | Outils recommandés | Réutiliser/remplacer | Remarques |
|---|---|---|---|---|
| Boulons qui fixent le loquet de porte avant gauche à la charnière |
 24 Nm (17.7 lbs-ft) |
|
Réutiliser |
Retirer
- Débranchez l'alimentation 12 V. Voir Alimentation 12 V/BT (déconnectez et connectez),
- Retirez le panneau de garniture de la porte avant côté gauche. Voir Panneau - garniture de porte - avant - gauche (retirez et installez),
- Retirez le joint de ceinture intérieur de la porte avant gauche. Voir Joint - ceinture intérieure - porte avant - gauche (retirez et remplacez),
- Retirez le joint de ceinture extérieur de la porte avant gauche. Voir Joint d'étanchéité – ceinture de sécurité extérieure – porte avant – côté gauche (Retirer et remplacer),
- Retirez l'ensemble moteur/lève-vitre avant gauche. Voir Ensemble moteur et régulateur de vitre - avant - gauche (retirez et remplacez),
- Retirez la poignée de déverrouillage extérieure de la porte gauche. Voir Poignée - déverrouillage extérieur - porte - avant - gauche (retirez et remplacez),
- Retirez le loquet de la porte avant gauche. Voir Loquet - porte - avant - gauche (retirez et remplacez),
- Retirez le rétroviseur de la porte gauche. Voir rétroviseur - porte - gauche (retirez et remplacez),
-
Retirez les bouchons-boutons de la partie inférieure de la porte.
- Retirez la garniture du montant A inférieur gauche. Voir Garniture - montant avant - inférieure - gauche (retirez et remplacez),
-
Débranchez les connecteurs du faisceau de porte avant gauche du module de contrôle de carrosserie gauche.
-
Relâchez l'attache du faisceau de câbles du module de contrôle de carrosserie gauche.
-
Poussez le faisceau de câbles de porte à travers la cloison du montant A.
-
Relâchez toutes les attaches du faisceau de câbles de porte.
- Poussez le faisceau de câbles à travers la cloison de la porte, puis retirez le faisceau de la porte.
-
Retirez le boulon qui fixe le tirant de porte au montant A.
 24 Nm (17.7 lbs-ft)ATTENTIONDéboulonner le tirant de porte permettra à la porte de balancer librement au-delà de la limite d'ouverture prévue.
 -
Libérez les attaches qui fixent le joint d'étanchéité du tirant de porte, puis retirez le joint.
-
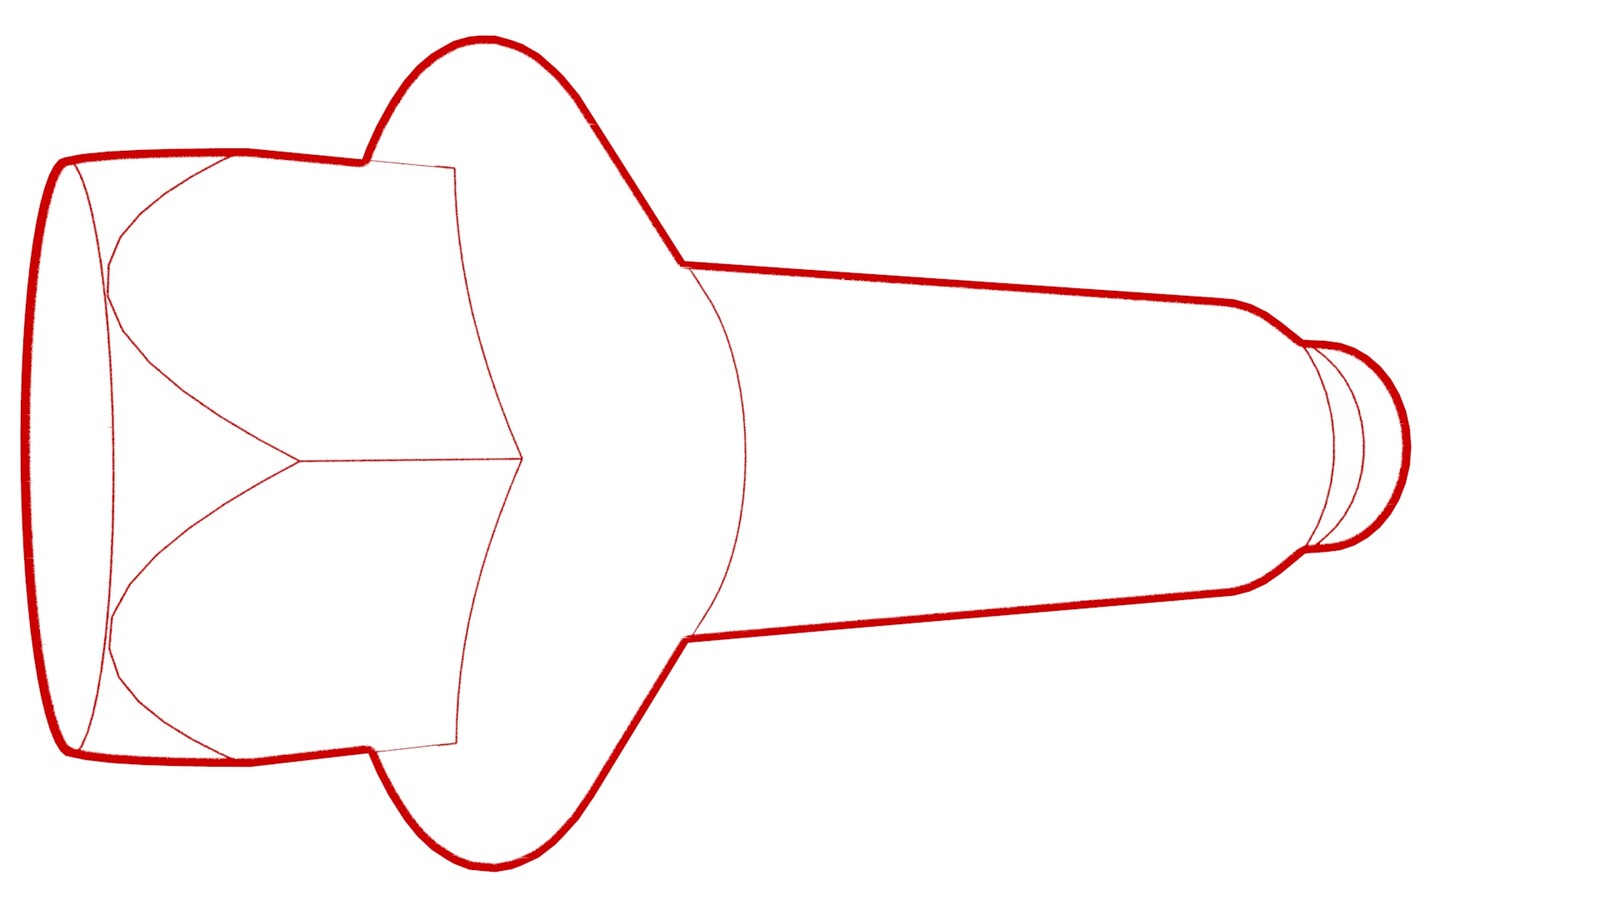
Retirez les écrous qui fixent le tirant de porte à la porte, puis retirez le tirant de la porte.
 10 Nm (7.4 lbs-ft)
 -
Desserrez les boulons de charnière, puis retirez les boulons inférieurs de chaque charnière.
 24 Nm (17.7 lbs-ft)TIpL'un ou plusieurs des outils suivants sont recommandés :
 -
Dévissez partiellement le boulon supérieur de chaque charnière et, avec l'aide d'un assistant, soulevez la porte avant gauche pour la détacher du véhicule.
Installer
La procédure d’installation est l’inverse de la procédure de retrait, à l’exception de ce qui suit :
-
ATTENTION
Remplacez tous les boulons de correction.
Remplacez tous les écrous mécaniques.
- Installez un nouveau joint secondaire avant gauche sur la nouvelle porte. Voir Joint - secondaire - porte avant - gauche (retirez et remplacez),
- Vissez partiellement le boulon ou l'écrou supérieur de chaque charnière dans la porte, de façon à ce que la porte puisse reposer sur ses charnières afin de mettre en place le boulon ou l'écrou inférieur.
- Appliquez de la peinture de retouche sur les fixations peintes qui ont été enlevées et réinstallées au cours de cette procédure.
-
Après avoir installé l'ensemble de porte, effectuez les routines suivantes :
- Mettez le véhicule en mode Entretien à l’aide de l’écran tactile. Voir Mode Entretien,
- Touchez .
- Quitter mode Entretien. Voir Mode Entretien,