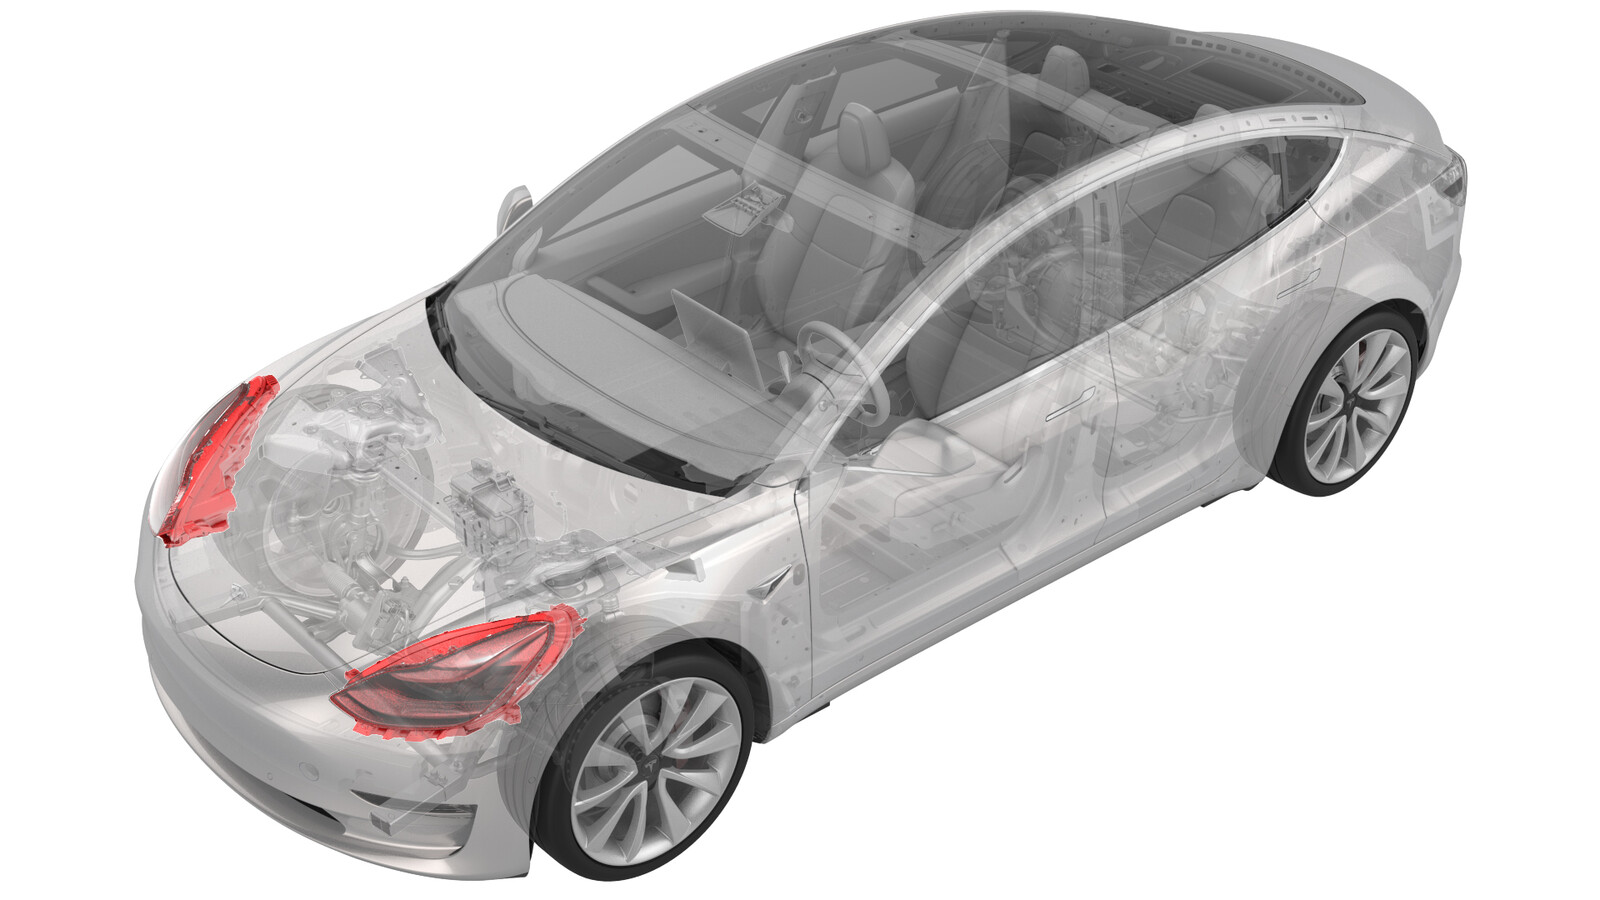
Phares - réglage - ND (méthode du mur)
 Code de correction
17400100 0.12
REMARQUE : À moins d’indications explicites contraires dans la procédure, le code de correction et le temps forfaitaire ci-dessus représentent tout le travail à être fait pour cette procédure, notamment les procédures connexes. N’appliquez pas plusieurs codes de correction à la fois, à moins qu’il vous soit explicitement indiqué de le faire.
REMARQUE : Consultez Temps forfaitaires pour en apprendre plus à propos des temps forfaitaires et de leur création. Vous pouvez transmettre par courriel vos commentaires relatifs aux valeurs des temps forfaitaires à l'adresse ServiceManualFeedback@tesla.com.
REMARQUE : Consultez Protection individuelle pour vous assurer de porter l’équipement de protection individuelle adéquat lors vous effectuez la procédure ci-dessous. Voir Précautions ergonomiques pour consulter les pratiques de travail sécuritaires et saines.
- 2024-04-01: Updated measurements and units.
Identify Headlight Type
Adjust Headlights Using a Wall
-
Position the vehicle for
adjusting the headlights. The vehicle should be:
- Located in a darkened area.
- Parked on a level surface.
- Perpendicular to a wall that has a white matte surface. The wall must be at least 6 ft (1.83 m) high and 12 ft (3.76 m) wide.
- Make sure that all 4 tires are inflated to specification.
- Open the front trunk hood.
-
Sur l’écran tactile, touchez Contrôles (icône de véhicule), puis touchez l’onglet Software (Micrologiciel) pour afficher la version du micrologiciel installé dans le véhicule.
- If the vehicle is running firmware version 2018.36.8 or higher, proceed to Step 5.
- If the vehicle is running an earlier firmware version, update the vehicle firmware to version 2018.36.8 or higher. See Mise à jour du logiciel.
- On the vehicle touchscreen, touch Controls > Service > Adjust Headlamps to enable Headlight Adjustment Mode.
- Turn on the headlights.
- Put a piece of tape on the wall 27.5 in (69.8 cm) from the ground to indicate where the beam should show.
- Measure 25 ft (7.62 m) away from the wall and put a piece of tape on the ground to indicate where the vehicle should be parked.
- Park the vehicle perpendicular to the wall so that the front fascia is flush with the tape that was placed on the ground in the previous step.
-
Note the height between the
ground and the center projector lens on the driver side headlight.
- Mark a straight line between each of the center projector lenses and the wall. At the point where each line meets the wall, mark the height that was noted in the previous step.
- Use the touchscreen to turn on the low beam headlights.
- Cover the RH headlight; make sure that all light from the right headlight is blocked.
-
On the steering wheel, use
the left scroll wheel to adjust the beam level: Target 0.00" +/- 1.0"
CAUTIONDo not sit in the vehicle, as this will affect headlight alignment.NoteThere might be a delay between the scroll wheel input and actual headlight adjustment output.
-
Adjust the headlight so that
the distance between the ground and the top right part of the beam on the
wall is 27.5 in (69.8 cm).
- Repeat steps 13 through 15 covering the LH headlight and adjusting the RH headlight.
- Close the hood.
- Use the touchscreen to turn off the headlights.