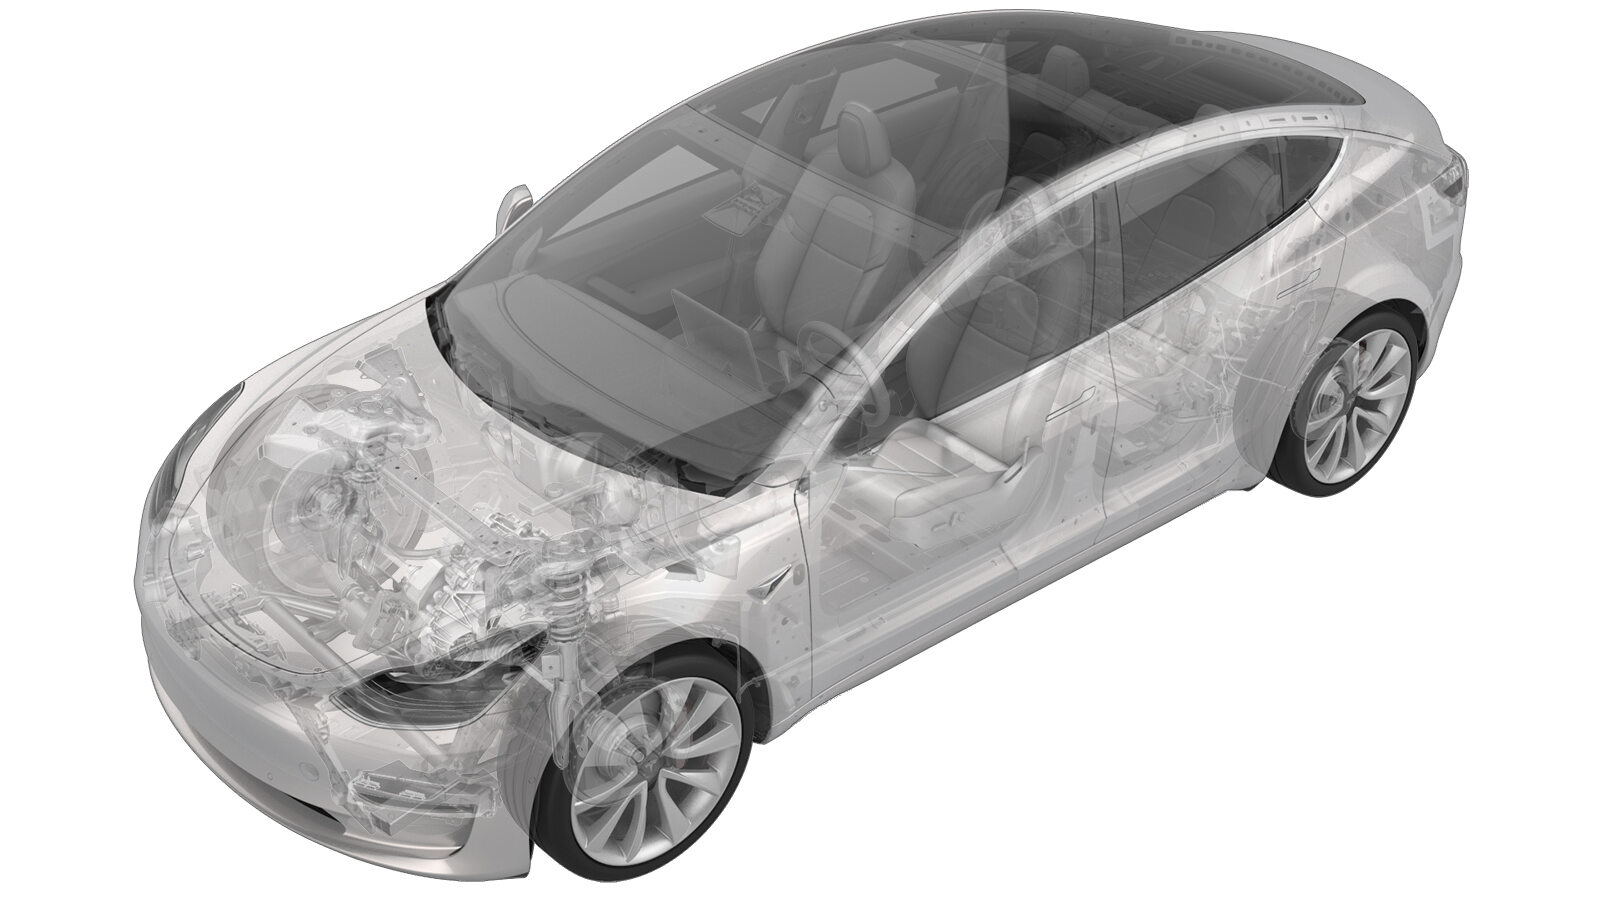
Vérin - mode inférieur (pompe à chaleur ) (retirez et remplacez)
 Code de correction
18102512
0.54
REMARQUE : À moins d’indications explicites contraires dans la procédure, le code de correction et le temps forfaitaire ci-dessus représentent tout le travail à être fait pour cette procédure, notamment les procédures connexes. N’appliquez pas plusieurs codes de correction à la fois, à moins qu’il vous soit explicitement indiqué de le faire.
REMARQUE : Consultez Temps forfaitaires pour en apprendre plus à propos des temps forfaitaires et de leur création. Vous pouvez transmettre par courriel vos commentaires relatifs aux valeurs des temps forfaitaires à ServiceManualFeedback@tesla.com.
REMARQUE : Consultez Protection individuelle pour vous assurer de porter l’équipement de protection individuelle adéquat lorsque vous effectuez la procédure ci-dessous.
REMARQUE : Voir Précautions ergonomiques pour consulter les pratiques de travail sécuritaires et saines.
- 2023-10-16: Reorganized the procedure.
Retirer
- Remove the center console. See Console centrale (2.0) (Retirez et installez).
-
Release the instrument panel harness
clips (x2) and carpet clip from the RH cross car beam.
-
Remove the bolt that attaches the LH
cross car beam to the HVAC assembly.
TIpL'un ou plusieurs des outils suivants sont recommandés :
- Clé à cliquet à tête flexible/clé dynamométrique à tête flexible
- Douille profonde à 12 pans de 10 mm
-
Remove the bolt that attaches the RH
cross car beam bracket to the cross car beam.
TIpL'un ou plusieurs des outils suivants sont recommandés :
- Clé à cliquet/Clé dynamométrique
- 13mm socket
- Rallonge de 3 po
-
Remove the nut that attaches the RH
cross car beam bracket to the body.
TIpL'un ou plusieurs des outils suivants sont recommandés :
- Clé à cliquet/Clé dynamométrique
- 13mm socket
- Rallonge de 3 po
-
Remove the RH cross car beam bracket
from the vehicle.
-
Insert the inflatable air bag up to
the bottom of the lower mode actuator, then inflate it between the RH cross car beam
bracket and lower HVAC assembly.
-
Remove the bolts(x2) that attach the
lower mode actuator to the HVAC assembly.
RemarqueInsert the mini ratchet bit from behind the harness.TIpL'un ou plusieurs des outils suivants sont recommandés :
- Embout Torx T20
-
Disconnect the lower mode actuator
electrical connector, and then remove the actuator from the HVAC assembly.
Installer
- Position the lower mode actuator on the HVAC assembly; align the guide, and then push the lower mode actuator towards the left to install.
-
Connect the lower mode actuator electrical connector.
-
Install the bolts(x2) that attach the
lower mode actuator to the HVAC assembly.
 1.2 Nm (.9 lbs-ft)RemarqueInsert the mini ratchet bit from behind the harness.TIpL'un ou plusieurs des outils suivants sont recommandés :
- Embout Torx T20
- Torque Wrench Hexagon - 1060071-00-A
-
Deflate airbag between RH cross car
beam bracket and lower HVAC assembly and remove
- Deflate and remove the inflatable air bag between the RH cross car beam bracket and lower HVAC assembly.
- Position the RH cross car beam bracket to the body.
-
Hand-tighten the bolt that attaches
the RH cross car beam bracket to the cross car beam.
-
Hand-tighten the bolt that attaches
the cross car beam to the HVAC assembly.
-
Hand-tighten bolt that attaches cross
car beam to the HVAC assembly.
-
Torque the nut that attached the RH
cross car beam bracket to the body.
 25 Nm (18.4 lbs-ft)TIpL'un ou plusieurs des outils suivants sont recommandés :
- Clé à cliquet/Clé dynamométrique
- 13mm socket
- Rallonge de 3 po
-
Torque the bolt that attaches the RH
cross car beam bracket to the cross car beam.
 25 Nm (18.4 lbs-ft)TIpL'un ou plusieurs des outils suivants sont recommandés :
- Clé à cliquet/Clé dynamométrique
- 13mm socket
- Rallonge de 3 po
-
Torque the bolt that attach the cross
car beam to the HVAC assembly.
 5.5 Nm (4.1 lbs-ft)TIpL'un ou plusieurs des outils suivants sont recommandés :
- Clé à cliquet à tête flexible/clé dynamométrique à tête flexible
- Douille profonde à 12 pans de 10 mm
-
Install the IP harness clips (x2) and
carpet clip to the RH cross car beam.
- Install the center console. See Console centrale (2.0) (Retirez et installez).