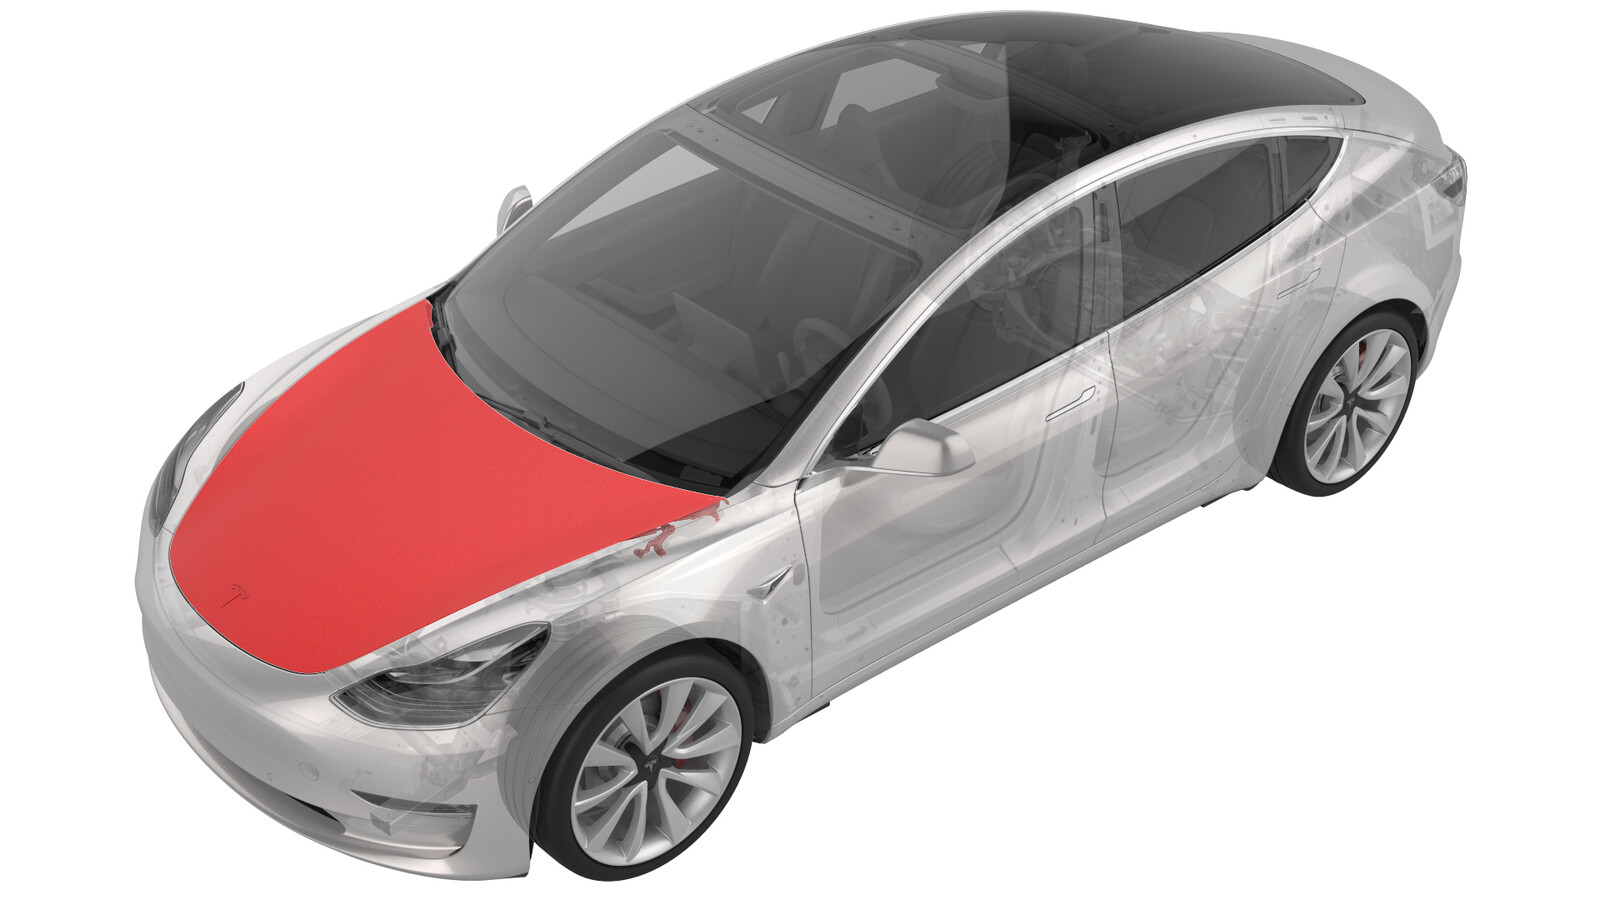
Capot (retirez et remplacez)
 Code de correction
10100302 0.48
REMARQUE : À moins d’indications explicites contraires dans la procédure, le code de correction et le temps forfaitaire ci-dessus représentent tout le travail à être fait pour cette procédure, notamment les procédures connexes. N’appliquez pas plusieurs codes de correction à la fois, à moins qu’il vous soit explicitement indiqué de le faire.
REMARQUE : Consultez Temps forfaitaires pour en apprendre plus à propos des temps forfaitaires et de leur création. Vous pouvez transmettre par courriel vos commentaires relatifs aux valeurs des temps forfaitaires à l'adresse ServiceManualFeedback@tesla.com.
REMARQUE : Consultez Protection individuelle pour vous assurer de porter l’équipement de protection individuelle adéquat lors vous effectuez la procédure ci-dessous. Voir Précautions ergonomiques pour consulter les pratiques de travail sécuritaires et saines.
Retirer
-
Release the clips that
attach the LH and RH hood gas struts to the LH and RH hood strut brackets,
and then set the struts aside.
Figure 1. RH shown, LH similar -
With assistance, remove the
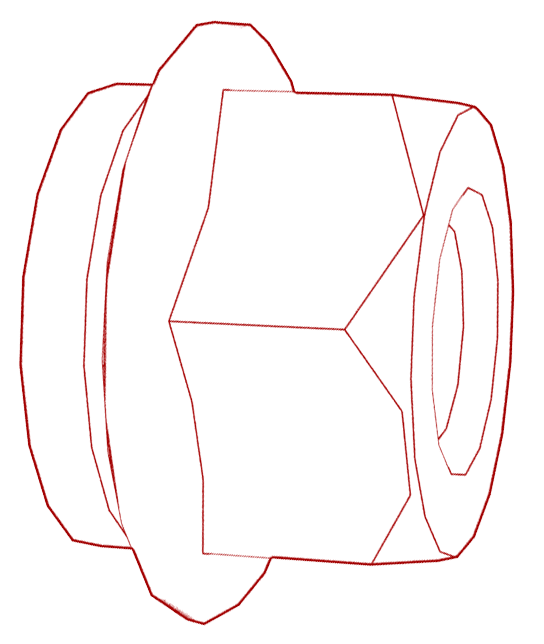
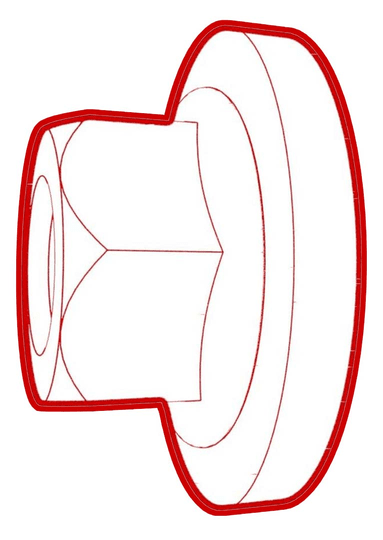
nuts that attach the hood to the LH and RH hood hinges.
Figure 2. RH shown, LH similar - With assistance, remove the hood from the vehicle, and then place it on a padded surface.
-
Remove the hood striker from
the old hood. See Gâche - capot (retirez et remplacez).
NoteDo not mark the location of the hood striker on the old hood.
-
Remove the nuts that attach
the LH and RH hood strut brackets to the old hood, and then remove the
brackets.
-
Remove the LH and RH bump
stops from the old hood.
-
Remove the hood plugs (4x)
from the old hood.
Installer
-
Install the hood plugs on
the new hood.
-
Install the LH and RH bump
stops on the new hood.
-
Position the LH and RH hood
strut brackets on the new hood, and then tighten the nuts that attach the
brackets to the hood.
 15 Nm (11.1 lbs-ft)
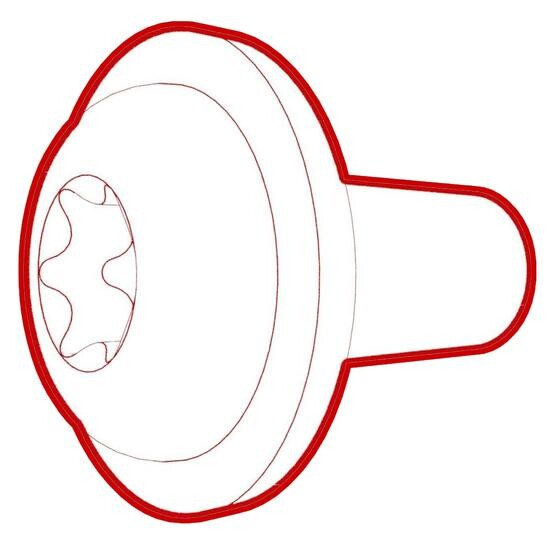
 - Position the hood striker on the new hood, and then hand tighten the bolts that attach the striker to the hood.
-
With assistance, position
the hood on the vehicle, and then hand tighten the nuts that attach the LH
and RH hood hinges to the hood.
Figure 3. RH shown, LH similar - Support the hood with a hood prop.
-
Position the LH and RH hood
gas struts on the LH and RH hood hinges, and then install the clips that
attach the struts to the hinges.
- Carefully close the hood, and then check hood fitment.
- Perform gap and flush adjustments on the hood assembly, if necessary.
-
Tighten the nuts that attach
the hood assembly to the LH and RH hood hinges.
 15 Nm (11.1 lbs-ft)
 -
Tighten the bolts that
attach the hood striker to the hood assembly.
 18 Nm (13.3 lbs-ft)
 - Clean the LH and RH hood hinge bolts and the surrounding area with isopropyl alcohol (IPA), and then let dry for at least 1 minute.
- If necessary, apply touch up paint matching the vehicle's body color to the LH and RH hood hinge studs/nuts.
-
For China, Japan and Korea only: Install a new motor ID label on the
hood.
- Clean the front of the hood with IPA, and then install a front Tesla badge. See Insigne Tesla - avant (retirez et remplacez).