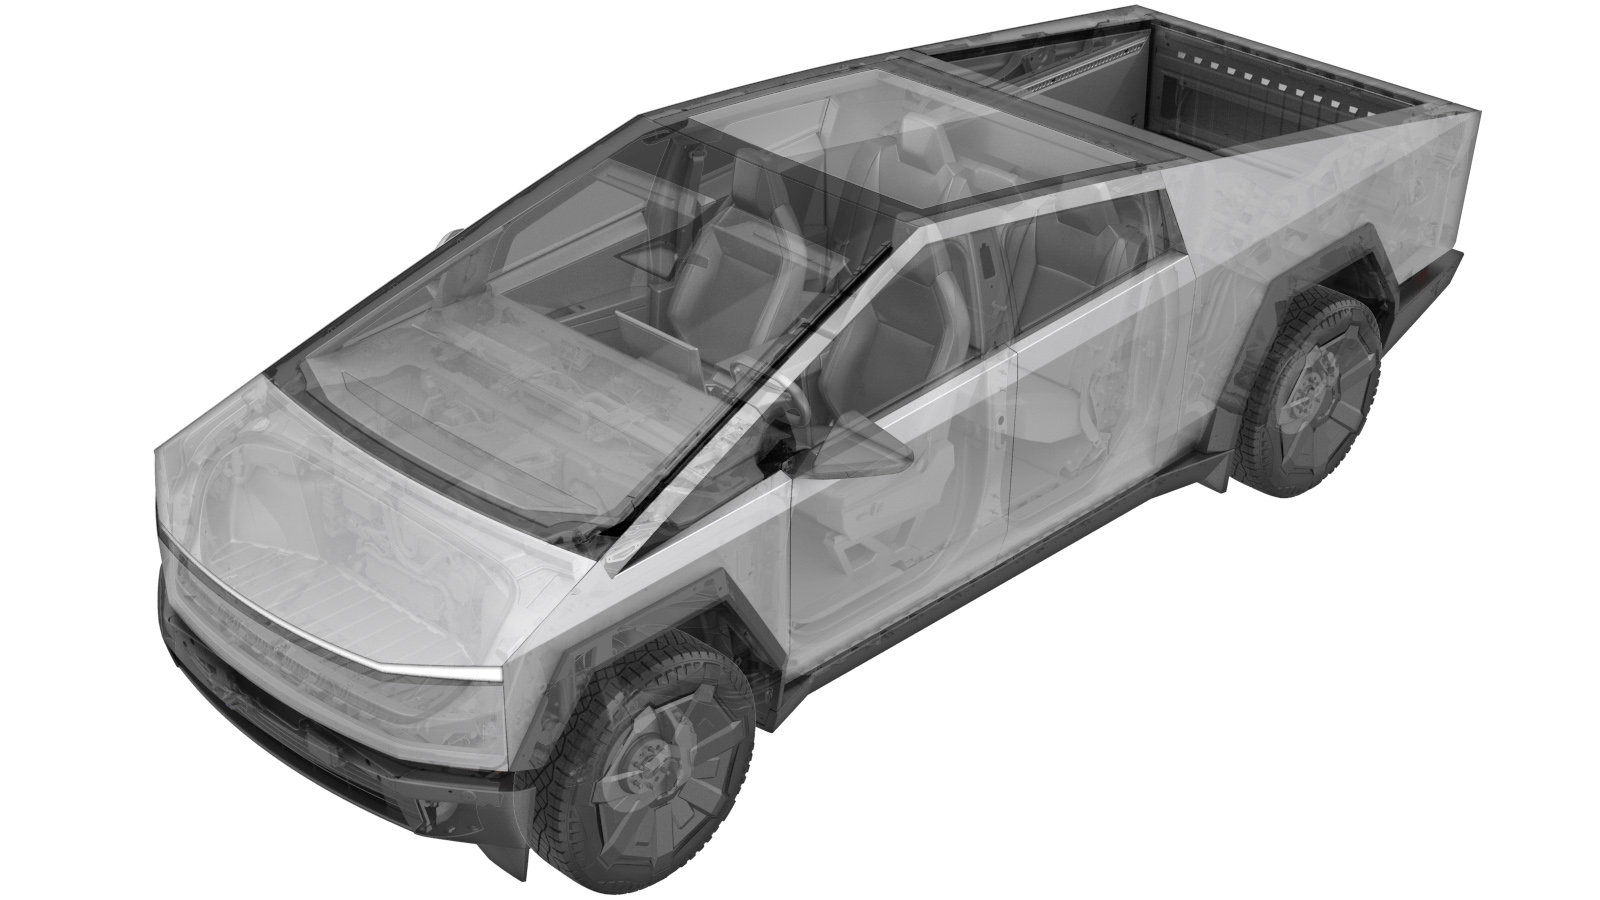
BLE End Point - Wheel Well - Front - RH (Remove and Install)
 Code de correction
1745104061, 1745104062
0.18
REMARQUE : À moins d’indications explicites contraires dans la procédure, le code de correction et le temps forfaitaire ci-dessus représentent tout le travail à être fait pour cette procédure, notamment les procédures connexes. N’appliquez pas plusieurs codes de correction à la fois, à moins qu’il vous soit explicitement indiqué de le faire.
REMARQUE : Consultez Temps forfaitaires pour en apprendre plus à propos des temps forfaitaires et de leur création. Vous pouvez transmettre par courriel vos commentaires relatifs aux valeurs des temps forfaitaires à ServiceManualFeedback@tesla.com.
REMARQUE : Consultez Protection individuelle pour vous assurer de porter l’équipement de protection individuelle adéquat lorsque vous effectuez la procédure ci-dessous.
REMARQUE : Voir Précautions ergonomiques pour consulter les pratiques de travail sécuritaires et saines.
Retirer
- Ouvrez la porte avant gauche et abaissez la glace avant gauche.
- Mettez le véhicule en mode Entretien. Voir Mode Entretien,
-
Release the clips (x11) and datums (x3) that attach the RH front fender flare cover to the vehicle, disconnect the electrical connector, and then remove the cover from the vehicle.
ATTENTIONThe camera harness is very short. Make sure not to pull the cover too far from the vehicles when releasing.RemarqueRelease all clips repeater connector before removal.
-
Remove the clips (x14) that attach the RH front wheel liner to the fender flare carrier, and then release the wheel liner from the fender flare carrier and fascia.
- Remove the RH front fore fender flare carrier. See Carrier - Fender Flare - Fore - Front - LH (Remove and Install).
-
Remove and discard the bolts (x2) that attach the RH front wheel well BLE endpoint to the vehicle, and then remove the endpoint from the vehicle.
 1.5 Nm (1.1 lbs-ft)TIpNous recommandons l’utilisation des outils suivants :
- Embout Torx T20
Installer
-
Position the RH front wheel well BLE endpoint into the vehicle, and then install new bolts (x2) that attach the endpoint to the vehicle.
 1.5 Nm (1.1 lbs-ft)TIpNous recommandons l’utilisation des outils suivants :
- Embout Torx T20
- Install the RH front fore fender flare carrier. See Carrier - Fender Flare - Fore - Front - LH (Remove and Install).
-
Install the clips (x4) that secure the RH front wheel liner to fore fender flare carrier.
-
Position the RH front fender flare cover onto the vehicle, connect the electrical connector, and then secure the clips (x11) and datums (x3) that attach the cover to the vehicle.
RemarqueConnect the fender flare camera electrical connector before installing the cover.RemarqueReplace any missing or damaged clips.
- Reinstall the vehicle software. See Software Reinstall - Touchscreen (Restore).
- Quitter mode Entretien. Voir Mode Entretien,
- Remontez la glace avant gauche et fermez la porte avant gauche.