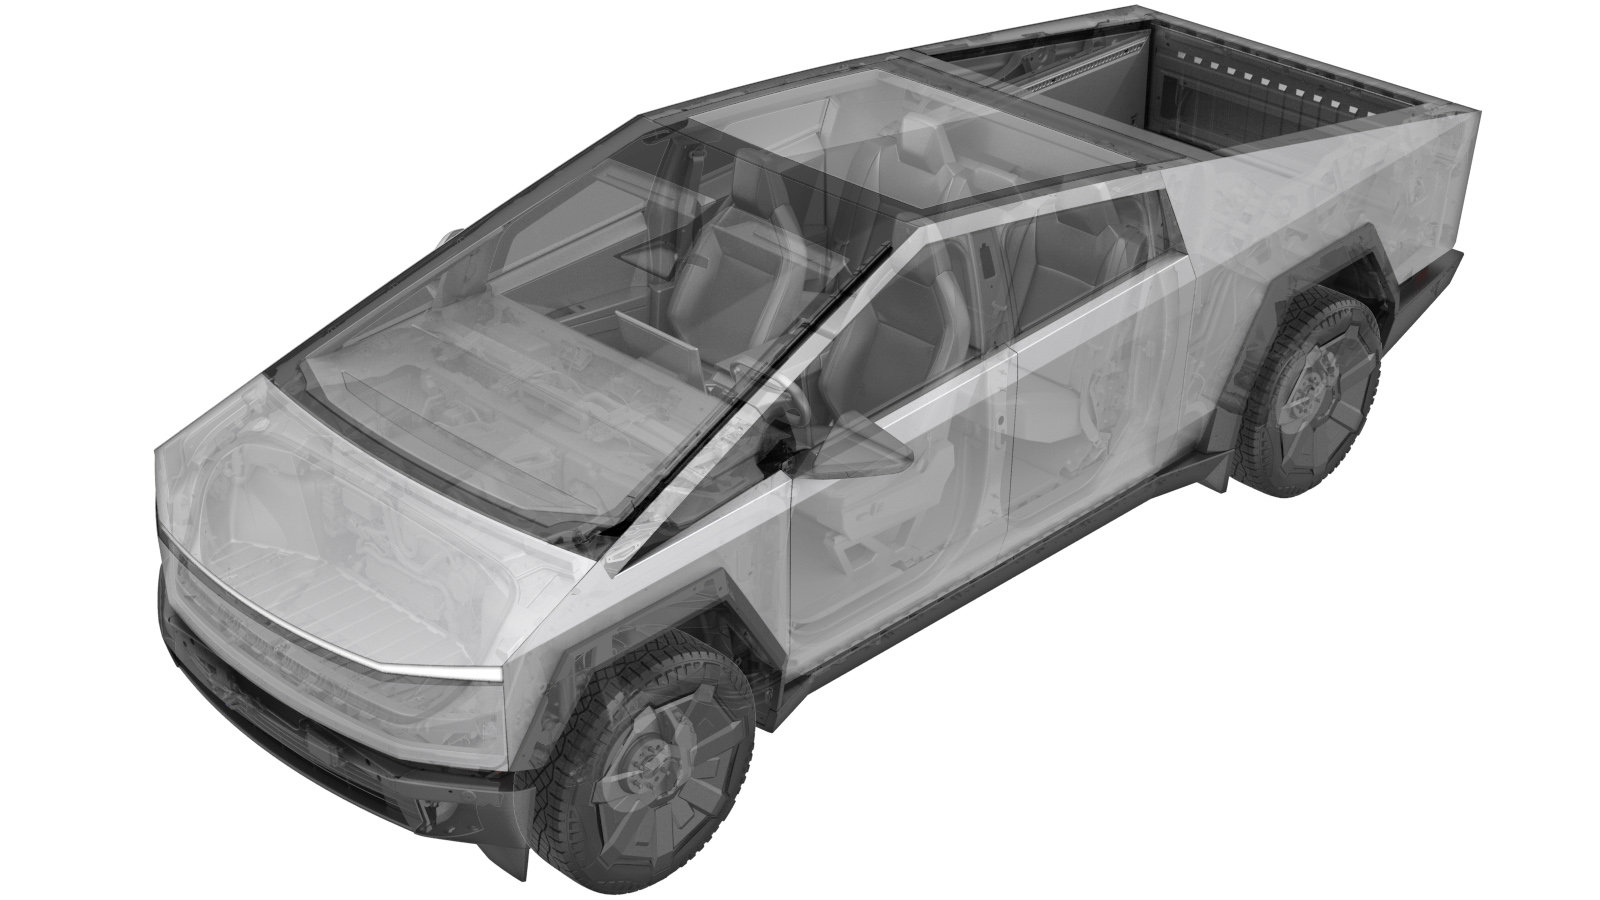
Truck Bed Exterior Trim - Sail Applique Set (Retrofit)
 Code de correction
1220126006
1.26
REMARQUE : À moins d’indications explicites contraires dans la procédure, le code de correction et le temps forfaitaire ci-dessus représentent tout le travail à être fait pour cette procédure, notamment les procédures connexes. N’appliquez pas plusieurs codes de correction à la fois, à moins qu’il vous soit explicitement indiqué de le faire.
REMARQUE : Consultez Temps forfaitaires pour en apprendre plus à propos des temps forfaitaires et de leur création. Vous pouvez transmettre par courriel vos commentaires relatifs aux valeurs des temps forfaitaires à ServiceManualFeedback@tesla.com.
REMARQUE : Consultez Protection individuelle pour vous assurer de porter l’équipement de protection individuelle adéquat lorsque vous effectuez la procédure ci-dessous.
REMARQUE : Voir Précautions ergonomiques pour consulter les pratiques de travail sécuritaires et saines.
- 2025-10-07: Fixed retrofit build date - 4/12/2024.
- 2024-12-18: Added steps to remove/install corner bracket. Updated notes for additional information.
-
Open tonneau cover
RemarquePress forward arrow on LH bed rail
-
Open tailgate
RemarquePress button to release
-
Remove tailgate top applique
Remarque10x clips, 2x guide datums, 5x hooks, replace with a new applique if removed
-
Remove LH sail applique
Remarque9x clips, 6x double-sided tape strips, 1x connector, 1x harness clip, Lift rear edge first to remove connector and harness clip, Remove double-sided tape from applique and bed side, Remove any remaining adhesive with IPA wipes, Discard sail applique after removal
-
Remove LH tonneau water management seal
Remarque1x clip, Pull away from rail to release from groove
-
Remove the LH sail applique corner bracket
Remarque1x bolt, 10mm, 9 Nm, 1x datum
Figure 1. LH shown; RH similar Figure 2. LH shown; RH similar Figure 3. LH shown; RH similar -
Remove LH tonneau rail
Remarque9x bolts, 10mm, 9 Nm, Lift upwards and slide rearwards to release
-
Remove LH tail lamp step bracket
Remarque1x clip, 1x bolt, 10mm, 10 Nm, Early production vehicles may not have push clip
-
Remove RH sail applique
Remarque9x clips, 6x double-sided tape strips, Remove double-sided tape from applique and bed side, Remove any remaining adhesive with IPA wipes, Discard sail applique after removal
-
Remove RH tonneau water management seal
Remarque1x clip, Pull away from rail to release from groove
-
Remove the RH sail applique corner bracket
Remarque1x bolt, 10mm, 9 Nm, 1x datum
Figure 4. LH shown; RH similar Figure 5. LH shown; RH similar Figure 6. LH shown; RH similar -
Remove RH tonneau rail
Remarque9x bolts, 10mm, 9 Nm, Lift upwards and slide rearwards to release
-
Remove RH tail lamp step bracket
Remarque1x clip, 1x bolt, 10mm, 10 Nm, Early production vehicles may not have push clip
-
Measure the slot length on inner sail stamping
Remarqueif slot length is shorter than 23mm then proceed with rework steps to elongate holes
-
Perform rework on both LH and RH inner sail stamping to elongate holes
Remarque16x holes, 8 holes on each side, Hole needs to be elongated 2 mm per side to allow for float, Scribe each hole using a caliper and filed it out by hand, Rework only apply for built date before 4/12/2024, Proceed onto next step if built afterwards
-
Apply a coat of SEM self-etching primer to reworked areas
Remarque16x reworked holes, Allow time for primer to dry
-
Install RH tail lamp step bracket
Remarque1x clip, 1x bolt, 10mm, 10 Nm, Early production vehicles may not have push clip
-
Position RH tonneau rail and sail applique corner bracket into place
-
Install RH tonneau rail
Remarque9x bolts, 10mm, 9 Nm, Maneuver rail into position, Fasteners may vary, if needed add new bolt to secure RH sail applique corner bracket into place
Figure 7. LH shown; RH similar -
Install RH tonneau water management seal
Remarque1x clip, Push seal into rail groove
-
Install RH sail applique
Remarque17x clips, 1x datum, Verify the forward most clips are present and seated correctly Align RH sail applique into position, Ensure all clips are properly secured onto body, Failure to secure clips could result in part ejection
-
Install LH tail lamp step bracket
Remarque1x clip, 1x bolt, 10mm, 10 Nm, Early production vehicles may not have push clip
-
Position LH tonneau rail and sail applique corner bracket into place
-
Install LH tonneau rail
Remarque9x bolts, 10mm, 9 Nm, Maneuver rail into position, Fasteners may vary, if needed add new bolt to secure applique corner bracket into place
Figure 8. LH shown; RH similar -
Install LH tonneau water management seal
Remarque1x clip, Push seal into rail groove
-
Install LH sail applique
Remarque17x clips, 1x datum, 1x connector, 1x harness clip, Verify the forward most clips are present and seated correctly, Align LH sail applique into position, Ensure all clips are properly secured onto body, Failure to secure clips could result in part ejection
-
Install tailgate top applique
Remarque10x clips, 2x guide datums, 5x hooks, Align hooks and swing rear wards, Wrap a mallet with a microfiber to ensure hooks are engaged fully
-
Close tailgate
-
Close tonneau cover