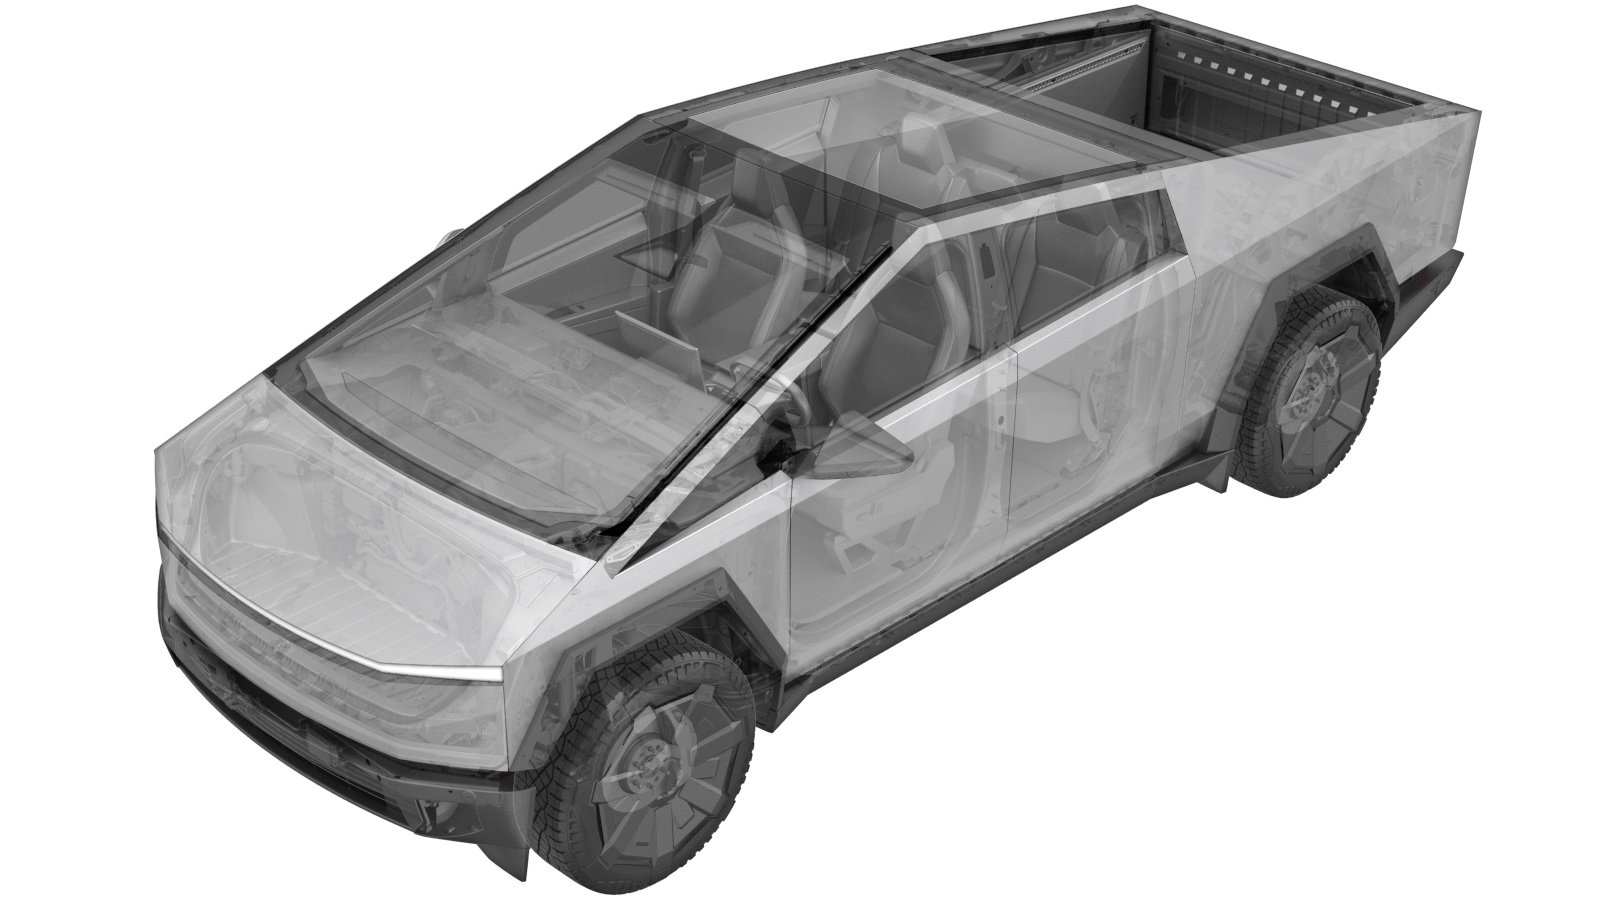
Tank - Washer - Windshield (Remove and Install)
 Code de correction
NEW
REMARQUE : À moins d’indications explicites contraires dans la procédure, le code de correction et le temps forfaitaire ci-dessus représentent tout le travail à être fait pour cette procédure, notamment les procédures connexes. N’appliquez pas plusieurs codes de correction à la fois, à moins qu’il vous soit explicitement indiqué de le faire.
REMARQUE : Consultez Temps forfaitaires pour en apprendre plus à propos des temps forfaitaires et de leur création. Vous pouvez transmettre par courriel vos commentaires relatifs aux valeurs des temps forfaitaires à ServiceManualFeedback@tesla.com.
REMARQUE : Consultez Protection individuelle pour vous assurer de porter l’équipement de protection individuelle adéquat lorsque vous effectuez la procédure ci-dessous.
REMARQUE : Voir Précautions ergonomiques pour consulter les pratiques de travail sécuritaires et saines.
- 2024-10-7: Added step to fill washer tank with washer fluid after install.
Retirer
- Remove the frunk assembly. See Frunk Assembly (Remove and Install).
-
Release the clip that attaches the windshield wiper washer hose to the megabeam washer hose, and then disconnect the hoses.
-
Release the clip that attaches the camera nozzle hose to the washer pump, and then disconnect the hose from the washer pump.
-
Release the harness clips (x2) from the washer tank assembly.
-
Disconnect the washer pump electrical connector.
-
Disconnect the washer level sensor electrical connector.
-
Remove the bolts (x3) that attach the washer tank assembly to the vehicle, and then remove the assembly from the vehicle.
TIpNous recommandons l’utilisation des outils suivants :
- Douille de 10 mm
Installer
-
Position the washer tank assembly into the vehicle, and then install the bolts (x3) that attach the assembly to the vehicle.
 8 Nm (5.9 lbs-ft)TIpNous recommandons l’utilisation des outils suivants :
- Douille de 10 mm
-
Connect the washer level sensor electrical connector.
-
Connect the washer pump electrical connector.
-
Secure the harness clips (x2) to the washer tank assembly.
-
Connect the camera nozzle hose to the washer pump, and then secure the clip.
-
Connect the megabeam windshield washer hose to the washer hose assembly, and then secure the clip.
- Install the frunk assembly. See Frunk Assembly (Remove and Install).
- Fill washer tank with washer fluid.