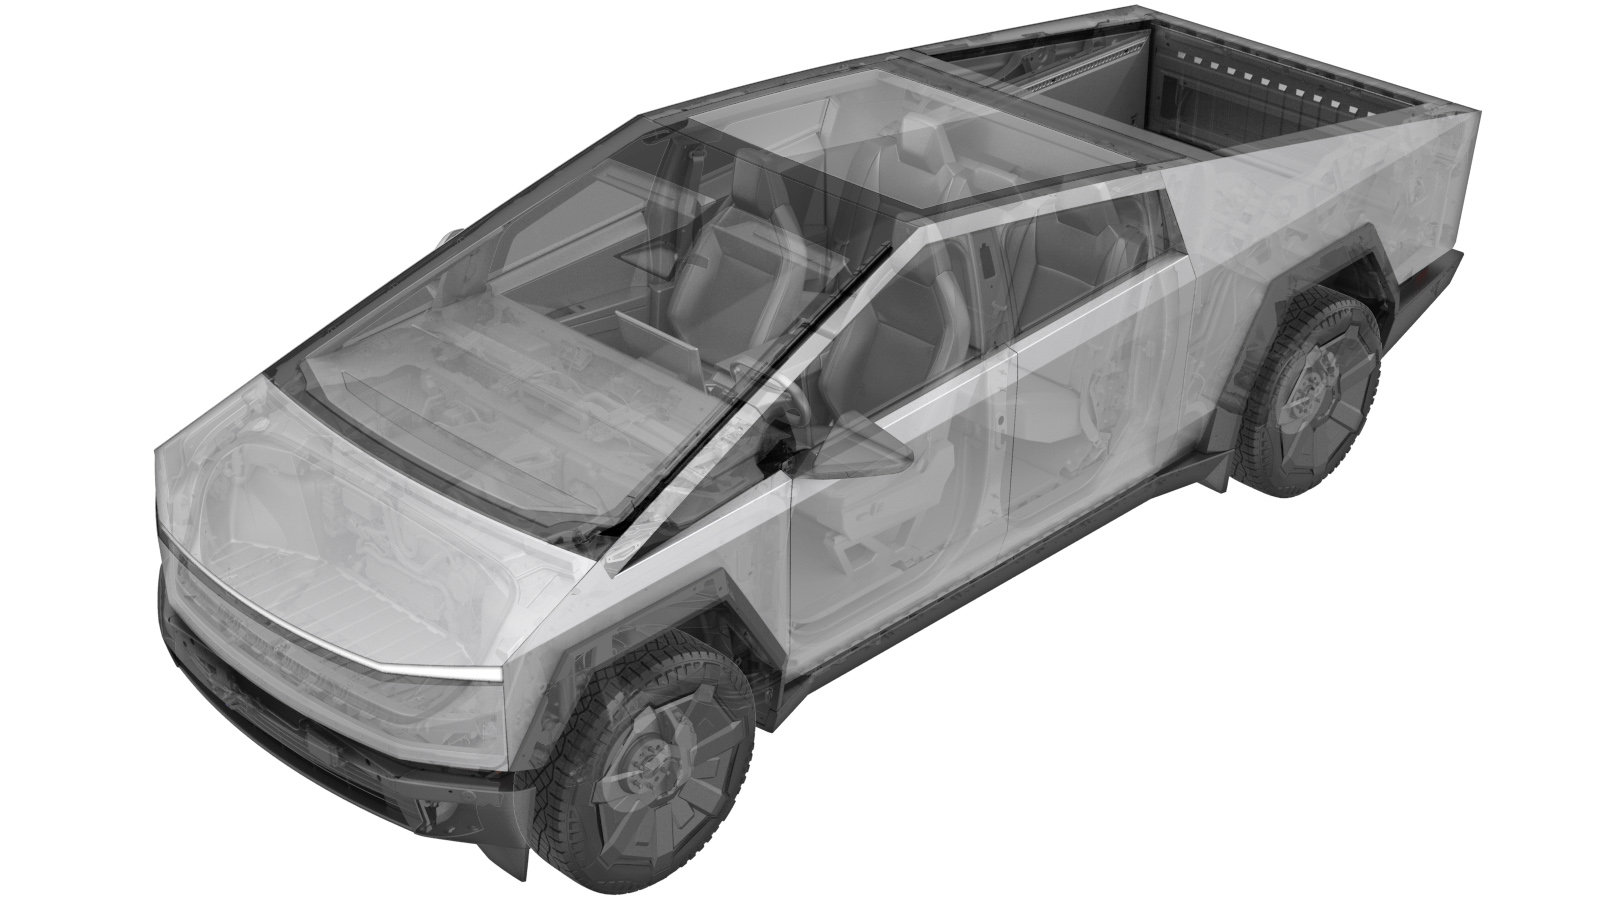
Spot Lamp - LH - Headliner (Long Range) (Remove and Install)
 Code de correction
NEW
REMARQUE : À moins d’indications explicites contraires dans la procédure, le code de correction et le temps forfaitaire ci-dessus représentent tout le travail à être fait pour cette procédure, notamment les procédures connexes. N’appliquez pas plusieurs codes de correction à la fois, à moins qu’il vous soit explicitement indiqué de le faire.
REMARQUE : Consultez Temps forfaitaires pour en apprendre plus à propos des temps forfaitaires et de leur création. Vous pouvez transmettre par courriel vos commentaires relatifs aux valeurs des temps forfaitaires à ServiceManualFeedback@tesla.com.
REMARQUE : Consultez Protection individuelle pour vous assurer de porter l’équipement de protection individuelle adéquat lorsque vous effectuez la procédure ci-dessous.
REMARQUE : Voir Précautions ergonomiques pour consulter les pratiques de travail sécuritaires et saines.
- 2025-06-21: Released new procedure.
-
Open LH front door
RemarquePush LH B-pillar door trigger to release
- Lower LH front window
-
Open LH rear door
RemarquePush LH C-pillar door trigger to release
- Lower LH rear window
-
Remove front header trim
Remarque19x clips, 1x magnet, 1x connector, 1x harness clip
-
Remove LH mid A-pillar trim
Remarque1x clip, 3x tabs, Release tabs then slightly bend live hinge and release clip
-
Remove LH upper A-pillar panel
Remarque8x clips, 1x tether clip, 1x harness clip, 1x connector, 1x bolt, 10mm, 6 Nm, Pull inwards to release, Depress tabs on either side of tether clip to release, Apply tape onto top pad to prevent damage
- Move LH front seat forward
-
Remove rear header trim
Remarque12x clips, 3x datums
-
Remove LH cantrail trim panel
Remarque5x clips, 1x connector, 1x tab, 3x bolts, T30, 6 Nm, Release clips then allow cantrail to hang from tethers for access to fasteners
-
Remove LH spot lamp
Remarque1x screws, T15, 1 Nm, 4x tabs, Release spot lamp upwards from cantrail trim
-
Install LH spot lamp
Remarque1x screw, T15, 1 Nm, 4x tabs, Install spot lamp onto cantrail trim, Ensure all 4 tabs engage
-
Install LH cantrail panel
Remarque5x clips, 1x connector, 3x bolts, T30, 6 Nm, Secure tethers then secure clips
-
Install rear header trim
Remarque12x clips, 3x datums, Replace any missing or damaged clips
-
Install LH upper A-pillar panel
Remarque8x clips, 1x tether clip, 1x edge clip, 1x connector, 1x bolt, 10mm, 6 Nm, Ensure tethers are correctly oriented, Replace any missing or damaged clips, Remove tape as needed
-
Install LH mid A-pillar trim
Remarque1x clip, 3x tabs, Replace any missing or damaged clips
-
Install front header trim
Remarque19x clips, 1x magnet, 1x connector, 1x harness clip
- Raise LH rear window
- Close LH rear door
- Raise LH front window
- Close LH front door