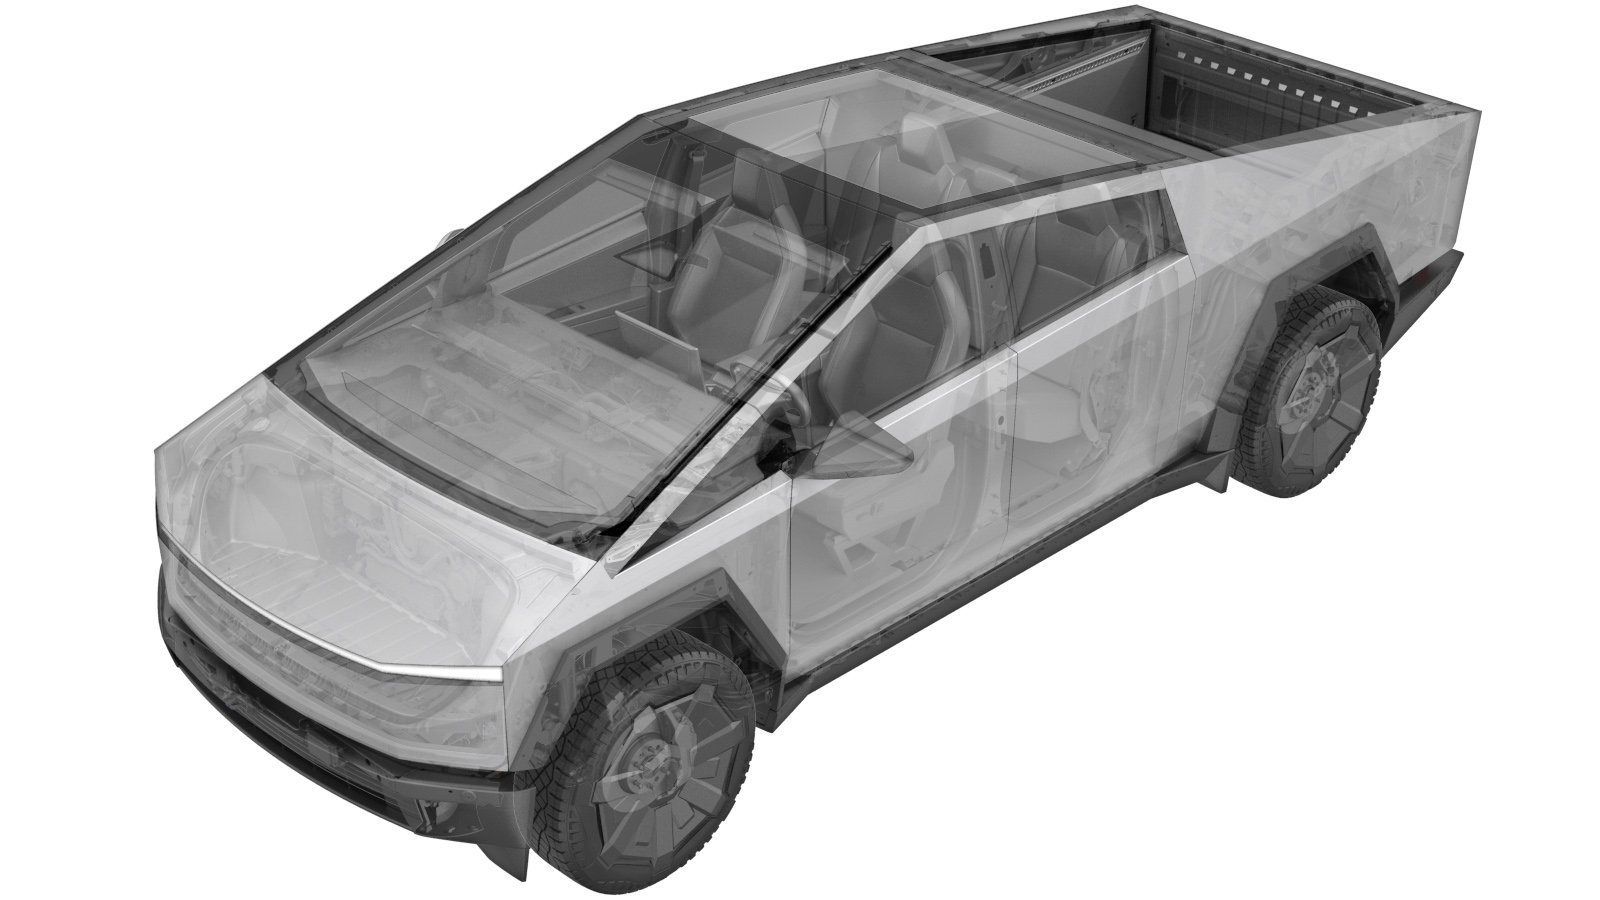
Knuckle - Front - LH (Long Range) (Remove and Install)
 Code de correction
NEW
REMARQUE : À moins d’indications explicites contraires dans la procédure, le code de correction et le temps forfaitaire ci-dessus représentent tout le travail à être fait pour cette procédure, notamment les procédures connexes. N’appliquez pas plusieurs codes de correction à la fois, à moins qu’il vous soit explicitement indiqué de le faire.
REMARQUE : Consultez Temps forfaitaires pour en apprendre plus à propos des temps forfaitaires et de leur création. Vous pouvez transmettre par courriel vos commentaires relatifs aux valeurs des temps forfaitaires à ServiceManualFeedback@tesla.com.
REMARQUE : Consultez Protection individuelle pour vous assurer de porter l’équipement de protection individuelle adéquat lorsque vous effectuez la procédure ci-dessous.
REMARQUE : Voir Précautions ergonomiques pour consulter les pratiques de travail sécuritaires et saines.
- 2025-06-21: Released new procedure.
-
Open LH front door
RemarquePush LH B-pillar door trigger to release
- Lower LH front window
-
Raise and support vehicle
RemarqueSet air suspension to "Jack Mode"
-
Remove LH front wheel cap
Remarque1x cap, 8x clips, Use both hands to firmly pull wheel cap to release clips, Cap may remove with or without mounting ring attached
-
Loosen LH front wheel nuts
Remarque6x nuts, 21mm, 205 Nm
-
Raise vehicle fully
RemarqueSet to a comfortable working height, Lower to locks, Ensure locks engage on both sides to prevent tilting
-
Remove LH front wheel
Remarque6x nuts, 21mm, 205 Nm
-
Remove LH front brake hose bracket
Remarque1x bolt, 10mm, 10 Nm
-
Remove LH front caliper and set aside
Remarque2x bolts, 24mm, 315 Nm, Rotor will be loose until caliper is installed, Use lug nut to secure rotor as needed
-
Remove LH front brake rotor
-
Disconnect LH front wheel speed sensor connector
Remarque1x connector
-
Remove clips securing LH front chassis jumper harness to knuckle
Remarque2x clips
-
Position and raise pole jack onto LH front lower control arm
-
Release LH front knuckle from lower control arm
Remarque1x nut, 24mm, 190 Nm, Pull knuckle downwards and outwards
-
Remove nut securing LH tie rod end to knuckle
Remarque1x nut, 21mm, 170 Nm
-
Remove LH tie rod end from knuckle
-
Remove LH front knuckle
RemarqueRecommend assistance, 1x nut, 18mm, 85 Nm, Use step ladder as needed, the upper control arm is under tension, use caution when removing nut
-
Install LH front knuckle
RemarqueRecommend assistance, 1x nut, 18mm, 85 Nm, Use step ladder as needed,
-
Position LH tie rod end onto knuckle
-
Install nut securing LH tie rod end to knuckle
Remarque1x nut, 21mm, 170 Nm
-
Secure LH front knuckle onto lower control arm
Remarque1x nut, 24mm, 190 Nm, Pull knuckle downwards and inwards, Align with lower arm ball joint
-
Lower and remove pole jack from LH front lower control arm
-
Install clips securing LH front chassis jumper harness to knuckle
Remarque2x clips
-
Connect LH front wheel speed sensor connector
Remarque1x connector
-
Install LH front brake rotor
RemarqueRotor will be loose until caliper is installed
-
Install LH front caliper
Remarque2x bolts, 24mm, 315 Nm, Rotor will be loose until caliper is installed, Use lug nut to secure rotor as needed
-
Install LH front brake hose bracket
Remarque1x bolt, 10mm, 10 Nm
-
Install LH front wheel
Remarque6x nuts, 21mm, 205 Nm
-
Lower vehicle until tires are touching the ground
RemarqueRaise lift off locks, then hold lock release lever to keep locks free while vehicle is lowered
-
Torque LH front wheel nuts
Remarque6x nuts, 21mm, 205 Nm, Use star pattern
-
Install LH front wheel cap
Remarque1x cap, 8x clips, Partially secure wheel cap to wheel, While partially installed wheel cover can be rotated to align with tire design, When aligned press inward from center of cap then secure all clips to mounting ring
-
Remove vehicle from lift
RemarqueLower rack arms fully and remove them from under vehicle, Remove air suspension from "Jack Mode"
- Raise LH front window
- Close LH front door