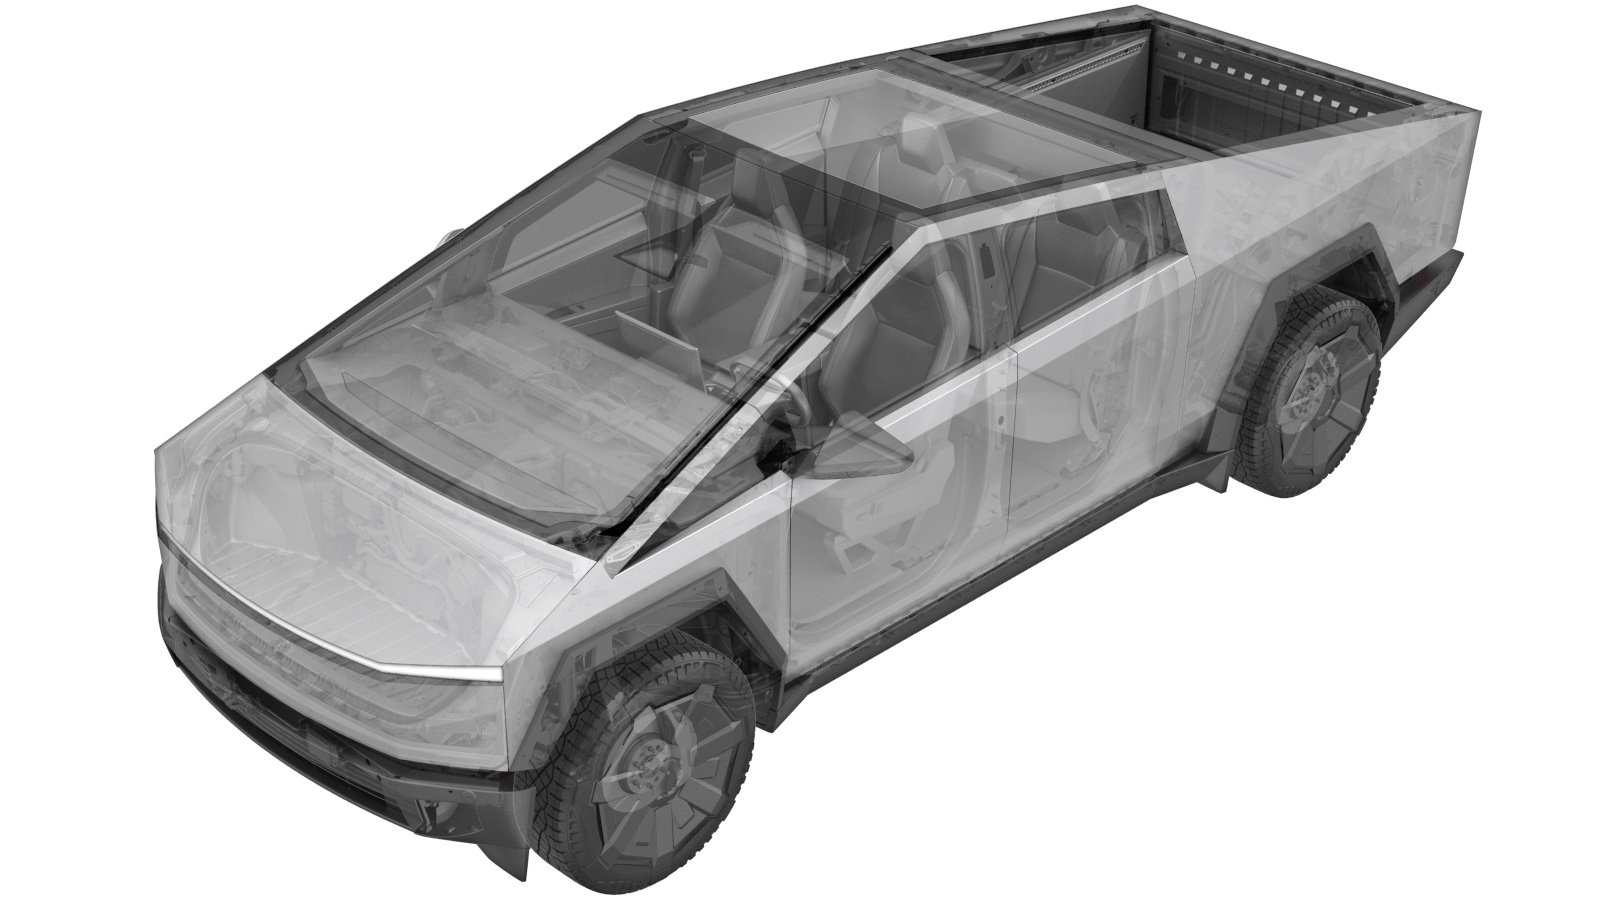
Harness - Jumper - Steer - Rear (Long Range) (Remove and Install)
 Code de correction
NEW
REMARQUE : À moins d’indications explicites contraires dans la procédure, le code de correction et le temps forfaitaire ci-dessus représentent tout le travail à être fait pour cette procédure, notamment les procédures connexes. N’appliquez pas plusieurs codes de correction à la fois, à moins qu’il vous soit explicitement indiqué de le faire.
REMARQUE : Consultez Temps forfaitaires pour en apprendre plus à propos des temps forfaitaires et de leur création. Vous pouvez transmettre par courriel vos commentaires relatifs aux valeurs des temps forfaitaires à ServiceManualFeedback@tesla.com.
REMARQUE : Consultez Protection individuelle pour vous assurer de porter l’équipement de protection individuelle adéquat lorsque vous effectuez la procédure ci-dessous.
REMARQUE : Voir Précautions ergonomiques pour consulter les pratiques de travail sécuritaires et saines.
- 2025-06-21: Released new procedure.
-
Open LH front door
RemarquePush LH B-pillar door trigger to release
-
Lower LH front window
-
Raise and support vehicle
RemarqueSet air suspension to "Jack Mode"
-
Open tailgate
RemarquePress button to release
-
Open powered front trunk
RemarqueVia exterior switch or UI
-
Remove rear underhood apron
Remarque9x clips
-
Power down vehicle via UI
RemarqueVerify EPBs are engaged, Select charge port icon to ensure drive state is disengaged then power down vehicle via Controls > Safety > Power Off
-
Disconnect FRL connector then disconnect MV battery connector
Remarque2x connectors, Release locking tab then disconnect FRL connector, Slide eCPA to left then lift lever to release MV battery connector, Early production trucks may have black FRL connector, Release eCPA by pushing down to unlock and slide red locking tab, Wait 2 minutes for electrical circuits to discharge before disconnecting modules
-
Remove fastener covers from bed floor assembly
Remarque14x covers
-
Remove bed floor assembly
Remarque10x short bolts, 15mm, 56 Nm, 2x long bolts, 15mm, 46Nm, Lift front edge with trim tool then remove panel, Recommend assistance
-
Disconnect rear steering actuator connector
Remarque1x connector, Release locking tab, 1x harness clip, Place harness aside for access
-
Remove RH rear wheel cap
Remarque1x cap, 8x clips, Use both hands to firmly pull wheel cap to release clips, Cap may remove with or without mounting ring attached
-
Loosen RH rear wheel nuts
Remarque6x nuts, 21mm, 205 Nm
-
Raise vehicle partially and lower onto locks
RemarqueSet vehicle to comfortable working height, Make sure there's an audible click of the locks on both sides before lowering, otherwise vehicle may tilt to the side
-
Remove RH rear wheel
Remarque6x nuts, 21mm, 205 Nm
-
Remove rear skid plate
Remarque6x clips, 3x bolts, 15mm, 42 Nm, 5x bolts, 13mm, 28 Nm, 2x bolts, 10mm, 6 Nm
-
Remove rear steer jumper harness
Remarque1x connector, 4x clips, Release locking tab
-
Install rear steer jumper harness
Remarque1x connector, 4x clips, Engage locking tab
-
Install rear skid plate
Remarque6x clips, 3x bolts, 15mm, 42 Nm, 5x bolts, 13mm, 28 Nm, 2x bolts, 10mm, 6 Nm, Apply Loctite 222 to mid aero shield bolts and install fasteners
-
Install RH rear wheel
Remarque6x nuts, 21mm, 205 Nm
-
Lower vehicle until tires are touching the ground
RemarqueRaise lift off locks, then hold lock release lever to keep locks free while vehicle is lowered
-
Install rear steering actuator connector
Remarque1x connector, Secure locking tab, 1x harness clip, Position harness into place for installation
-
Install bed floor assembly
Remarque10x short bolts, 15mm, 56 Nm, 2x long bolts, 15mm, 46Nm, Recommend assistance
-
Install fastener covers onto bed floor assembly
Remarque14x covers
-
Torque RH rear wheel nuts
Remarque6x nuts, 21mm, 205 Nm, Use star pattern
-
Install RH rear wheel cap
Remarque1x cap, 8x clips, Partially secure wheel cap to wheel, While partially installed wheel cover can be rotated to align with tire design, When aligned press inward from center of cap then secure all clips to mounting ring
-
Connect FRL connector then connect MV battery connector
Remarque2x connectors, Connect FRL connector then secure locking tab, Position lever to secure MV battery connector then slide eCPA to right, Early production trucks may have black FRL connector, If power cycling vehicle then ensure at least 60 seconds has passed since powering down
-
Install rear underhood apron
Remarque9x clips, Adjust windshield seal as required
-
Close powered front trunk
RemarqueVia exterior switch or UI
-
Close tailgate
-
Remove vehicle from lift
RemarqueLower rack arms fully and remove them from under vehicle, Remove air suspension from "Jack Mode"
-
Raise LH front window
-
Close LH front door