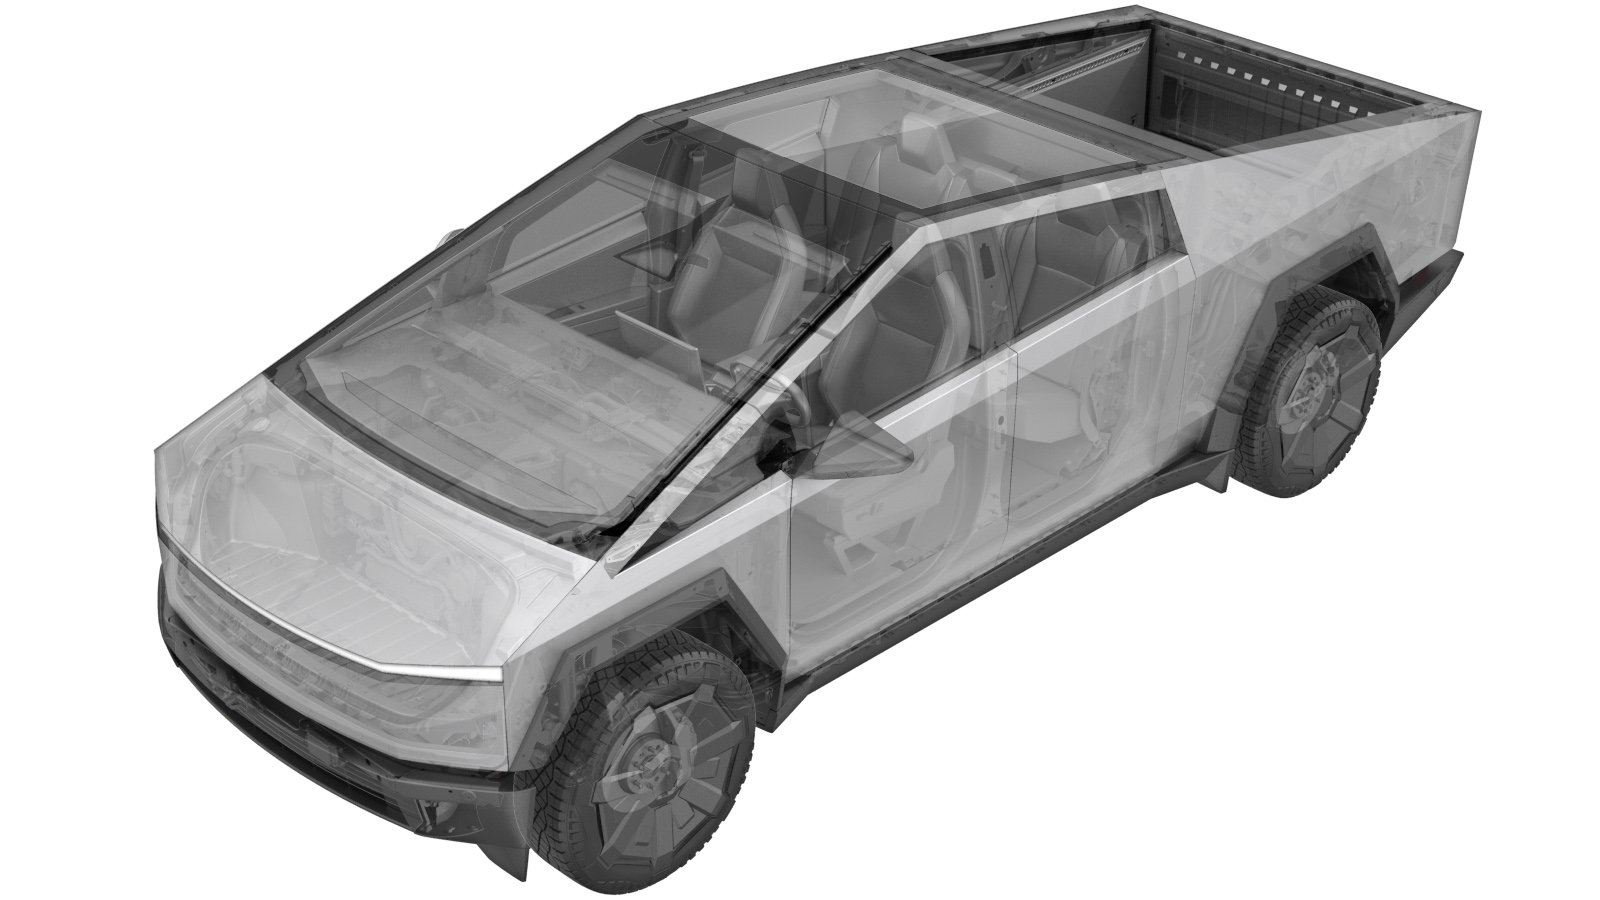
Camera - Forward Facing (Pitch Verification) (Test/Adjust)
 Code de correction
17221000
0.24
REMARQUE : À moins d’indications explicites contraires dans la procédure, le code de correction et le temps forfaitaire ci-dessus représentent tout le travail à être fait pour cette procédure, notamment les procédures connexes. N’appliquez pas plusieurs codes de correction à la fois, à moins qu’il vous soit explicitement indiqué de le faire.
REMARQUE : Consultez Temps forfaitaires pour en apprendre plus à propos des temps forfaitaires et de leur création. Vous pouvez transmettre par courriel vos commentaires relatifs aux valeurs des temps forfaitaires à ServiceManualFeedback@tesla.com.
REMARQUE : Consultez Protection individuelle pour vous assurer de porter l’équipement de protection individuelle adéquat lorsque vous effectuez la procédure ci-dessous.
REMARQUE : Voir Précautions ergonomiques pour consulter les pratiques de travail sécuritaires et saines.
- 2025-01-28: Fixed correction code and title.
- 2024-10-24: Added step to remove overhead console assembly in rearview mirror beauty cover procedure link.
- 2024-09-12: Added steps to adjust camera pitch.
- 2024-08-28: Added missing step to set the ride height to "Medium".
Procédure
- Ouvrez la porte avant gauche et abaissez la glace avant gauche.
- Using the vehicle touchscreen, set the vehicle ride height to "Medium".
- Mettez le véhicule en mode Entretien. Voir Mode Entretien,
- Déverrouillez la passerelle du véhicule. Voir Passerelle (déverrouiller),
- Park the vehicle on a flat surface with at least 3.5 feet of clearance in front of the vehicle.
-
Set up the tripod so that the bottom
of the target is 3 ft (91.4cm) from the ground.
-
Place the target against the front
fascia centered to the vehicle.
-
Make sure that the target is on flat
ground by examining the bubble level on the back of the target.
-
Apply a piece of red tape on the
target referencing the camera height.
RemarqueThe top of the tape should be target height 165 cm.
-
On the vehicle touchscreen, navigate
to to verify the front camera pitch.
-
Review the main and wide images. The
top of the tape should coincide with the blue horizontal line.
- If the tape is between the green lines, the camera pitch is within specification. Skip to step 19.
- If the forward facing camera pitch is out of specification, proceed to the next step to adjust.
- Remove the rear view mirror beauty cover. See Beauty Cover - Rearview Mirror (Remove and Install).
- On the vehicle touchscreen, navigate to , and then tap Run to clear the front camera calibration.
- Navigate to , and then tap Run to reset DAS.
- Navigate to , and then tap Run to ping DAS.
-
Use a pitch adjustment wrench (PN: 1448868-00-B) to adjust the camera pitch.
RemarqueClockwise pitches the camera upward. Counter-clockwise pitches the camera downward. 1 rotation can adjust pitch 0.5 - 1.5 degrees.
-
Review the main and wide images. The top of the tape should coincide with the blue
horizontal line.
- If the tape is between the green lines, the camera pitch is within specification. Continue to the next step.
- If the forward facing camera pitch is out of specification, repeat step 13 through step 17 to readjust.
- Install the rear view mirror beauty cover. See Beauty Cover - Rearview Mirror (Remove and Install).
- Remove the target from the front of the vehicle.
- Quitter mode Entretien. Voir Mode Entretien,
- Remontez la glace avant gauche et fermez la porte avant gauche.