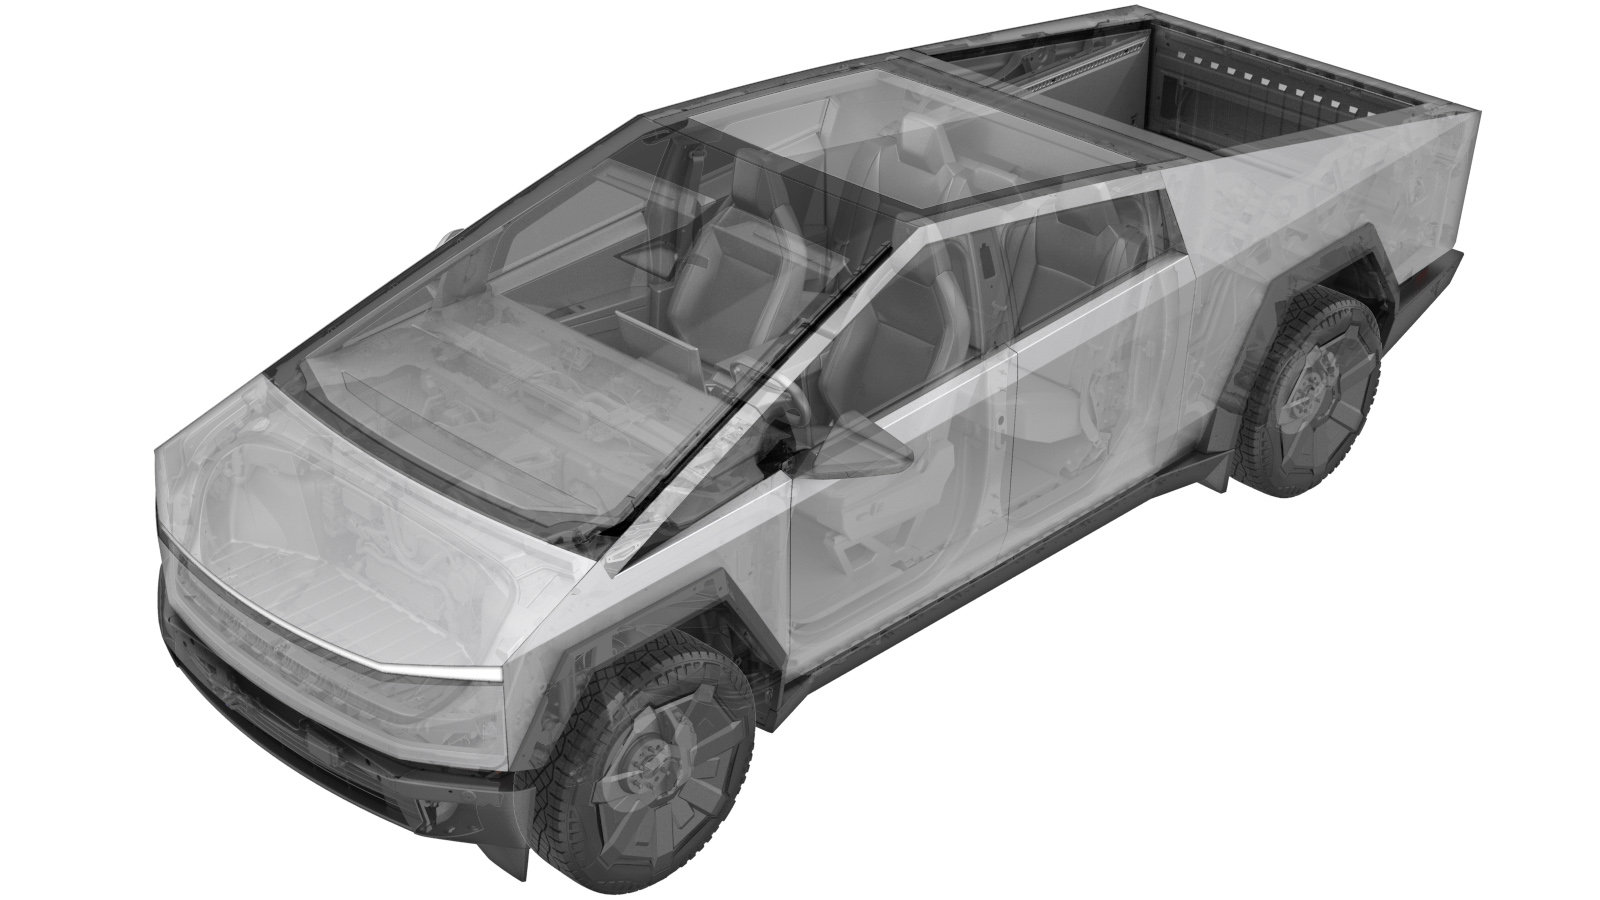
Tie Rod - Inner - Front Steering Gear - LH (Remove and Replace)
 Code de correction
3201010071, 3201010072
0.54
REMARQUE : À moins d’indications explicites contraires dans la procédure, le code de correction et le temps forfaitaire ci-dessus représentent tout le travail à être fait pour cette procédure, notamment les procédures connexes. N’appliquez pas plusieurs codes de correction à la fois, à moins qu’il vous soit explicitement indiqué de le faire.
REMARQUE : Consultez Temps forfaitaires pour en apprendre plus à propos des temps forfaitaires et de leur création. Vous pouvez transmettre par courriel vos commentaires relatifs aux valeurs des temps forfaitaires à ServiceManualFeedback@tesla.com.
REMARQUE : Consultez Protection individuelle pour vous assurer de porter l’équipement de protection individuelle adéquat lorsque vous effectuez la procédure ci-dessous.
REMARQUE : Voir Précautions ergonomiques pour consulter les pratiques de travail sécuritaires et saines.
- Soulevez et soutenez le véhicule. Voir Soulever le véhicule - pont élévateur à 2 poteaux,
- Ouvrez la porte avant gauche et abaissez la glace avant gauche.
-
Remove the LH front wheel. See Ensemble de roue (retrait et installation).
RemarqueRemove the mid aeroshield while the vehicle is lifted before lowering to remove the wheel.
- Remove the mid aeroshield. See Skid Plate - Rear (Remove and Install)
-
Loosen LH outer tie rod end jam nut
Remarque1x nut, 24mm, 90 Nm
-
Remove nut securing LH tie rod end to knuckle
Remarque1x nut, 21mm, 170 Nm
-
Remove LH tie rod end from knuckle
-
Remove LH outer tie rod end from front steering rack assembly
RemarqueCount how many turns it takes to fully remove and write this down you will need it when installing the tie rod end again
-
Remove bellows seal clip from bellows
Remarque1x clip
-
Remove large bellows clamp from bellows
Remarque1x clamp
-
Slide bellows toward LH outer tie rod end
RemarqueYou need to access the LH inner tie rod end inner ball joint
-
Remove LH inner tie rod end from pinion housing
Remarque1x inner tie rod, 38 crowfoot, 105 Nm, Twist until it comes off
-
Install LH inner tie rod onto pinion housing
Remarque1x inner tie rod, 38 crowfoot, 105 Nm, Twist until it's fully seated
-
Torque LH inner tie rod onto pinion housing
Remarque1x inner tie rod, 38 crowfoot, 105 Nm
-
Slide bellows into clamping position
RemarqueSlide bellows over pinion housing in preparation for clamping
-
Secure large bellows clamp onto bellows
Remarque1x clamp
-
Secure bellows seal clip onto bellows
Remarque1x clip
-
Install LH outer tie rod end onto front steering rack assembly
RemarqueTurn the outer tie rod end exactly the amount of rotations it took to remove it, This ensures the alignment is as close as possible to where it was originally
-
Position LH tie rod end onto knuckle
-
Install nut securing LH tie rod end to knuckle
Remarque1x nut, 21mm, 170 Nm
-
Secure tie rod end jam nut
Remarque1x nut, 24mm, 90 Nm
- Soulevez et soutenez le véhicule. Voir Soulever le véhicule - pont élévateur à 2 poteaux,
- Ouvrez la porte avant gauche et abaissez la glace avant gauche.
-
Install the LH front wheel. See Ensemble de roue (retrait et installation).
RemarqueInstall the mid aeroshield before lowering the vehicle.
- Install the mid aeroshield. See Skid Plate - Rear (Remove and Install)
- Retirez le véhicule du pont élévateur. Voir Soulever le véhicule - pont élévateur à 2 poteaux,
- Remontez la glace avant gauche et fermez la porte avant gauche.
-
Perform test drive
RemarquePerform a validation test drive after repair Drive a minimum speed of 25mph, Drive in a straight line and check for excessive pull, Verify the steering wheel is centered when vehicle is driving straight, Determine whether an alignment is recommended Add correction code 00040100 as needed