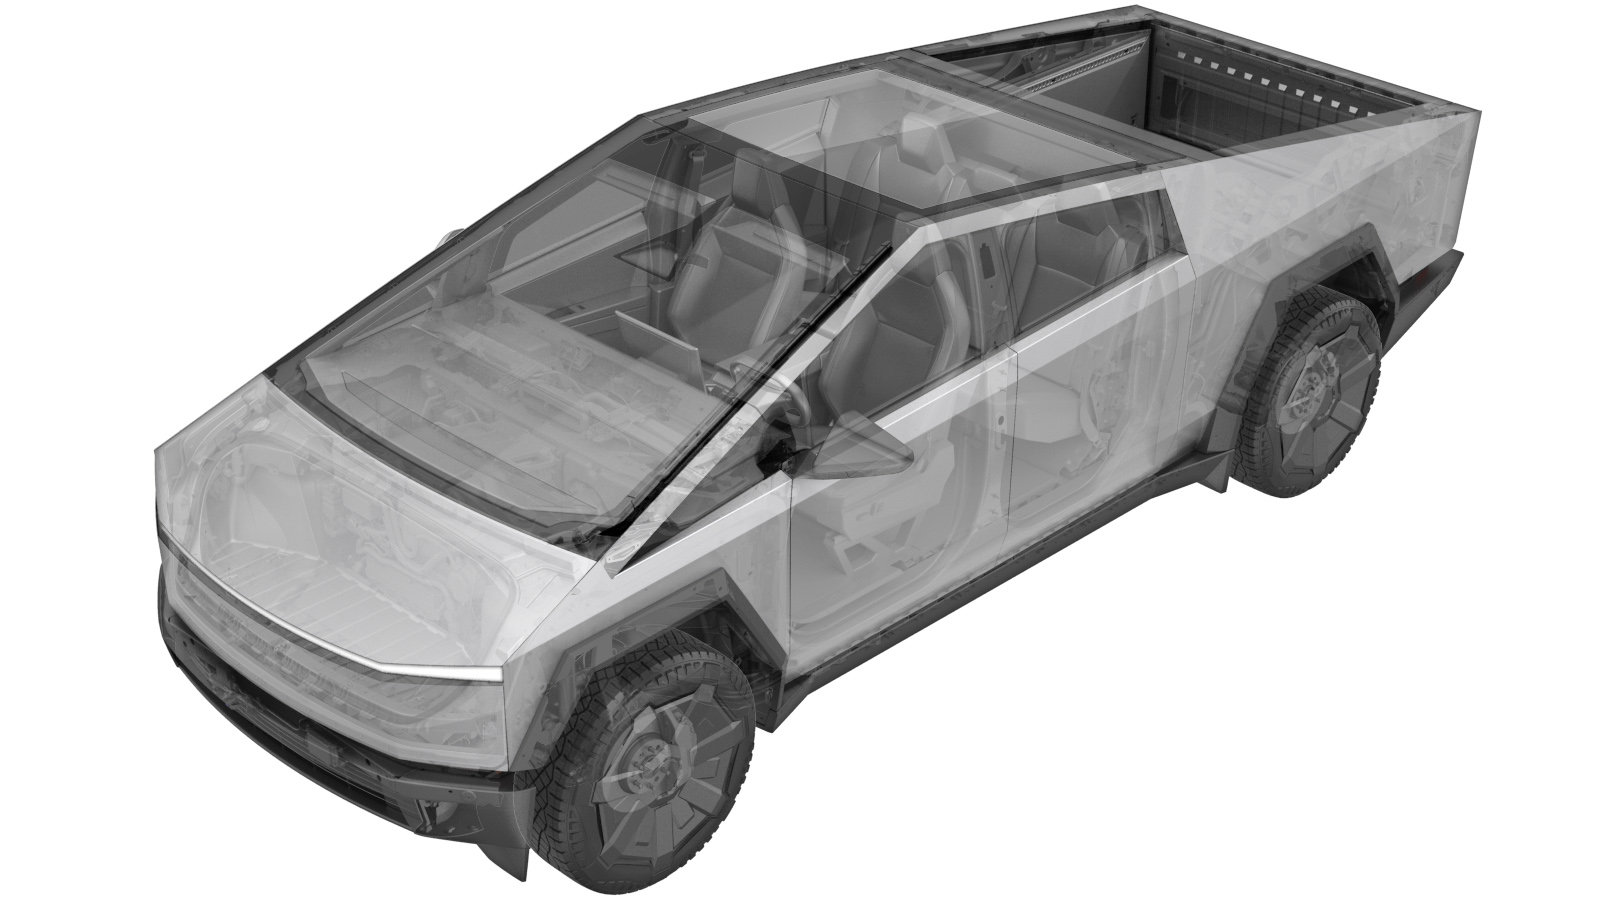
Pump - Washer - Windshield (Remove and Install)
 Code de correction
1750020311
0.12
REMARQUE : À moins d’indications explicites contraires dans la procédure, le code de correction et le temps forfaitaire ci-dessus représentent tout le travail à être fait pour cette procédure, notamment les procédures connexes. N’appliquez pas plusieurs codes de correction à la fois, à moins qu’il vous soit explicitement indiqué de le faire.
REMARQUE : Consultez Temps forfaitaires pour en apprendre plus à propos des temps forfaitaires et de leur création. Vous pouvez transmettre par courriel vos commentaires relatifs aux valeurs des temps forfaitaires à ServiceManualFeedback@tesla.com.
REMARQUE : Consultez Protection individuelle pour vous assurer de porter l’équipement de protection individuelle adéquat lorsque vous effectuez la procédure ci-dessous.
REMARQUE : Voir Précautions ergonomiques pour consulter les pratiques de travail sécuritaires et saines.
Retirer
- Remove the frunk assembly. See Frunk Assembly (Remove and Install).
-
Release the clip that attaches the
camera nozzle hose to the washer pump, and then disconnect the hose from the washer
pump.
-
Release the clip that attaches the
windshield washer hose to the washer pump, and then disconnect the hose from the washer
pump.
-
Disconnect the washer pump electrical
connector.
-
Release the washer pump from the
washer tank, and then pull the washer pump upward to remove it from the vehicle.
Installer
-
Position the washer pump into the
vehicle, and then secure the pump to the washer tank.
-
Connect the washer pump electrical
connector.
-
Connect the windshield washer hose to
the washer pump, and then secure the clip.
-
Connect the camera nozzle hose to the
washer pump, and then secure the clip.
- Install the frunk assembly. See Frunk Assembly (Remove and Install).