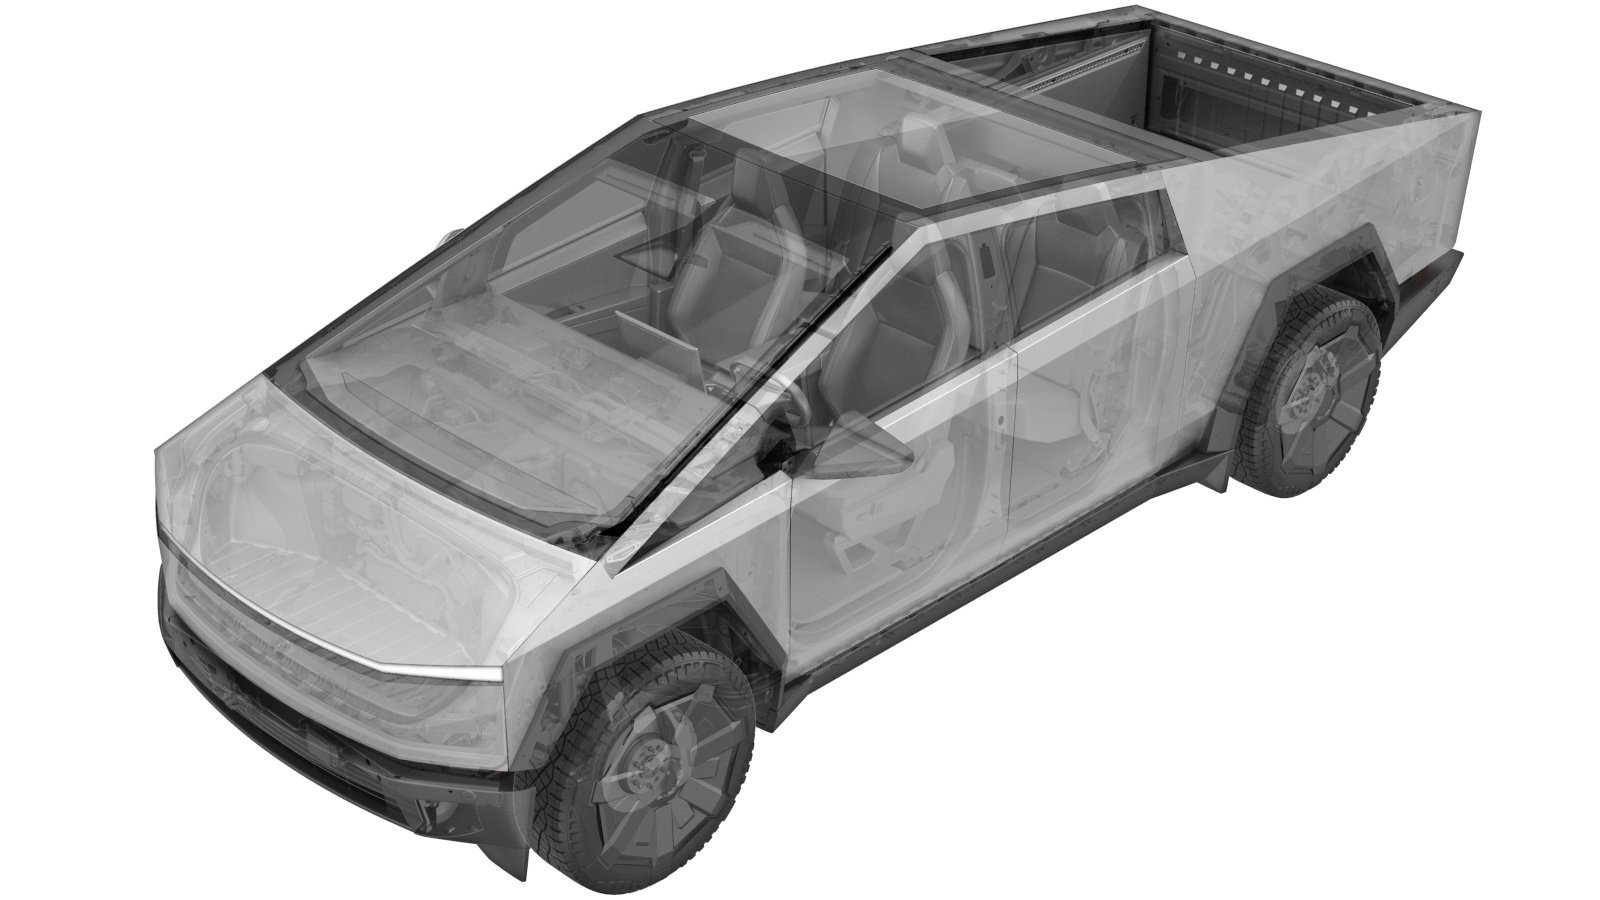
Front Fascia (Remove and Replace)
 Code de correction
1001046052
FRT
0.84
REMARQUE : À moins d’indications explicites contraires dans la procédure, le code de correction et le temps forfaitaire ci-dessus représentent tout le travail à être fait pour cette procédure, notamment les procédures connexes. N’appliquez pas plusieurs codes de correction à la fois, à moins qu’il vous soit explicitement indiqué de le faire.
REMARQUE : Consultez Temps forfaitaires pour en apprendre plus à propos des temps forfaitaires et de leur création. Vous pouvez transmettre par courriel vos commentaires relatifs aux valeurs des temps forfaitaires à ServiceManualFeedback@tesla.com.
REMARQUE : Consultez Protection individuelle pour vous assurer de porter l’équipement de protection individuelle adéquat lorsque vous effectuez la procédure ci-dessous.
REMARQUE : Voir Précautions ergonomiques pour consulter les pratiques de travail sécuritaires et saines.
Retirer
- Ouvrez la porte avant gauche et abaissez la glace avant gauche.
- Sur l'écran tactile du véhicule, touchez pour régler la hauteur de caisse du véhicule à Très élevée.
- Mettez le véhicule en mode Entretien. Voir Mode Entretien,
- Retirez le tablier arrière situé sous le capot. Voir Underhood Apron - Rear (Remove and Install),
- Remove the frunk assembly. See Frunk Assembly (Remove and Install).
-
Remove the bolts (x6) and release the
clips (x2) that attach the lower valance to the body.
 6 Nm (4.4 lbs-ft)TIpNous recommandons l’utilisation des outils suivants :
- Douille de 10 mm
RemarqueRelease the covers to expose the bolts. - Remove the LH and RH lower tow eye caps. See Lower Tow Eye Cap - LH - Front Grille (Remove and Replace).
- Remove the front fascia plastic skid plate. See Skid Plate (Remove and Install).
- Remove the center applique assembly. See Front Center Applique Assembly (Remove and Install).
- Remove the front fascia assembly from the vehicle. See Front Fascia (Remove and Install).
- If present, remove the front license plate and license plate bracket. See License Plate Assembly - Front (Remove and Install)
- Remove the heated front fascia camera. See Camera - Forward Facing - Front Fascia (Remove and Install).
- Remove the front lower grille. See Front Lower Grille (Remove and Install).
- Remove the audio speaker super horn. See Speaker - Super Horn (Remove and Install).
- Remove the front fascia harness. See Harness - Fascia - Front (Remove and Install).
-
Remove the screw that attaches the
front fascia camera cleaning nozzle to the vehicle, and then pull the nozzle away from
the vehicle to remove it from the vehicle.
 0.7 Nm (6 lbs-in)TIpNous recommandons l’utilisation des outils suivants :
- T8 bit
- Remove the LH and RH front fascia fairing. See Front Fascia Fairing Assembly - LH (Remove and Install).
Installer
- Install the LH and RH front fascia fairing. See Front Fascia Fairing Assembly - LH (Remove and Install).
-
Position the front fascia camera cleaning nozzle into the vehicle, align the tab on
nozzle with the slot in fascia bracket, and then install the screw that attaches the
nozzle to the vehicle.
 0.7 Nm (6 lbs-in)TIpNous recommandons l’utilisation des outils suivants :
- T8 bit
- Install the front fascia harness. See Harness - Fascia - Front (Remove and Install).
- Install the audio speaker super horn. See Speaker - Super Horn (Remove and Install).
- Install the front lower grille. See Front Lower Grille (Remove and Install).
- Install the heated front fascia camera. See Camera - Forward Facing - Front Fascia (Remove and Install).
- If present, install the front license plate and license plate bracket. See License Plate Assembly - Front (Remove and Install)
- Install the front fascia assembly from the vehicle. See Front Fascia (Remove and Install).
- Install the center applique assembly. See Front Center Applique Assembly (Remove and Install).
- Install the front fascia plastic skid plate. See Skid Plate (Remove and Install).
- Install the LH and RH lower tow eye caps. See Lower Tow Eye Cap - LH - Front Grille (Remove and Replace).
-
Install the bolts (x6) and clips (x2)
that attach the lower valance to the vehicle, and then close the fastener covers.
 6 Nm (4.4 lbs-ft)TIpNous recommandons l’utilisation des outils suivants :
- Douille de 10 mm
- Install the frunk assembly. See Frunk Assembly (Remove and Install).
- Installez le tablier sous le capot. Voir Underhood Apron - Rear (Remove and Install),
- Quitter mode Entretien. Voir Mode Entretien,
- Sur l’écran tactile, touchez pour régler la hauteur de caisse sur Standard.
- Remontez la glace avant gauche et fermez la porte avant gauche.