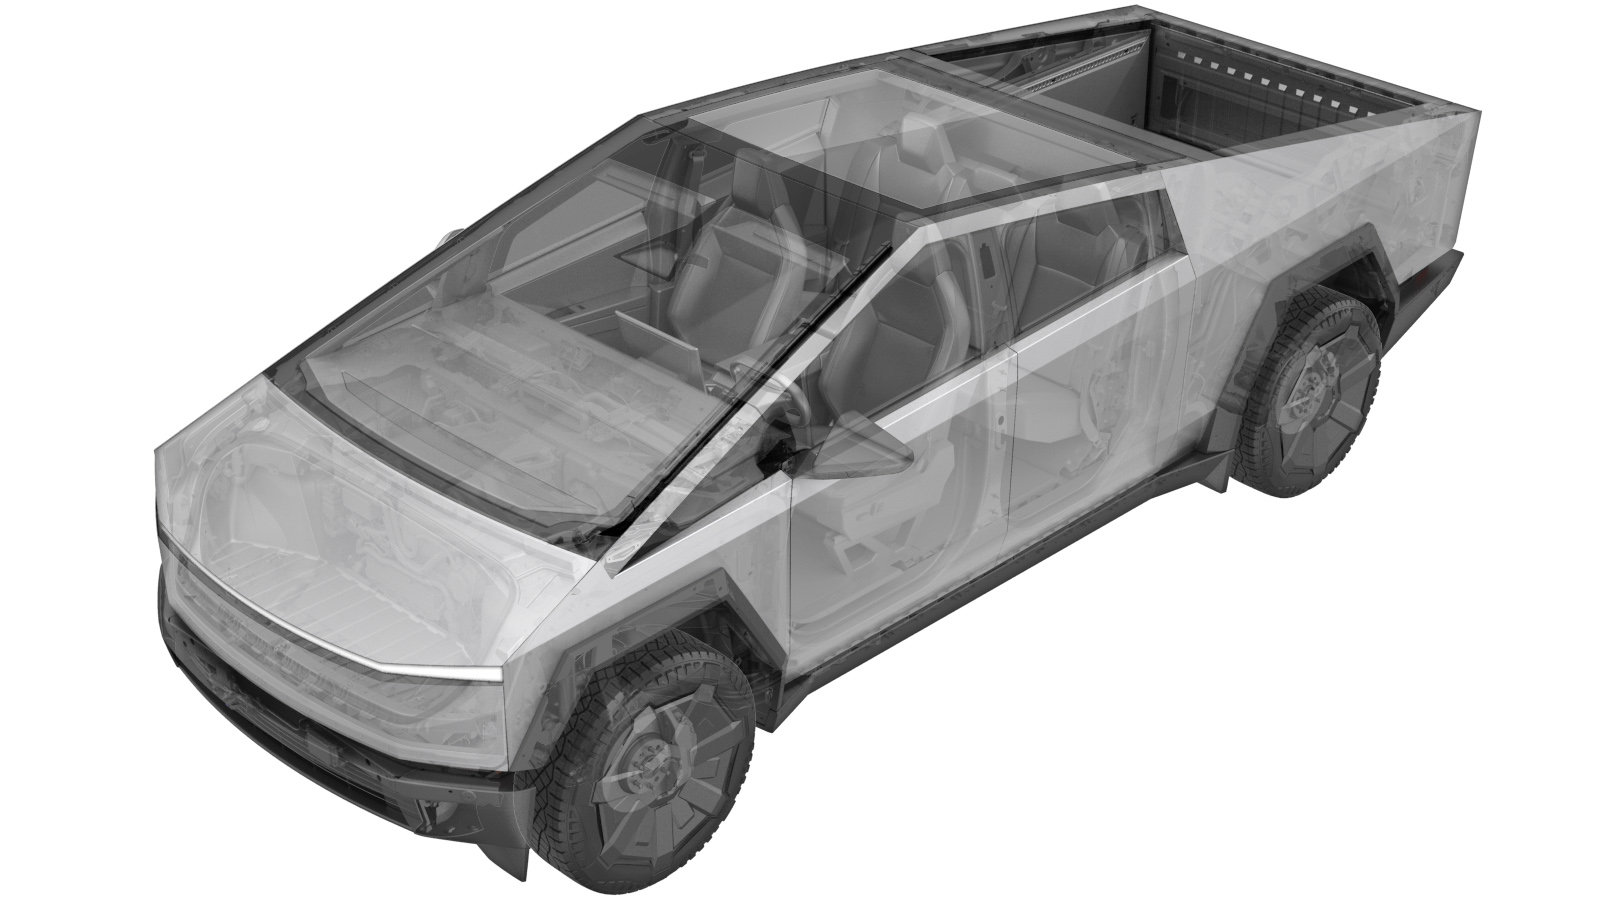
Cooling System - Coolant (Drain and Refill)
 Code de correction
18300110
REMARQUE : À moins d’indications explicites contraires dans la procédure, le code de correction et le temps forfaitaire ci-dessus représentent tout le travail à être fait pour cette procédure, notamment les procédures connexes. N’appliquez pas plusieurs codes de correction à la fois, à moins qu’il vous soit explicitement indiqué de le faire.
REMARQUE : Consultez Temps forfaitaires pour en apprendre plus à propos des temps forfaitaires et de leur création. Vous pouvez transmettre par courriel vos commentaires relatifs aux valeurs des temps forfaitaires à ServiceManualFeedback@tesla.com.
REMARQUE : Consultez Protection individuelle pour vous assurer de porter l’équipement de protection individuelle adéquat lorsque vous effectuez la procédure ci-dessous.
REMARQUE : Voir Précautions ergonomiques pour consulter les pratiques de travail sécuritaires et saines.
- Soulevez et soutenez le véhicule. Voir Soulever le véhicule - pont élévateur à 2 poteaux,
- Ouvrez la porte avant gauche et abaissez la glace avant gauche.
- Exécutez la routine ODIN PROC_ICE_X_ENTER-SERVICE-MODEvia Toolbox: (link)
- Déverrouillez la passerelle du véhicule. Voir Passerelle (déverrouiller),
-
Access thermal system routines using the UI
RemarqueSelect quick controls > Service mode > Diagnostics > Thermal, Authorize routines by holding right turn signal, depressing brake pedal for 10 seconds with key on phone dock
-
Select 'Coolant System' to enter coolant circuit screen, Select 'Coolant Fill/Drain'
using the UI and Thermal Fluid Fill/Drain (Coolant only), Select 'Run'
RemarqueVerify indicator displays green for Coolant readiness, Thermal Fill Drain routine has a 50 minute time limit
- Retirez le tablier arrière situé sous le capot. Voir Underhood Apron - Rear (Remove and Install),
- Remove the frunk assembly. See Frunk Assembly (Remove and Install).
-
Inspect the coolant cap to make sure it
is fully tightened before continuing.
- Débranchez l’alimentation MT. Voir Disconnect MV Power (Modify),
- Remove the front aero shield. See Aeroshield - Front (Remove and Install).
-
Position coolant drain container
RemarquePosition coolant drain container under front high voltage battery coolant connections
-
Change to "Disconnect HV battery coolant return hose"
Remarque1x spring clip
-
Prepare drain and fill tooling
Remarque3x adapters, 1x hose, 1x pressure tester
-
Connect flush adapters onto HV battery coolant return hose
Remarque2x adapters, Position hose onto empty container
-
Connect enclosure leak tester onto flush adapter
-
Close both valves on the regulator
-
Connect regulator to air supply
-
Turn right side regulator valve to the open position
RemarqueBy turning the valve knob to a horizontal position, The valve is fully open
-
Set regulator to 5.0 psi
-
Slowly open left side regulator valve and allow coolant to completely drain
RemarqueAllow about 20L of coolant to drain from vehicle
-
Close valves on regulator once no coolant is draining from HV battery RH front inlet port and hose
-
Disconnect air supply from regulator tool
-
Disconnect flush adapters from HV battery coolant return hose
Remarque2x adapters
-
Connect HV battery coolant return hose
Remarque1x spring clip
- Install the front aero shield. See Aeroshield - Front (Remove and Install).
- Lower the vehicle until the tires are touching the ground.
-
Perform cooling system vacuum refill. See Système de refroidissement (remplissage sous vide).
RemarqueSkip the steps to run the Start Thermal Fill Drain (Coolant + Refrigerant) on the UI.
- Install the frunk assembly. See Frunk Assembly (Remove and Install).
- Installez le tablier sous le capot. Voir Underhood Apron - Rear (Remove and Install),
- Retirez le véhicule du pont élévateur. Voir Soulever le véhicule - pont élévateur à 2 poteaux,
- Quitter mode Entretien. Voir Mode Entretien,
- Remontez la glace avant gauche et fermez la porte avant gauche.