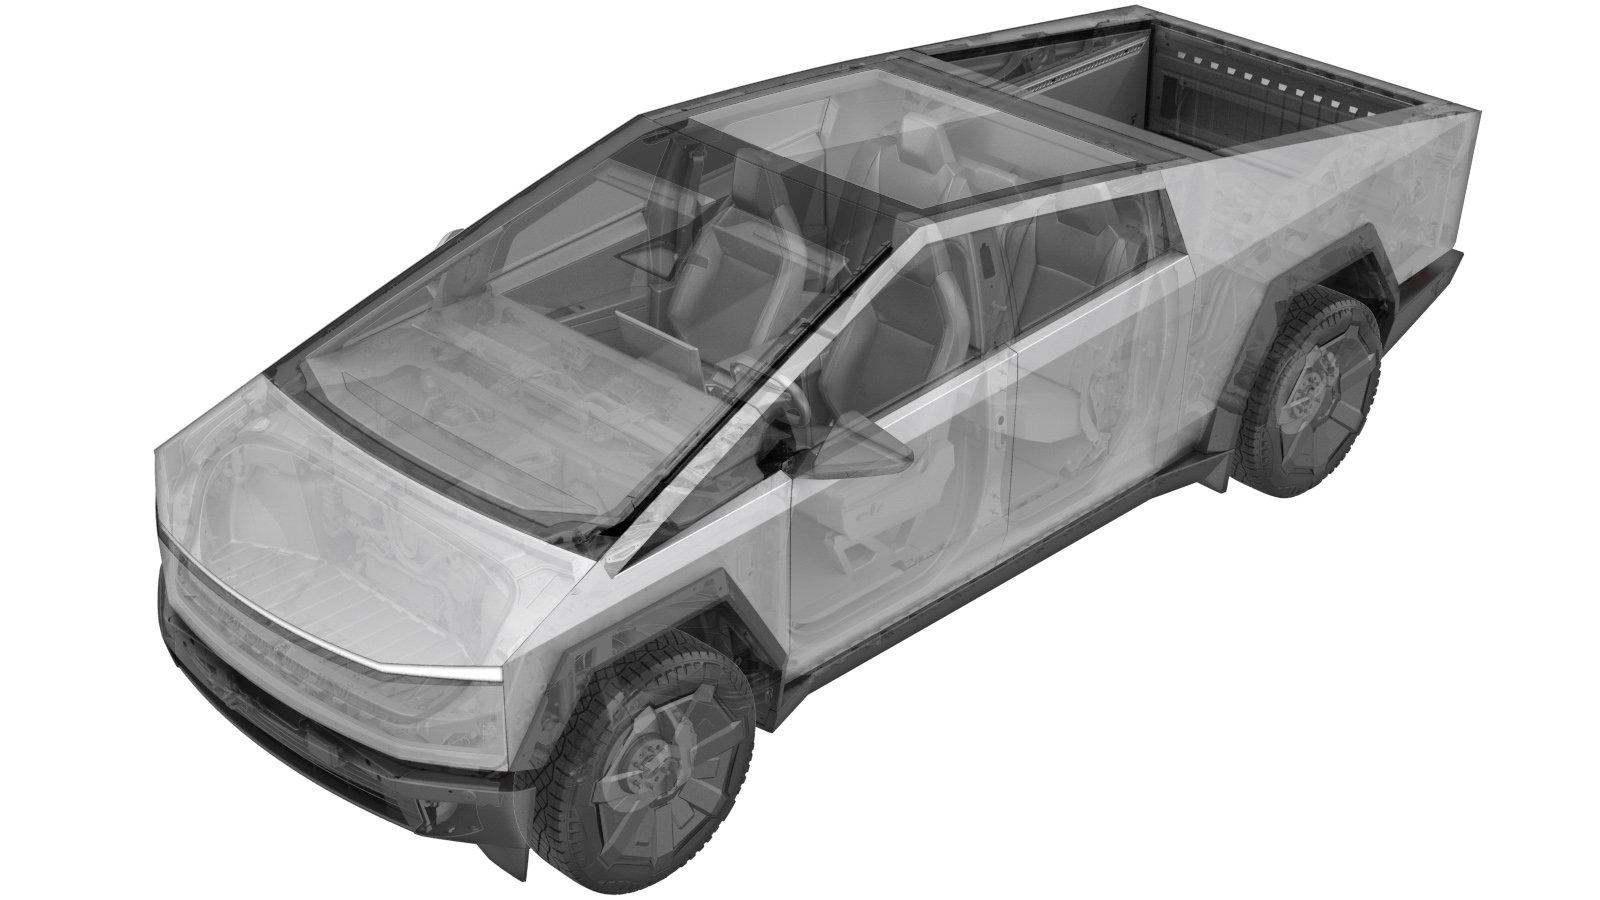
Crossbars (Install) (Installation)
 Code de correction
61010011
0.30
REMARQUE : À moins d’indications explicites contraires dans la procédure, le code de correction et le temps forfaitaire ci-dessus représentent tout le travail à être fait pour cette procédure, notamment les procédures connexes. N’appliquez pas plusieurs codes de correction à la fois, à moins qu’il vous soit explicitement indiqué de le faire.
REMARQUE : Consultez Temps forfaitaires pour en apprendre plus à propos des temps forfaitaires et de leur création. Vous pouvez transmettre par courriel vos commentaires relatifs aux valeurs des temps forfaitaires à ServiceManualFeedback@tesla.com.
REMARQUE : Consultez Protection individuelle pour vous assurer de porter l’équipement de protection individuelle adéquat lorsque vous effectuez la procédure ci-dessous.
REMARQUE : Voir Précautions ergonomiques pour consulter les pratiques de travail sécuritaires et saines.
Installer
-
Open the LH rear roof applique door.
TIpNous recommandons l’utilisation des outils suivants :
- Plastic trim tool
Figure 1. LH shown; RH similar Figure 2. LH shown; RH similar Figure 3. LH shown; RH similar -
Remove the nuts (x2) from the vehicle body studs located in the LH rear roof applique door area.
TIpNous recommandons l’utilisation des outils suivants :
- Douille longue de 10 mm
- Clé à cliquet sans fil/Visseuse à percussion
Figure 4. LH shown; RH similar -
Position the bracket in the LH rear roof applique door area, and then install the nuts (x2) that attach the bracket to the vehicle body studs.
 7.8 Nm (5.8 lbs-ft)RemarqueMake sure that the bracket is positioned with the "OUT" indicator arrow pointed towards the outside of the vehicle.TIpNous recommandons l’utilisation des outils suivants :
- Douille longue de 10 mm
- Clé à cliquet sans fil/Visseuse à percussion
- Clé à cliquet/Clé dynamométrique
Figure 5. LH shown; RH similar - Repeat step 1 through step 3 for the RH rear roof applique.
-
Open the LH front sail applique door.
TIpNous recommandons l’utilisation des outils suivants :
- Plastic trim tool
Figure 6. LH shown; RH similar Figure 7. LH shown; RH similar Figure 8. LH shown; RH similar -
Remove the nuts (x2) from the vehicle body studs located in the LH front sail applique door area.
TIpNous recommandons l’utilisation des outils suivants :
- Douille longue de 10 mm
- Clé à cliquet sans fil/Visseuse à percussion
Figure 9. LH shown; RH similar -
Position the bracket in the LH front sail applique door area, and then install the nuts (x2) that attach the bracket to the vehicle body studs.
 7.8 Nm (5.8 lbs-ft)RemarqueMake sure that the bracket is positioned with the "OUT" indicator arrow pointed towards the outside of the vehicle.TIpNous recommandons l’utilisation des outils suivants :
- Douille longue de 10 mm
- Clé à cliquet sans fil/Visseuse à percussion
- Clé à cliquet/Clé dynamométrique
Figure 10. LH shown; RH similar - Repeat step 5 through step 7 for the RH rear sail applique.
-
Install the crossbar on the LH and RH rear roof appliques.
RemarqueMake sure that the front indicator arrow (located in the center of the crossbar) is pointed towards the front of the vehicle.
Figure 11. Crossbar front indicator arrow -
Perform step 9 to install the crossbar on the LH and RH front sail appliques.