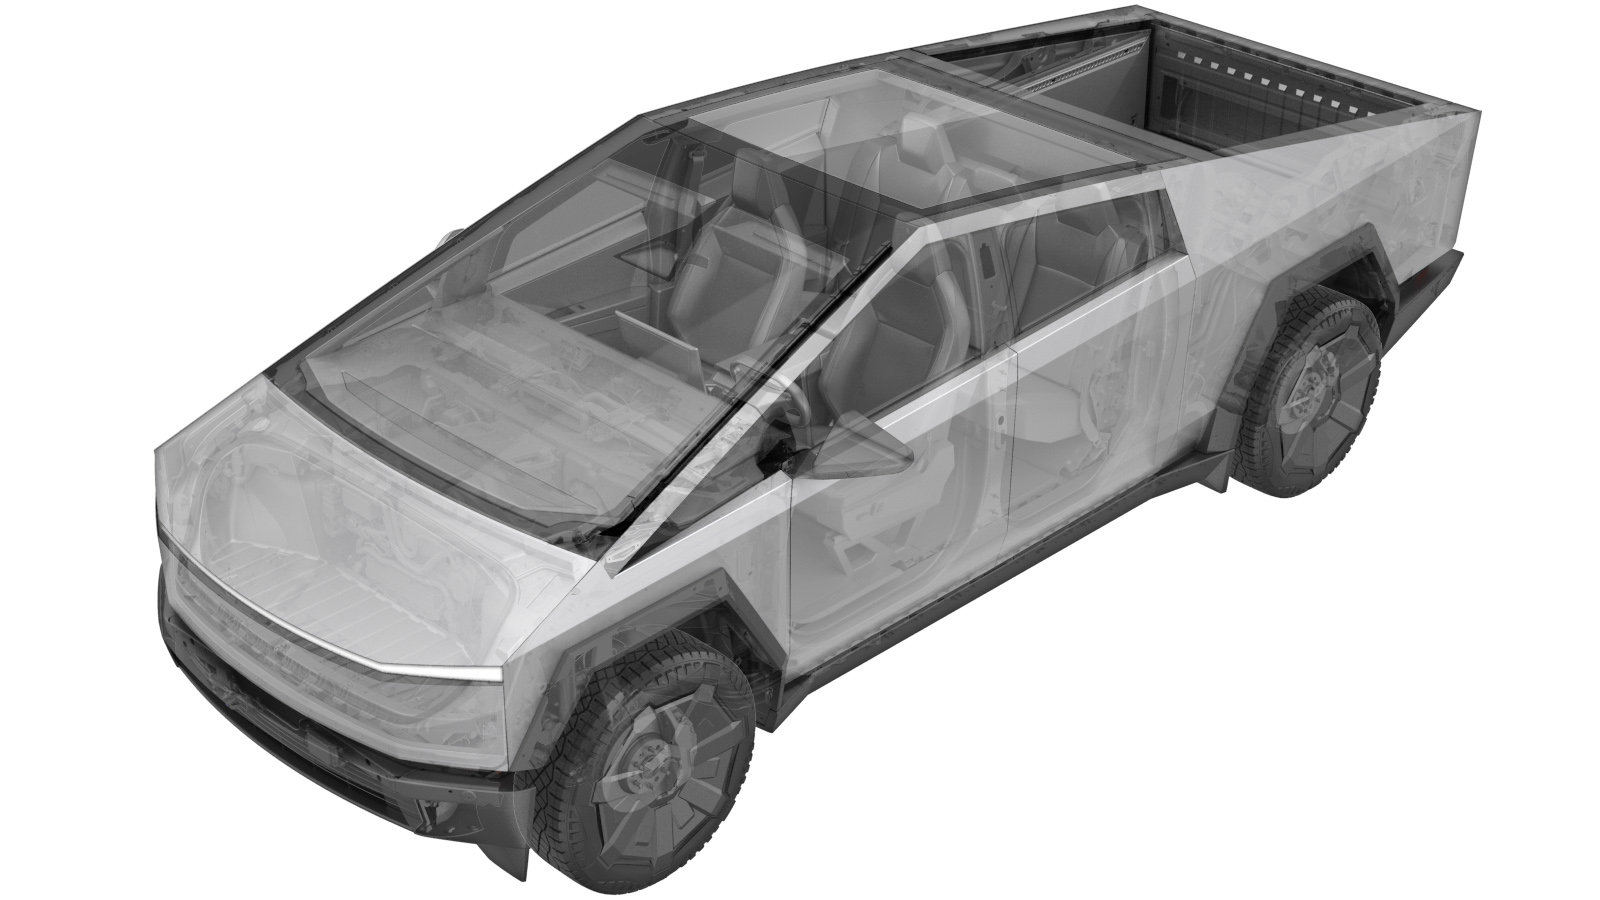
Terrestrial Armor (Retrofit)
 Code de correction
S018812001
1.62
S028812001
1.68
REMARQUE : À moins d’indications explicites contraires dans la procédure, le code de correction et le temps forfaitaire ci-dessus représentent tout le travail à être fait pour cette procédure, notamment les procédures connexes. N’appliquez pas plusieurs codes de correction à la fois, à moins qu’il vous soit explicitement indiqué de le faire.
REMARQUE : Consultez Temps forfaitaires pour en apprendre plus à propos des temps forfaitaires et de leur création. Vous pouvez transmettre par courriel vos commentaires relatifs aux valeurs des temps forfaitaires à ServiceManualFeedback@tesla.com.
REMARQUE : Consultez Protection individuelle pour vous assurer de porter l’équipement de protection individuelle adéquat lorsque vous effectuez la procédure ci-dessous.
REMARQUE : Voir Précautions ergonomiques pour consulter les pratiques de travail sécuritaires et saines.
Code de correction
S018812001
1.62
S028812001
1.68
REMARQUE : À moins d’indications explicites contraires dans la procédure, le code de correction et le temps forfaitaire ci-dessus représentent tout le travail à être fait pour cette procédure, notamment les procédures connexes. N’appliquez pas plusieurs codes de correction à la fois, à moins qu’il vous soit explicitement indiqué de le faire.
REMARQUE : Consultez Temps forfaitaires pour en apprendre plus à propos des temps forfaitaires et de leur création. Vous pouvez transmettre par courriel vos commentaires relatifs aux valeurs des temps forfaitaires à ServiceManualFeedback@tesla.com.
REMARQUE : Consultez Protection individuelle pour vous assurer de porter l’équipement de protection individuelle adéquat lorsque vous effectuez la procédure ci-dessous.
REMARQUE : Voir Précautions ergonomiques pour consulter les pratiques de travail sécuritaires et saines.
- Retrofit Terrestrial Armor; Updated HV Battery Rear Skid Plate Already Installed (Retrofit) Code de correction S018812001 FRT 1.62
- Retrofit Terrestrial Armor And Replace HV Battery Rear Skid Plate With Updated Part (Retrofit) Code de correction S028812001 FRT 1.68
- 2025-09-24: Released new procedure.
Caractéristiques techniques de couple
| Description | Valeur de couple | Outils recommandés | Réutiliser/remplacer | Remarques |
|---|---|---|---|---|
| Bolts (x5) that attach the LH off road structural rocker to the vehicle under body. |
 28 Nm (20.6 lbs-ft) |
|
Réutiliser |
|
| Bolts (x6) that attach the LH off road structural rocker to the front rocker support bracket. |
13 Nm (9.6 lbs-ft) |
|
Réutiliser | EP10 |
| Bolts (x6) that attach the LH off road structural rocker to the rear rocker support bracket. |
13 Nm (9.6 lbs-ft) |
|
Réutiliser | EP10 |
| Bolts (x2) that attach the LH off road structural rocker to the LH front and rear door rings. |
14 Nm (10.3 lbs-ft) |
|
Réutiliser | 10 mm |
| Bolts (x5) that attach the LH off road rocker carrier to the LH off road structural rocker. |
13 Nm (9.6 lbs-ft) |
|
Réutiliser | 10 mm |
| Bolts (x2) that attach the LH off road rocker trim to the LH off road rocker carrier |
4 Nm (2.9 lbs-ft) |
|
Réutiliser | 10 mm |
| Bolts (x4) that attach the front side of the HV battery off road armor assembly to the HV battery. |
28 Nm (20.6 lbs-ft) |
|
Réutiliser | 13 mm |
| Bolts (x5) that attach the rear side of the HV battery off road armor assembly to the HV battery. |
28 Nm (20.6 lbs-ft) |
|
Remplacer | 13 mm |
| Bolts (x4) that attach the HV battery off road armor assembly to the HV battery ski rail. |
26 Nm (19.2 lbs-ft) |
|
Réutiliser | 15 mm |
Réajuster
-
On the vehicle touchscreen, touch Controls (vehicle icon) > Software, and then scroll down to display the vehicle firmware version. Verify firmware version is 2025.2.3 or later
- If the vehicle is operating with firmware version 2025.2.3 or later, skip to step 2.
- If the vehicle is operating with a firmware version earlier than 2025.2.3, update to version 2025.2.3 or later, and then continue to the next step. See Software Update (Over The Air).
- Sur l'écran tactile du véhicule, touchez pour régler la hauteur de caisse du véhicule à Très élevée.
- Sur l’écran tactile, touchez pour activer le mode Cric.
- Exécutez la routine ODIN PROC_ICE_X_ENTER-SERVICE-MODEvia Toolbox: (link).
- Remove the LH rocker assembly. See Rocker Panel Assembly - LH (Remove and Install).
- Remove the LH front rocker step reinforcement. See Rocker Step Reinforcement - Front - LH (Remove and Install).
- Remove the LH rear rocker step reinforcement. See Rocker Step Reinforcement - Rear - LH (Remove and Install).
- Remove the RH rocker assembly. See Rocker Panel Assembly - LH (Remove and Install).
- Remove the RH front rocker step reinforcement. See Rocker Step Reinforcement - Front - LH (Remove and Install).
- Remove the RH rear rocker step reinforcement. See Rocker Step Reinforcement - Rear - LH (Remove and Install).
-
Install the new U-nuts (x6) on the LH front rocker support bracket.
ATTENTIONThe LH front rocker support bracket forwardmost U-nut must be installed on the LH front rocker support bracket fastener hole closest to the front of the vehicle.ATTENTIONThe LH front rocker support bracket rearmost U-nut must be installed on the LH front rocker support bracket fastener hole closest to the rear of the vehicle.RemarqueMake sure the U-nuts are centered on the LH front rocker support bracket fastener holes.
Figure 1. LH rocker support bracket; RH similar Figure 2. LH front rocker support bracket; RH similar -
Install the new U-nuts (x6) on the LH rear rocker support bracket.
ATTENTIONThe LH rear rocker support bracket forwardmost U-nut must be installed on the LH rear rocker support bracket fastener hole closest to the front of the vehicle.ATTENTIONThe LH rear rocker support bracket rearmost U-nut must be installed on the LH rear rocker support bracket fastener hole closest to the rear of the vehicle.RemarqueMake sure the U-nuts are centered on the LH rear rocker support bracket fastener holes.
Figure 3. LH rocker support bracket; RH similar Figure 4. LH rear rocker support bracket; RH similar -
Repeat steps 11 and 12 for the RH front and rear rocker support bracket U-nuts (x12).
Figure 5. RH rocker support bracket; LH similar - Fully raise the vehicle using the rocker lift points. See Soulever le véhicule - pont élévateur à 2 poteaux.
-
Inspect the HV battery rear skid plate to determine whether it needs to be replaced.
ATTENTIONThe HV battery rear skid plate (part number 1854631-C0-A or earlier) is not compatible with the Terrestrial Armor parts.
Figure 6. Rear skid plate (part number 1854631-C0-A or earlier) Figure 7. Rear skid plate (part number 1854631-00-B or later) -
Replace the HV battery rear skid plate with an updated part (part number 1854631-00-B or later). See Skid Plate - Rear (Remove and Install).
ATTENTIONDo not install the bolts (x5) that attach the front edge of the HV battery rear skid plate to the vehicle at this time. Skip to step 18.
- Remove and discard the bolts (x5) that attach the front edge of the HV battery rear skid plate to the vehicle. See Skid Plate - Rear (Remove and Install).
-
Position the off road center ski nuts (x4) on the vehicle, and then slide the center ski nuts inside of the HV battery ski rail towards the front of the vehicle until the tabs engage with the ski rail.
RemarqueMake sure the center ski nuts are properly secured and centered in the HV battery ski rail.
-
With assistance, place the HV battery off road armor assembly on the manual lift battery table, position the armor assembly under the vehicle, and then align the center of the armor assembly with the HV battery ski rail.
TIpNous recommandons l’utilisation des outils suivants :
- 1020566-00-F - HV Battery Table
-
Lower the vehicle until the HV battery is nearly touching the HV battery off road armor assembly. See Soulever le véhicule - pont élévateur à 2 poteaux.
-
Align the HV battery off road armor assembly and HV battery fastener holes (x23), and then raise the manual lift battery table until the armor assembly is flush against the HV battery.
-
Prepare the HV battery off road armor assembly fasteners for installation.
-
Hand-tighten the bolts (x4) that attach the HV battery off road armor assembly to the HV battery ski rail.
RemarqueDo not torque the bolts at this time.
-
Hand-tighten the bolts (x4) that attach the front side of the HV battery off road armor assembly to the HV battery.
RemarqueDo not torque the bolts at this time.
Figure 8. Total number of HV battery front and rear fasteners shown for clarity -
Hand-tighten the new bolts (x5) that attach the rear side of the HV battery off road armor assembly to the HV battery.
RemarqueDo not torque the bolts at this time.
Figure 9. Total number of HV battery front and rear fasteners shown for clarity -
Raise the vehicle and remove the manual lift battery table from the workspace. See Soulever le véhicule - pont élévateur à 2 poteaux.
- Lower the vehicle until the tires touch the ground. See Soulever le véhicule - pont élévateur à 2 poteaux.
-
If not already performed, install butyl patches on the LH front and rear vehicle body side exposed holes.
RemarqueSome Cybertrucks may have additional vehicle body side exposed holes.
-
With assistance, position the LH off road structural rocker on the vehicle, and then hand-tighten the bolts (x2) that attach the structural rocker to the LH front and rear door rings.
ATTENTIONIf assistance is unavailable, place a shop rag between the floor jack and structural rocker to protect the structural rocker paint, and then use a floor jack to position the structural rocker on the vehicle.RemarqueDo not torque the bolts at this time.
Figure 16. LH off road structural rocker to rear door ring bolt; RH similar Figure 17. LH off road structural rocker to front door ring bolt; RH similar -
Hand-tighten the bolts (x5) that attach the LH off road structural rocker to the vehicle under body.
ATTENTIONThe forwardmost bolt is longer with a 15 mm drive size. Do not install the longer bolt in the incorrect fastener hole.RemarqueDo not torque the bolts at this time.
-
Hand-tighten the bolts (x6) that attach the LH off road structural rocker to the front rocker support bracket.
RemarqueInstall the first bolt on the second fastener hole closest to the front of the vehicle, and then install the remaining bolts while maintaining one exposed fastener hole between every bolt.RemarqueDo not torque the bolts at this time.
-
Hand-tighten the bolts (x6) that attach the LH off road structural rocker to the rear rocker support bracket.
RemarqueInstall the first bolt on the second fastener hole closest to the rear of the vehicle, and then install the remaining bolts while maintaining one exposed fastener hole between every bolt.RemarqueDo not torque the bolts at this time.
-
Torque the bolts (x5) that attach the LH off road structural rocker to the vehicle under body.28 Nm (20.6 lbs-ft)ATTENTIONThe forwardmost bolt is longer with a 15 mm drive size.RemarqueMake sure the bolts that attach the structural rocker to the vehicle under body are torqued first before proceeding to the next step.TIpNous recommandons l’utilisation des outils suivants :
- Prise de 13 mm de profondeur
- Douille de 15 mm de profondeur
- Clé dynamométrique avec mesure angulaire
-
Torque the bolts (x6) that attach the LH off road structural rocker to the front rocker support bracket.13 Nm (9.6 lbs-ft)TIpNous recommandons l’utilisation des outils suivants :
- Embout Torx externe Plus EP10
- Clé dynamométrique avec mesure angulaire
-
Torque the bolts (x6) that attach the LH off road structural rocker to the rear rocker support bracket.13 Nm (9.6 lbs-ft)TIpNous recommandons l’utilisation des outils suivants :
- Embout Torx externe Plus EP10
- Clé dynamométrique avec mesure angulaire
-
Torque the bolts (x2) that attach the LH off road structural rocker to the LH front and rear door rings.14 Nm (10.3 lbs-ft)TIpNous recommandons l’utilisation des outils suivants :
- Douille longue de 10 mm
- Clé dynamométrique avec mesure angulaire
Figure 18. LH off road structural rocker to rear door ring bolt; RH similar Figure 19. LH off road structural rocker to front door ring bolt; RH similar -
While following the outer edge of the LH rear wheel liner, use scissors to make a 35 mm cut in the wheel liner moving upwards, and then cut along the upper edge of the LH off road structural rocker moving outwards to remove a piece of the wheel liner. Discard the 35 mm wheel liner piece.
ATTENTIONIt is necessary to remove a 35 mm piece of the rear wheel liner to allow enough room to properly install the LH off road rocker carrier.
-
Position the LH off road rocker carrier on the vehicle, engage the clips (x13), and then install the bolts (x5) that attach the LH off road rocker carrier to the LH off road structural rocker.13 Nm (9.6 lbs-ft)RemarqueMake sure that the carrier clips are fully seated first, and then install the bolts.TIpNous recommandons l’utilisation des outils suivants :
- Douille de 10 mm
- Clé à cliquet sans fil/Visseuse à percussion
- Ext, Wobble, 1/4" DR, 1.25"
- Clé dynamométrique avec mesure angulaire
-
Position the LH off road rocker trim on the vehicle, engage the clips (x14), and then install the bolts (x2) that attach the LH off road rocker trim to the LH off road rocker carrier.4 Nm (2.9 lbs-ft)RemarqueMake sure the rocker trim panel is fully seated.TIpNous recommandons l’utilisation des outils suivants :
- Douille de 10 mm
- Clé à cliquet sans fil/Visseuse à percussion
- Ext, Wobble, 1/4" DR, 1.25"
- Clé dynamométrique avec mesure angulaire
Figure 20. LH off road rocker trim front bolt Figure 21. LH off road rocker trim rear bolt -
Secure the clips (x13) that attach the front of the LH rear fender flare cover to the vehicle.
RemarqueReplace any missing or damaged clips.
-
Install the clip that attaches the LH rocker cover to the LH rear wheel liner.
-
Connect the electrical connector, and then secure the clips (x11) that attach the rear of the LH fender flare cover to the vehicle.
RemarqueReplace any missing or damaged clips.
-
Install the clip that attaches the LH rocker cover to the LH front wheel liner.
- Repeat steps 28 through 43 for the RH off road armor parts as required, and then continue to the next step.
- Fully raise the vehicle. See Soulever le véhicule - pont élévateur à 2 poteaux.
-
Torque the bolts (x4) that attach the front side of the HV battery off road armor assembly to the HV battery.28 Nm (20.6 lbs-ft)TIpNous recommandons l’utilisation des outils suivants :
- Rallonge de 6 po
- Douille de 13 mm
- Clé dynamométrique avec mesure angulaire
Figure 22. Total number of HV battery front and rear fasteners shown for clarity -
Install the new bolts (x5) that attach the rear side of the HV battery off road armor assembly to the HV battery.28 Nm (20.6 lbs-ft)TIpNous recommandons l’utilisation des outils suivants :
- Rallonge de 6 po
- Douille de 13 mm
- Clé dynamométrique avec mesure angulaire
Figure 23. Total number of HV battery front and rear fasteners shown for clarity -
Torque the bolts (x4) that attach the HV battery off road armor assembly to the HV battery ski rail.26 Nm (19.2 lbs-ft)TIpNous recommandons l’utilisation des outils suivants :
- Douille de 15 mm
- Clé à cliquet à tête flexible/clé dynamométrique à tête flexible
- Fully lower the vehicle. See Soulever le véhicule - pont élévateur à 2 poteaux.
- Exécutez la routine ODIN PROC_ICE_X_EXIT-SERVICE-MODEvia Toolbox: (link)
- Sur l’écran tactile, touchez pour régler la hauteur de caisse sur Standard.
- Provide all original parts removed from the vehicle to the customer once the retrofit procedure is complete. Inform the customer that the LH and RH front and rear rocker step reinforcements (x4) are not compatible with the terrestrial armor parts.