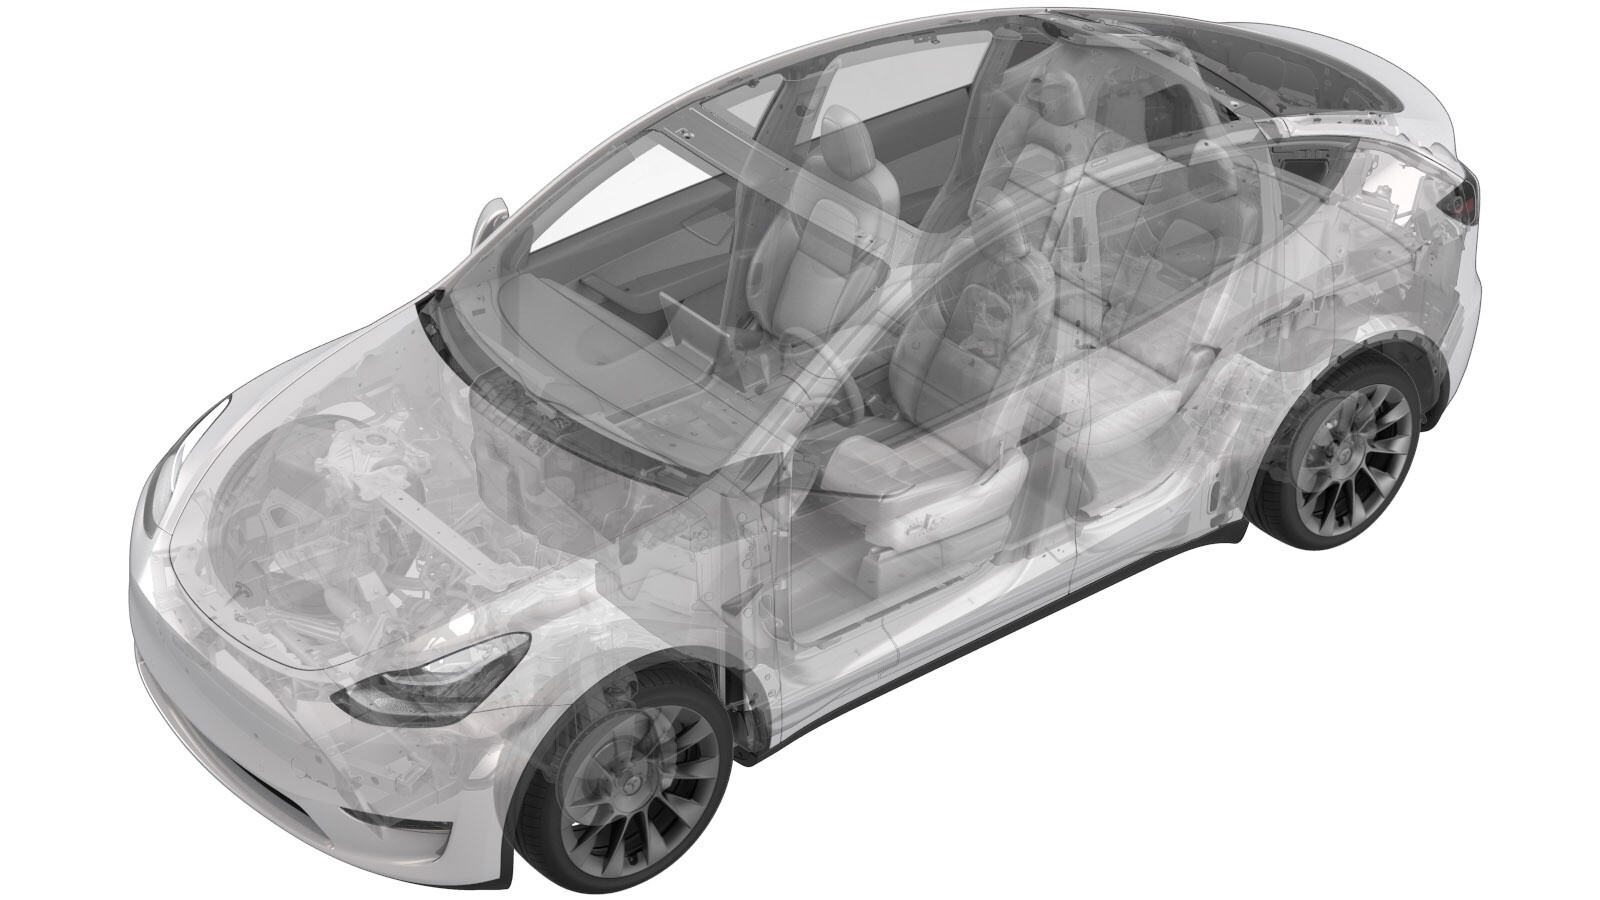
Teppich – Vorne – LH (Strukturpack) (Ausbauen und Ersetzen)
 Korrekturcode
15301132 0.30
HINWEIS: Sofern im Verfahren nicht ausdrücklich anders angegeben, spiegeln der obige Korrekturcode und die FRT den gesamten für die Durchführung dieses Verfahrens erforderlichen Aufwand wider, einschließlich der damit verbundenen Verfahren. Schichten Sie keine Korrekturcodes, wenn Sie nicht ausdrücklich dazu aufgefordert werden.
HINWEIS: Unter Richtzeiten erfahren Sie mehr über FRTs und wie sie erstellt werden. Um FRT-Werte rückzumelden, senden Sie bitte eine E-Mail an ServiceManualFeedback@tesla.com.
HINWEIS: Siehe Persönlicher Schutz, um sicherzustellen, dass Sie die richtige persönliche Schutzausrüstung tragen, wenn Sie das folgende Verfahren durchführen. Siehe Maßnahmen zur Ergonomie für sichere und gesunde Arbeitsmethoden.
Ausbauen
- Remove the LH mid A-pillar trim. See Verkleidung – A-Säule – Mitte – LH (Ausbauen und Ersetzen).
- Remove the LH lower A-pillar trim. See Verkleidung – A-Säule – Unten – LH (Ausbauen und Ersetzen).
- Remove the LH center console side panel. See Seitenverkleidung – Mittelkonsole – LH (Ausbauen und Ersetzen).
-
Remove screw and clips (x2) that
attach the driver footwell cover to the instrument panel.
 2.5 Nm (1.8 lbs-ft)TIpEs wird empfohlen, die folgenden Werkzeuge zu verwenden:
- Torx-Steckschlüssel T20
-
Disconnect the connectors (x2), and
then release the tabs (x3) to remove the driver footwell cover from the vehicle.
- Move the LH front seat fully forward.
-
Remove and discard the bolts (x2) that
attach the rear of the 1st row LH seat to the body.
ACHTUNGUse only the Torx Plus T45 bit to remove the seat bolts.AnmerkungEs wird empfohlen, die folgenden Werkzeuge zu verwenden:
- Torx Plus-Steckschlüssel T45
- Move the seat fully rearward.
-
Remove and discard the bolts (x2) that
attach the front of the 1st row LH seat to the body.
ACHTUNGUse only the Torx Plus T45 bit to remove the seat bolts.AnmerkungEs wird empfohlen, die folgenden Werkzeuge zu verwenden:
- Torx Plus-Steckschlüssel T45
-
Position the LH front seat up and
carefully lean it backwards.
-
Release the push clips (x2) and
vertical clip that attach the LH front carpet to the cabin support.
TIpInsert a clip pry tool on the outboard side of the clip, and then rotate to the right to release one side of clip. Move the clip pry tool inboard of clip and rotate to left to fully release the carpet clip from cabin support.
-
Release the clips (x4) that attach the
LH front carpet underneath the seat.
Abbildung 1. Seat removed for clarity -
Release the harness clip and harness,
release all edges, and then remove the LH front carpet from the vehicle.
AnmerkungTake note of the short edge under the center console.
Montieren
-
Position the LH front carpet into the
vehicle, and then secure the harness clip and harness and all edges.
AnmerkungTuck the short edge underneath the center console.
-
Install the clips (x4) that attach the LH front carpet underneath the seat.
Abbildung 2. Seat removed for clarity -
Install the vertical clip and push clips (x2) that attach the LH front carpet to the
cabin support.
TIpSecure the vertical clip into place first.
-
Position the LH front seat down and
carefully tilt it forwards.
-
Montieren Sie die 2 neuen Schrauben, mit denen der vordere Teil des LH Sitzes der 1. Sitzreihe an der Karosserie befestigt wird.
 33.5 Nm (24.7 lbs-ft)ACHTUNGUse only the Torx Plus T45 bit to install the seat bolts.AnmerkungEs wird empfohlen, die folgenden Werkzeuge zu verwenden:
- Torx Plus-Steckschlüssel T45
- Move the LH front seat fully forward.
-
Montieren Sie die 2 neuen Schrauben, mit denen der hintere Teil des LH Sitzes der 1. Sitzreihe an der Karosserie befestigt wird.
 33.5 Nm (24.7 lbs-ft)ACHTUNGUse only the Torx Plus T45 bit to install the seat bolts.AnmerkungEs wird empfohlen, die folgenden Werkzeuge zu verwenden:
- Torx Plus-Steckschlüssel T45
- Move the LH front seat to the original position.
-
Position the driver footwell cover into the vehicle, and then connect the connectors
(x2) and then secure the tabs (x3).
-
Install screw and clips (x2) that attach the driver footwell cover to the instrument
panel.
 2.5 Nm (1.8 lbs-ft)TIpEs wird empfohlen, die folgenden Werkzeuge zu verwenden:
- Torx-Steckschlüssel T20
- Install the LH center console side panel. See Seitenverkleidung – Mittelkonsole – LH (Ausbauen und Ersetzen).
- Install the LH lower A-pillar trim. See Verkleidung – A-Säule – Unten – LH (Ausbauen und Ersetzen).
- Install the LH mid A-pillar trim. See Verkleidung – A-Säule – Mitte – LH (Ausbauen und Ersetzen).
- Close the LH front door.