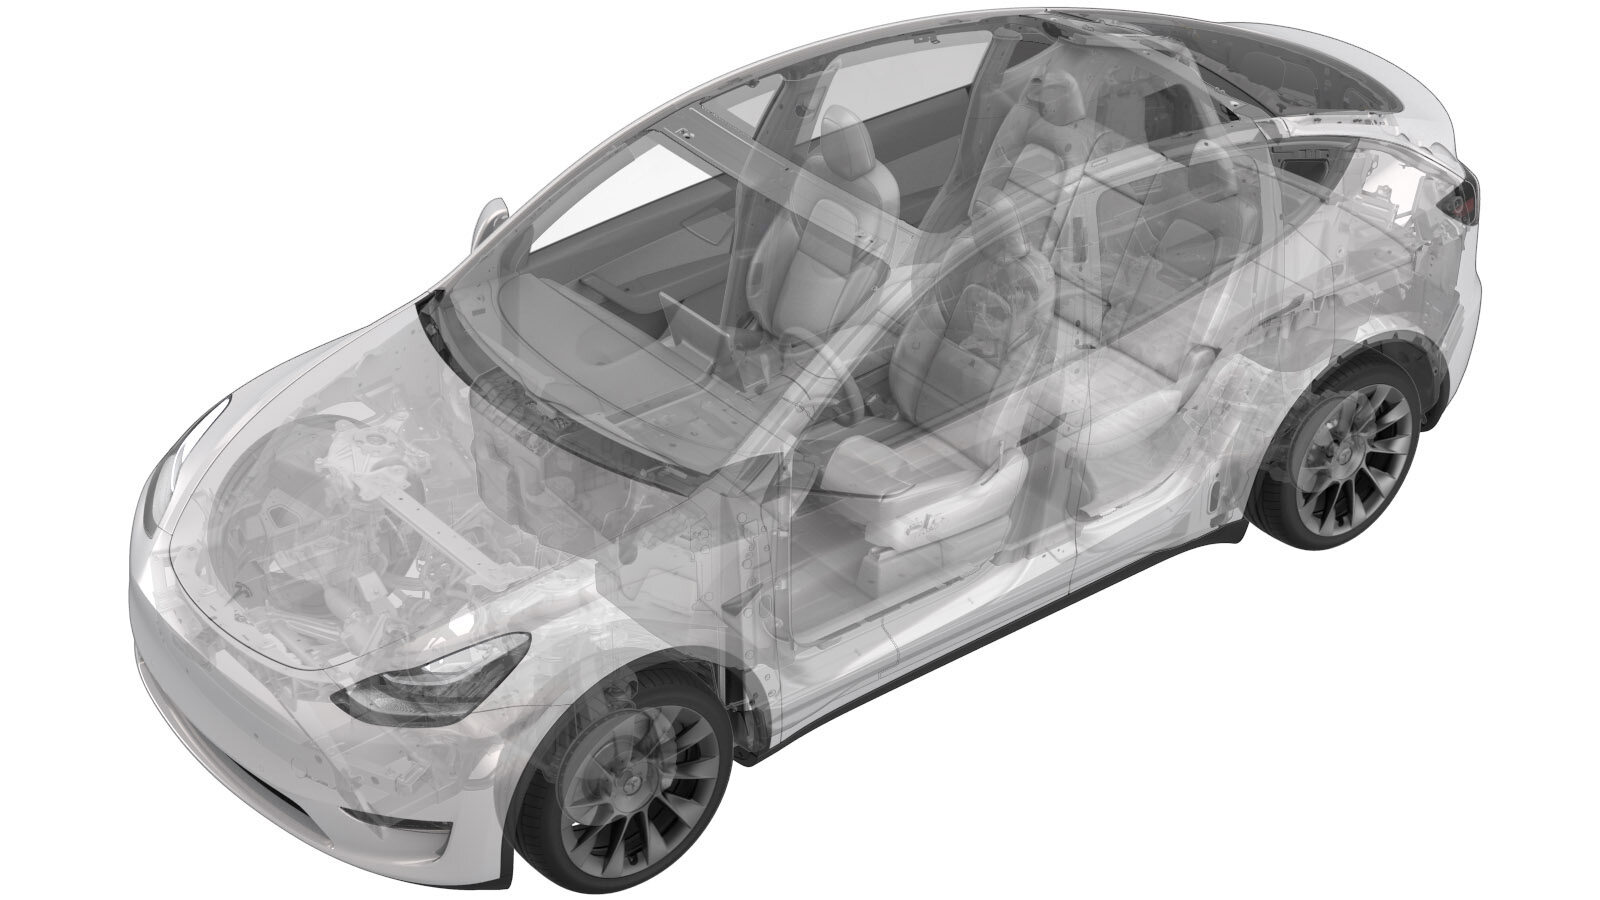
Kamera - Zweifach – Nach vorn gerichtet (Ausbauen und Ersetzen)
 Korrekturcode
17221002 0.36
HINWEIS: Sofern im Verfahren nicht ausdrücklich anders angegeben, spiegeln der obige Korrekturcode und die FRT den gesamten für die Durchführung dieses Verfahrens erforderlichen Aufwand wider, einschließlich der damit verbundenen Verfahren. Schichten Sie keine Korrekturcodes, wenn Sie nicht ausdrücklich dazu aufgefordert werden.
HINWEIS: Unter Richtzeiten erfahren Sie mehr über FRTs und wie sie erstellt werden. Um FRT-Werte rückzumelden, senden Sie bitte eine E-Mail an ServiceManualFeedback@tesla.com.
HINWEIS: Siehe Persönlicher Schutz, um sicherzustellen, dass Sie die richtige persönliche Schutzausrüstung tragen, wenn Sie das folgende Verfahren durchführen. Siehe Maßnahmen zur Ergonomie für sichere und gesunde Arbeitsmethoden.
Ausbauen
- Open the LH front door and lower the LH front window.
- Remove the lower quad camera cover. See Abdeckung Vierfachkamera – Unten (Ausbauen und Ersetzen).
- Remove the rear view mirror. See Rückspiegel (Ausbauen und Ersetzen).
-
Release the clips that attach the upper quad camera cover to the windshield bracket, and then separate the cover from the bracket.
ACHTUNGCarefully release the cover from the windshield bracket, as an electrical harness is still attached.
-
Release the connector lock, and then disconnect the rearview mirror upper cover assembly.
AnmerkungConnector count may vary depending on the vehicle configuration.
-
Release the locking tab, and then disconnect the GNSS antenna connector.
-
Release the tabs that attach the glare shield to the windshield bracket, and then remove the glare shield from the windshield bracket.
-
Remove and discard the screws (x4) that attach the forward facing bi camera to the vehicle, and then remove the camera assembly from the vehicle.
 1 Nm (.7 lbs-ft)TIpUse of the following tool(s) is recommended:
- T10 bit
-
Release the locking tabs, and then disconnect the forward facing camera assembly connectors (x2).
Montieren
-
Clean the inner windshield camera viewing area with a clean microfiber cloth and glass cleaner. Let the windshield fully dry before continuing.
ACHTUNGVerify that the windshield has no stains or leftover residue. Otherwise, Autopilot features may be hindered.
-
Position the forward facing camera into the vehicle, connect the connectors (x2), and then secure the connector locks.
-
Install new screws (x4) that attach the forward facing bi camera to the vehicle.
 1 Nm (.7 lbs-ft)TIpUse of the following tool(s) is recommended:
- T10 bit
-
Position the glare shield to the windshield bracket, and then secure the tabs (x2) that attach the glare shield to the windshield bracket.
-
Connect the GNSS antenna connector, and then secure the connector lock.
-
Connect the rear view mirror upper cover assembly, and then secure the connector locks.
AnmerkungConnector count may vary depending on the vehicle configuration.
-
Connect the interior camera connector, and then install the clips that attach the upper quad camera cover to the vehicle.
- Unlock the vehicle gateway. See Gateway (Entriegeln).
-
On the vehicle touchscreen, tap Driver Assist > Cameras > Reset DAS.
AnmerkungMake sure all cameras and reset DAS icon turn green.
-
Perform the following routine using Service Mode or Toolbox (see 0005 – Service-Modus):
PING-HTTP_DAS_X_MAIN-CAMERA-SCRIPTvia Toolbox: (link).
AnmerkungThe routine will need to be performed within a 5 minute calibration window.AnmerkungChoose the routine that has the "SCRIPT" at the end of the path name.
-
Perform the following routine using Service Mode or Toolbox (see 0005 – Service-Modus):
PING-HTTP_DAS_X_FISHEYE-CAMERA-SCRIPTvia Toolbox: (link).
AnmerkungRoutine will need to be performed within 5 minute calibration window.AnmerkungChoose the routine that has the "SCRIPT" at the end of the path name.
- Adjust the forward facing camera. See Kamera – Nach vorne gerichtet (Neigungsprüfung).