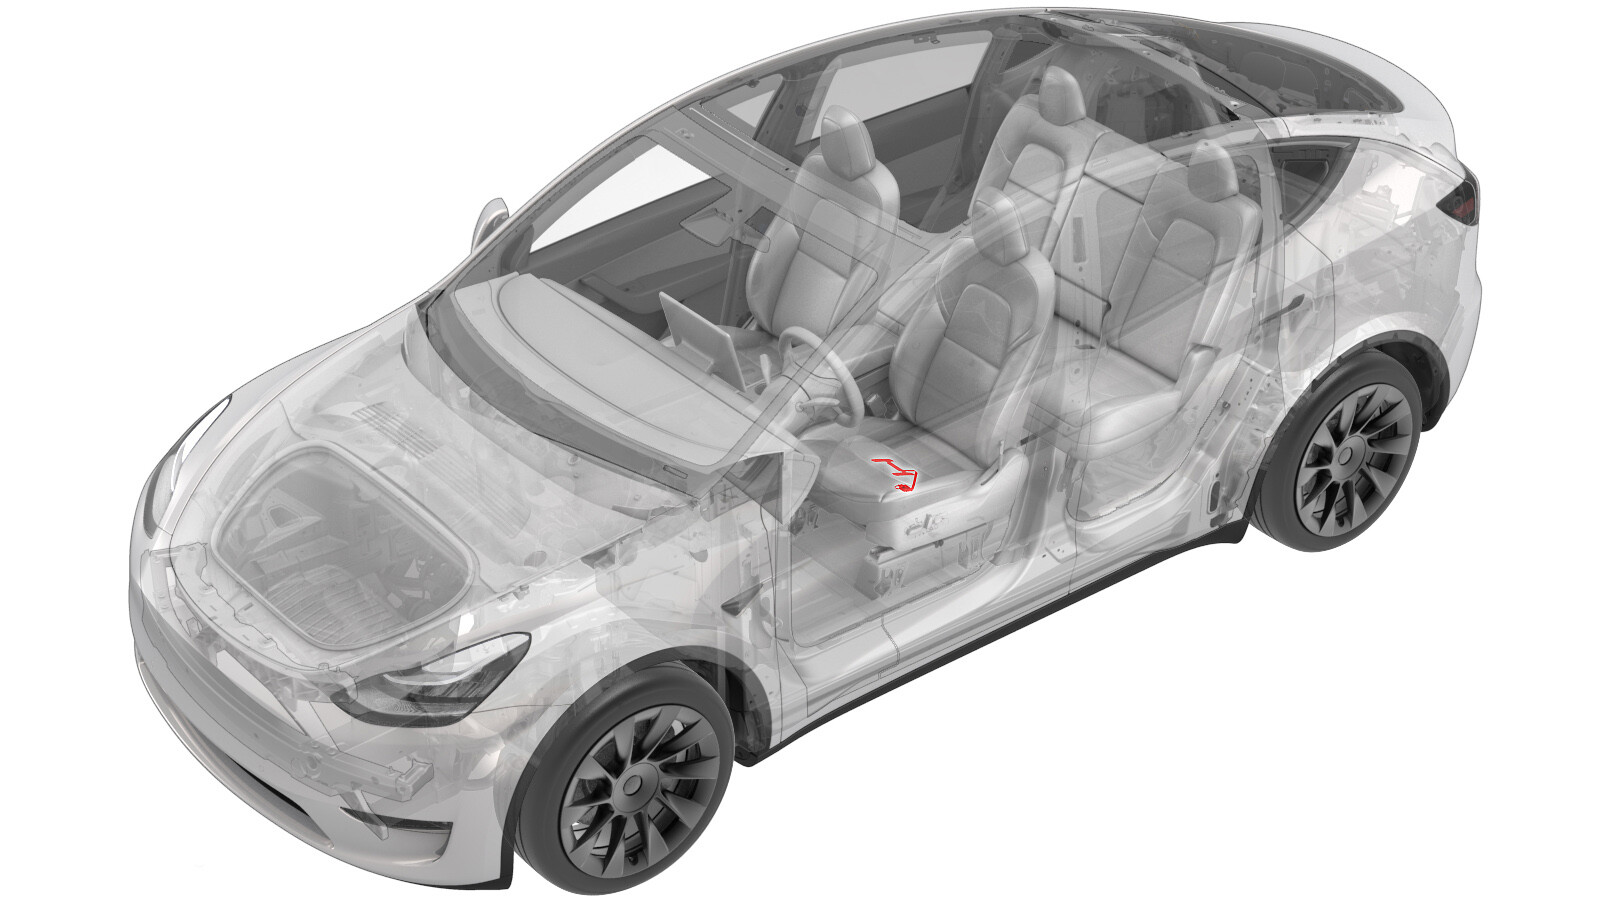
Widerstandssensor – Sitzbelegung – Vordersitz – RH (Ausbauen und Ersetzen)
 Korrekturcode
20202202 0.84
HINWEIS: Sofern im Verfahren nicht ausdrücklich anders angegeben, spiegeln der obige Korrekturcode und die FRT den gesamten für die Durchführung dieses Verfahrens erforderlichen Aufwand wider, einschließlich der damit verbundenen Verfahren. Schichten Sie keine Korrekturcodes, wenn Sie nicht ausdrücklich dazu aufgefordert werden.
HINWEIS: Unter Richtzeiten erfahren Sie mehr über FRTs und wie sie erstellt werden. Um FRT-Werte rückzumelden, senden Sie bitte eine E-Mail an ServiceManualFeedback@tesla.com.
HINWEIS: Siehe Persönlicher Schutz, um sicherzustellen, dass Sie die richtige persönliche Schutzausrüstung tragen, wenn Sie das folgende Verfahren durchführen. Siehe Maßnahmen zur Ergonomie für sichere und gesunde Arbeitsmethoden.
Ausbauen
- Remove the passenger seat cushion trim. See Verkleidung – Sitzkissen – Fahrersitz (Ausbauen und Ersetzen).
-
While wearing cut-resistant gloves, carefully use a razor blade to separate the resistive occupancy sensor from the passenger seat cushion foam.
WarnungAlways wear cut-resistant gloves when using cutting tools.ACHTUNGTake care not to damage the sensor harness, seat trim, or other surrounding components with the razor blade.ACHTUNGTake care to remove as little foam as possible.
-
From the underside of the cushion, carefully route the resistive occupancy sensor harness up through the top of the cushion, and then remove the sensor from the cushion.
ACHTUNGWhile removing the harness, take care not to damage the foam.
Montieren
-
Position the resistive occupancy sensor on top of the passenger seat cushion foam, and then route the sensor harness through the harness opening in the foam.
ACHTUNGWhile installing the harness, take care not to damage the foam.
Abbildung 1. Resistive occupancy sensor positioned on top of the front seat cushion foam Abbildung 2. Resistive occupancy sensor harness routed through the bottom of the front seat cushion foam -
Peel the protective backing off of the resistive occupancy sensor, exposing the adhesive, and then install the sensor on top of the foam.
AnmerkungAlign the sensor with the indentations on the foam.
- Install the passenger seat cushion trim. See Verkleidung – Sitzkissen – Fahrersitz (Ausbauen und Ersetzen).
-
Bei Wartungsarbeiten am Beifahrersitz eines Fahrzeugs für Nordamerika:
- Entfernen Sie alle Gegenstände vom Beifahrersitz, bevor Sie mit der Kalibrierung beginnen.
- Berühren Sie auf dem Touchscreen des Fahrzeugs , und prüfen Sie die Firmware-Version des Fahrzeugs. Wenn die Firmware-Version des Fahrzeugs nicht 2023.2.11 oder neuer ist, führen Sie eine Neuinstallation der Software durch. Siehe Neuinstallation der Software – Touchscreen. Wenn die Firmware-Version des Fahrzeugs nicht 2023.2.11 oder neuer ist, aktualisieren Sie die Fahrzeugsoftware. Siehe Software-Update.
- Verbinden Sie einen Laptop, auf dem Toolbox 3 installiert ist, lokal mit dem Fahrzeug. Siehe Toolbox (Verbinden und Trennen).
- Geben Sie das Gateway des Fahrzeugs frei. Siehe Gateway (Entriegeln).
- Klicken Sie in Toolbox auf die Registerkarte Actions, und suchen Sie dann nach „OCS“.
- Starten Sie mit Run die Routine PROC_OCS1P_SELF-CALIBRATIONvia Toolbox: (link)via Service Mode Plus: Safety & Restraints ➜ Seats ➜ OCS1P Self Capacitance Calibration.
- Klicken Sie auf die Registerkarte Actions, und suchen Sie dann nach „Seat calibration“.
- Starten Sie mit Run die Routine PROC_VCRIGHT_SEAT-CALIBRATEvia Toolbox: (link)via Service Mode Plus: Low Voltage ➜ Seats ➜ Calibrate.
- Trennen Sie Toolbox, und entfernen Sie den Laptop aus dem Fahrzeug,